Create bingeable art youtube videos using these inexpensive (or free) tools
I have been creating art tutorials and creative videos on Youtube for over 2 years at this point, and one of the most common questions I get is what equipment I use to film and edit my youtube videos.
Of course, I am only referring to equipment for making your youtube videos come to life. If you are interested in learning more about getting started with Youtube as an artist, check out How to start a successful art channel on Youtube.
And contrary to popular belief, getting the right kind of equipment to shoot my art youtube videos isn’t really all that expensive; in fact, you can start with a very small budget and be well on your way.
So, here is my list of the best equipment you can use for filming your Youtube art videos
Some links included are affiliate links, which means I will receive a small commission at no extra cost to you! If you do purchase through me, you have my sincere and heartfelt thanks! Hope you enjoy these products as much as I did!
Jump to Different Equipment Sections
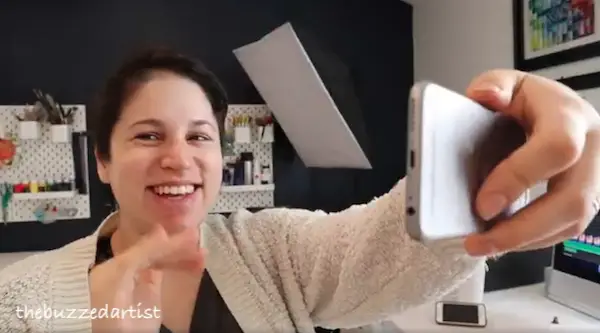
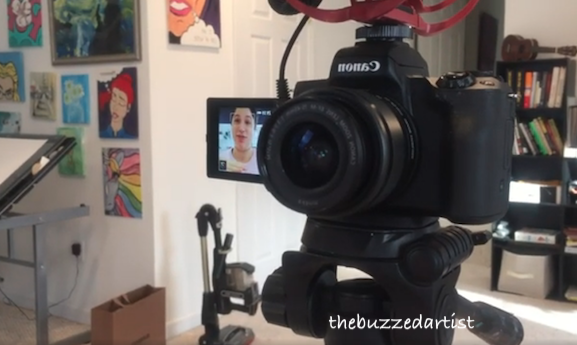
If you’re curious on what my desk setup looks like and how I use my equipment, here is my Behind the Scenes tour of my studio:
1. Camera Equipment
When I say equipment youtube artists use, the first thing you probably think about is a camera. And yes, cameras are crucial for filming your process – and in the world of cameras and what’s available, it can seem a bit intimidating and expensive.
So, before we go any further or you desperately decry how broke you are and cannot afford a nice camera, let me lay some truth for you….
The Budget Camera Option
When I first started filming my Youtube videos, I couldn’t afford a $500-$600 camera; however, I did have an old iPhone 6 my husband wasn’t using – so THAT was my main filming camera. And it did the job quite well.
Long story short….you don’t need a fancy camera to become an art Youtuber.
In fact, you can see tons of videos on this subject alone, and I was pleasantly surprised to see that many Youtubers started out with just a humble phone camera that helped them get recognized.
So, if you don’t have the budget, save your money and simply use your phone.
But, after a while, you might realize that a camera phone can only get you so far (which is a good discovery to make!). Once you get there, it’s time for an upgrade.
The Best All-Around Camera Option
So, if (or once) you got a good budget for spending on a camera, I would suggest investing in a camera that can do the following:
1. Film for extended periods of time. This is super important especially for us artists that like to work without having to constantly stop filming and uploading files!
2. Give you instant feedback with flip screens. I cannot tell you how many times I’ve wrapped up filming with my old setup to only find out I was filming my entire right arm and nothing else #truestory
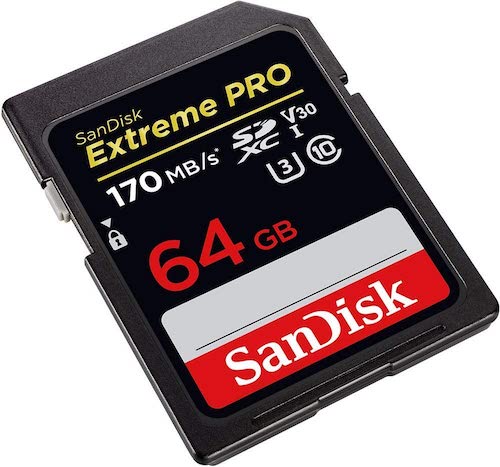
I recently upgraded my camera set-up from the iPhone 6 to a Canon E0S M50 with an 64GB SD card for maximum filming duration.
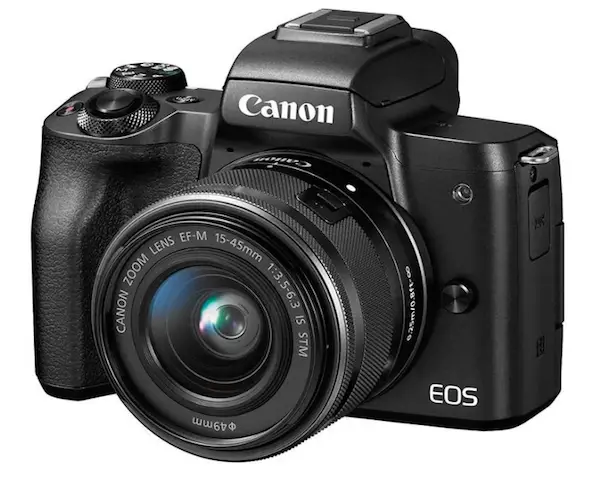
This is seriously a game-changer for me; it has great auto-focus capabilities (think blurry backgrounds with sharp foreground – a common feature for direct shots), is fairly light-weight, and can go onto many types of tripods.
And, if you want to extend the canon battery life so it never runs out while filming, this special battery adapter will give you hours of shooting potential without recharging.
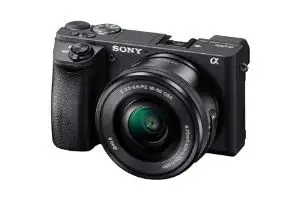
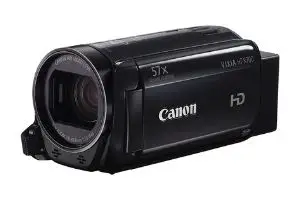
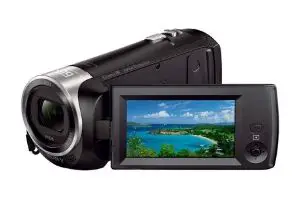
Now of course, there are other art Youtubers, like Baylee Jae and Hullo Alice, with their own camera preferences: here are some other great camera selections:
2. Proper Lighting Equipment
Now, if I had to recommend one item for filming that every person MUST have, I would recommend good lighting.
And here’s why.
Anything you shoot with excellent lighting gets picked up really well with your camera, gives your work that extra look of professionalism, and takes out any unwanted shadows that may show up on your work.
…and we being the visual Queen Bees that we are – good image is EVERYTHING!
The one thing you want to look out for in lighting is “soft-lighting”, which can help reduce shadows without creating additional shadows; plus your subject will appear more aesthetically pleasing to the eye – which is what our business is all about, yeah?
So here are some ways to go about getting great lighting.
Natural Sunlight
If you want to get super basic, be sure to film by a window and have another source of light (like a lamp) on the other side to reduce as much shadows as possible. This of course limits you to filming during certain times of the day with optimal weather (rainy days are not going to give you great natural lighting!)
SoftBox Lighting (My Favorite Choice)
A better, more consistent option is to get a softbox lighting kit and shoot your videos in any room at any time of the day. I used to shoot in my basement because my condo has very little natural light that filters inside, so I had to make do and grab this kit.
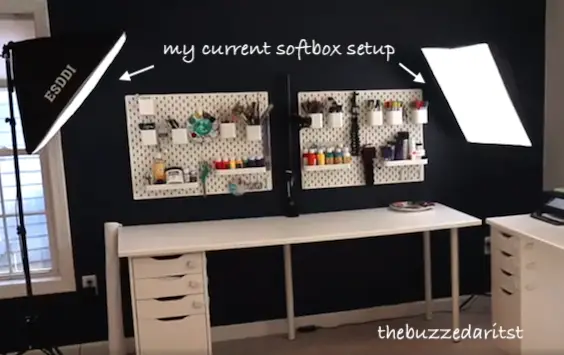
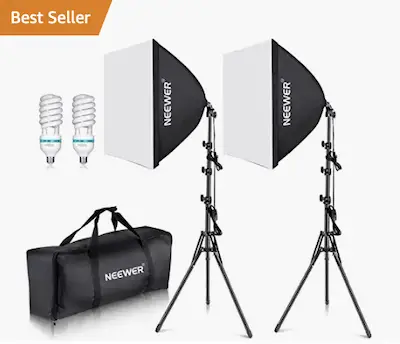
This soft box light kit from Neewer is perfect for lighting up your studio or filming area with softer, natural light, and helps avoid harsh shadows. I did notice a big difference in my video quality, especially with how clear my picture quality turned out.
PLUS, it’s a fan favorite with lots of other creatives who need good lighting!
Ring Lights
If you have a smaller space or want to minimize the amount of lighting equipment you have, a ring light is another perfect solution. And what is so cool about ring lights is that it can also function as a tripod for your camera.
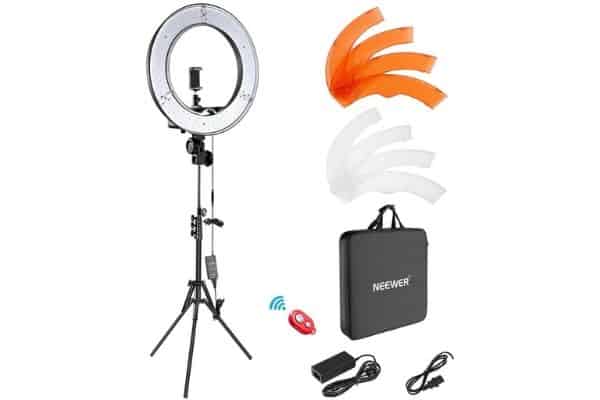
A very popular ring light kit used by many Youtubers is from the brand Neewer, featuring a light stand, adjustable camera adaptors for phones or cameras, and a carrying bag to hold all those goodies inside.
3. Filming Tripod Equipment
Now, tripods are mainly ways to hold your camera so you can get some decent looking shots; what I came to discover from years of filming art videos is that the more camera angles I could get, the better my overall video was. And this is accomplished using various types of tripod setups.
And when it comes to tripods, I look for two main features:
- It’s adjustable so it can give you multiple angles and different shots for your art videos
- Can switch adaptors to accommodate various types of cameras (a phone vs a Canon camera)
My Favorite All-Around Overhead Shot Tripod
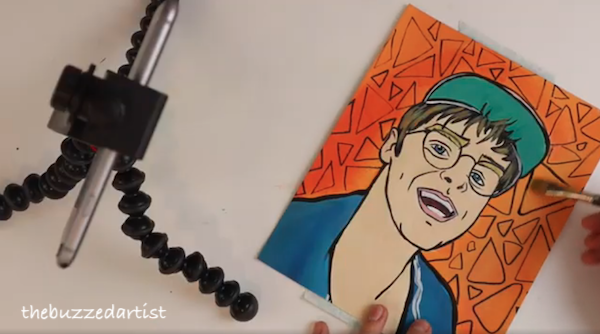
Whenever I film my overhead shots, aka the shots looking down onto my paper or work surface, my favorite type of tripod is actually not an real tripod stand (gasp!).
In fact, my current overhead tripod stand is a combination of a single monitor arm desk mount combined with a ball joint adaptor which allows me to attach my camera and give me almost 360 degree rotation.
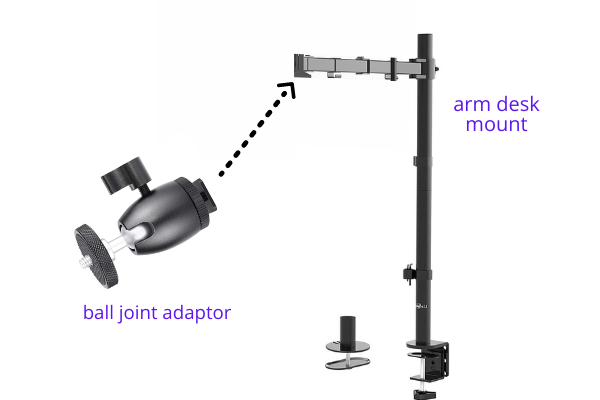
This setup gives me an adjustable, sturdy tripod onto which I can attach my camera and microphone – and it won’t fall over from the weight (very important!).
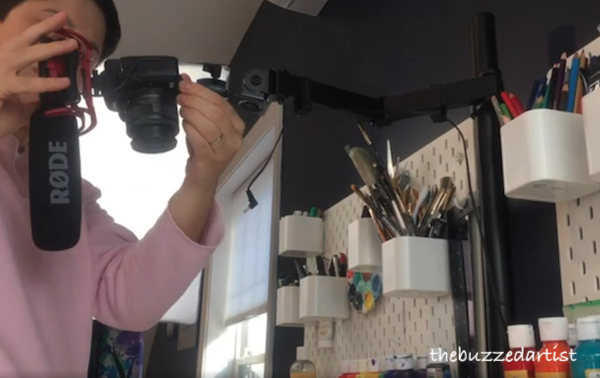
Plus, it’s a much more affordable and easy set-up option compared to other elaborate overhead camera rigs.
My Favorite iPhone Overhead Shot Tripod
When filming with my overhead shots with my iPhone, I used the Akron Pro Phone stand, which if you have ever watched a Tasty video where they shoot from above, you can get some really amazing DIY shots, and I love it.
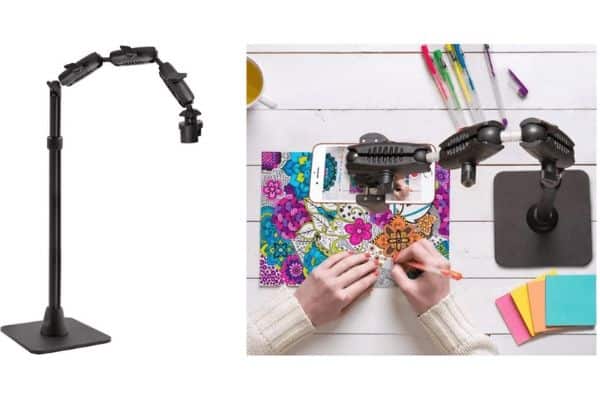
The stand itself rests on your work surface and is adjustable, allowing for closeup shots and the stand arm can be angled or shortened by removing any or all lever arms depending on your filming needs.
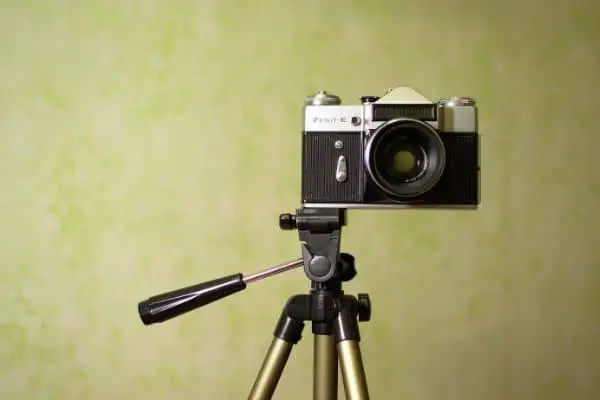
My Go-To Direct Shot Tripod
When it comes to filming my talking head shots or any other side shots I want, this simple 60″ 3-legged tripod is the perfect, simple solution.
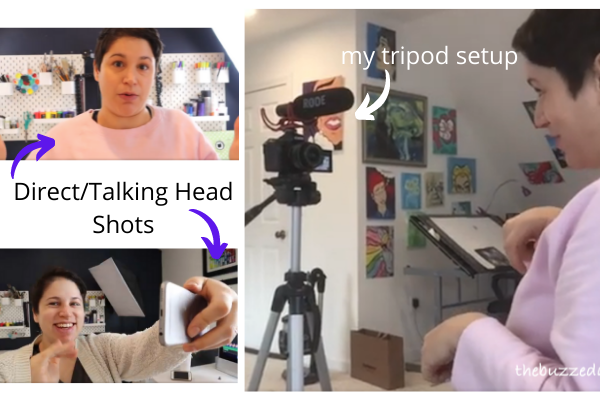
It’s great for travel, stores well, and can be used with lots of different types of cameras, thanks to the removable attachment base.
My Favorite Side-Shot Tripod
I have come to discover that up-close, side-shots are really helpful in telling your story when filming your art videos – giving viewers another angle to see your creative process unfold. And the best side-shot tripod I especially like is the Joby GorillaPod stand.
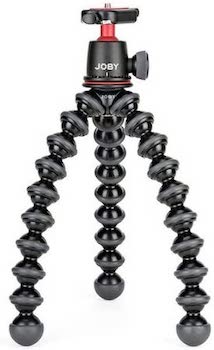
It’s got the bend “octopus-like” legs so you can easily adjust your camera at any angle you like; plus, it can bend around other cylinders (and cylinder-like objects like tree branches) to give you even more filming potential.
It also has a screw-base so it can accommodate both a camera or a phone holder to easily attach your phone camera.
Plus, you can double this as a direct shot tripod, although you may need to use your hand to hold the legs while filming.
My Favorite Voiceover Microphone Tripod
Lastly in the world of tripods, I fell in love with a certain type of tripod- one that I can easily grab, set-up and place back in under 2 seconds. This is the microphone boom scissor arm that holds my narration/voiceover microphone (more on that later).
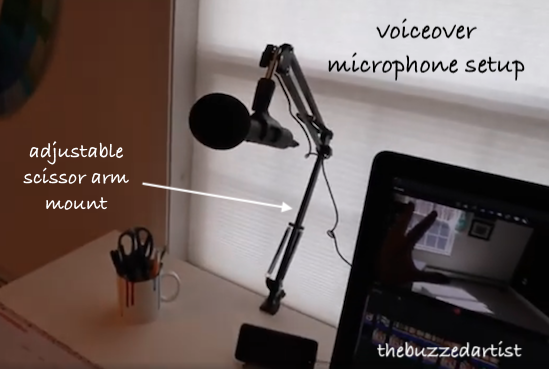
It easily attaches to my editing desk, and I can quickly grab the arm which will adjust in height and rotate to give me the best position to talk into the microphone. Then, when I am done, I simply push back the arm, out of the way without taking up my desk real estate. #clutch
4. Microphone Equipment
Besides great lighting, something I wholeheartedly believe makes for quality art videos is crystal clear audio. In the past, I did just use my camera phone’s audio to record all my videos, which was decent, but always managed to pick up background noises and made my voice sound far away at times.
My Favorite All-Around Art (and on the Go) Microphone
I finally decided to invest in a microphone that can easily attach to my camera and give me crystal clear audio without all the static, background noise, and “p” pops (you know what I’m talkin’ about).
Enter the Rode ShotGun VideoMic.
The Rode microphone attaches to the top of the camera and with a simple switch of the “on” button, my audio quality has become much more crystal clear, thanks to it’s condensing, unidirectional capacity. Plus, this microphone has a “shock mount” which helps keep your audio fresh and clean, whether on the move or stationary.
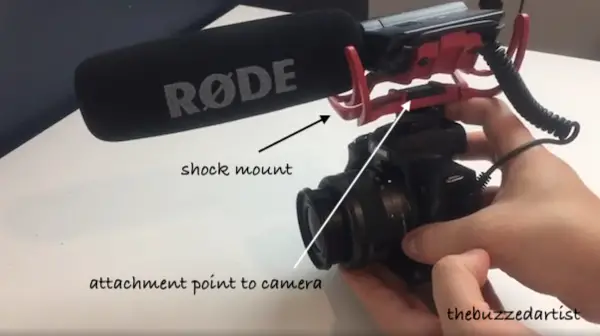
I love using this microphone for both my overhead and direct talking shots. Both types give me great audio without any syncing issues (which past microphones used to give me).
And, as an added bonus, there is very little audio adjustment I need to do post-edit, which is a MAJOR time-saver.
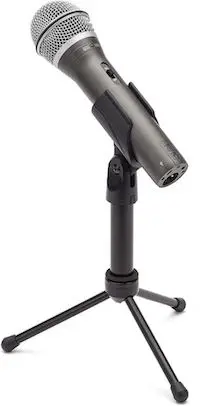
My Favorite Voiceover Microphone
I then invested in a separate microphone and finally understand what sound engineers are always raving about. Currently, I use a USB microphone to film all my voice-over tutorials, and the best part of it all, the audio gets automatically recorded into my video editing software.
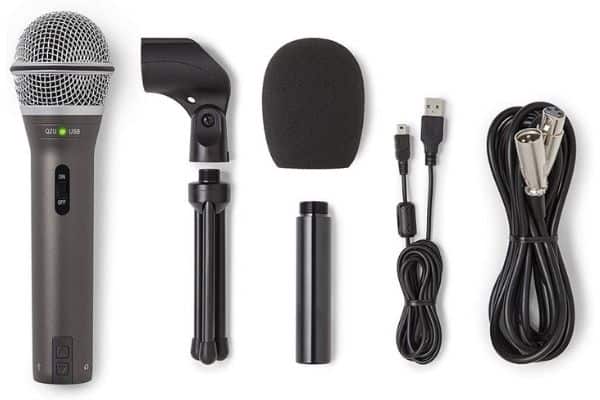
I did do quite a bit of research when looking for a decent affordable microphone and found that the Samson Q2U Handheld USB Microphone was a perfect option for me.
The Samsun USB Microphone captures sound from in front of the microphone and less from the sides and rear and reduces “P” and “B” sound pops while recording.
Plus, this microphone can be easily connected to my computer and I can start recording right away. AND it’s a crowd favorite 🙂
5. Editing Software

Editing software is what you use in post-production to edit your raw video files; and it’s kinda the same idea as cameras. You don’t need to go super crazy with editing software at the beginning.
Depending on what type of computer you have, you can always start with the free basic editing softwares. If you have a Mac, use iMovie, which already comes pre-installed; if you are a Windows user, use Windows Movie Maker. Both are free, easy to use, and can help you start your blooming art career.
Concluding Thoughts on Art Youtuber Equipment
Rome wasn’t built in a day, and my collection of equipment for my art Youtube videos happened over a period of years. Do what you can with what you have and can afford- and then, once you know what you like, go from there.

Whether you plan to get all or some of these items (or something similar) for your art youtube setup, always be sure to consider your budget.
You don’t need thousands of dollars to get started or even be a successful Youtube artist; you just need to invest in the right equipment to give your videos the best chance of capturing your gorgeous talent.
What did you think of my equipment list? What else would you add? Comment and share below!