There’s something that happens when a canvas gets framed — it stops feeling like “a painting in perpetual progress” and suddenly looks like a finished piece of art. Framing gives your work presence. It protects it, elevates it, and ultimately shares the message that this matters.
For a long time, I thought professional framing was something you either outsourced or avoided altogether because it felt expensive, intimidating, or outside my skill set. But learning how to build a simple floating frame was a total game changer — not just for how my work looks, but for how confidently I present it. Knowing how to frame your own canvases is one of those behind-the-scenes skills that gives you more control, saves money, and helps you show up as the professional artist you already are.
So if you’ve ever stood in your studio staring at a finished canvas thinking, Now what? — this DIY floating frame tutorial is for you. I’ll walk you through exactly how I build mine, step by step, with tips and math formulas I learned the hard way (so you don’t have to).
Disclaimer: some links used in this post are affiliate links, which means I’ll earn a small commission if you purchase using my links at no extra cost to you. I only recommend products I think will be helpful to you and bring you one step closer to creating beautiful acrylic masterpieces!
What You’ll Need
- Wood of choice (mine is 1×3″ pine board)
- Measuring Tape
- Canvas
- Miter Box or Miter Saw
- Picture clamp
- Wood Glue
- Wood Stain or Paint
- Polyurethane Sealant
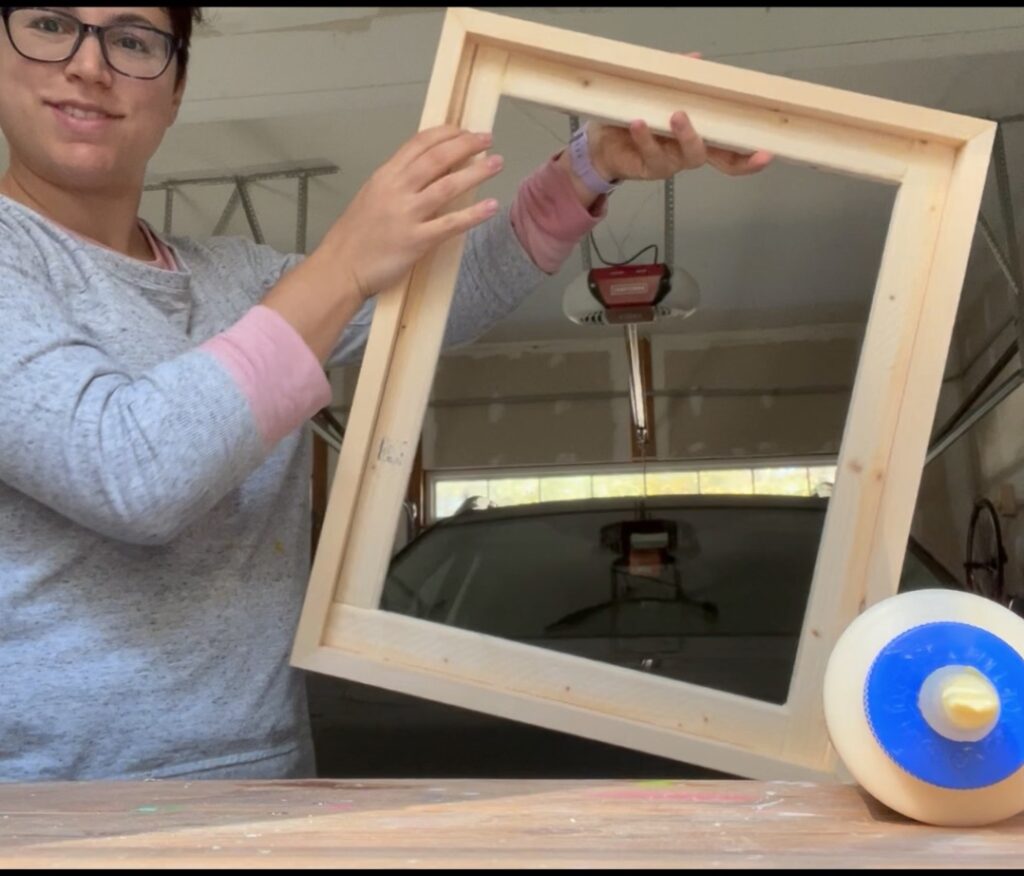
Step 1: Measure Your Canvas
Now when I say measure, I mean measure every side as well as the thickness of your canvas. Don’t make the same mistake I did and assume that every side of your canvas is exactly the same. Because, more often than not, one side will usually be 1/16th longer than another. And for the sake of your canvas fitting perfectly inside your frame, measuring and recording every side dimension is required.
Step 2: Choose Your Wood
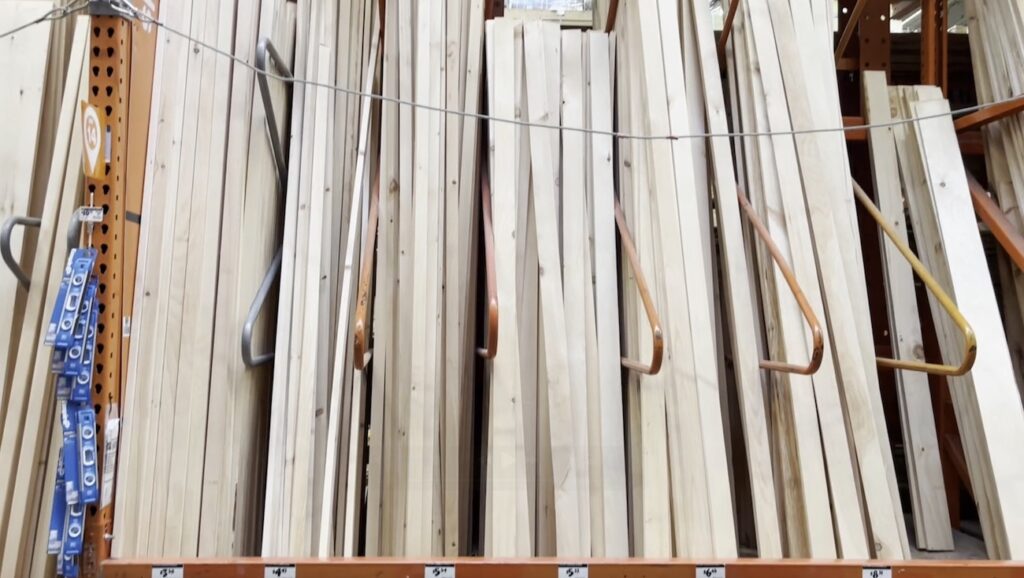
This part is totally up to you. I have seen floating frames made from primed boards, pine boards, hardwoods, etc. My go-to is pine since it’s easy to cut and handle (and usually very budget friendly). If you’re like me and don’t have pre-cut boards already at your disposal, you’ll want to get them at a lumber or home improvement store like Lowes or Home Depot.
Most boards here are cut to standard “nominal” sizes, aka 1×2″, 1×3″, 1×4″ etc. BUT, just because a board size is 1×3″ doesn’t mean it actually is 1×3″. That’s its nominal size. What you want to know is its actual dimensions, which is always a google search away, like this helpful lumber guide.
So really, a 1×3″ board will actually be 3/4″ x 2-1/2″.
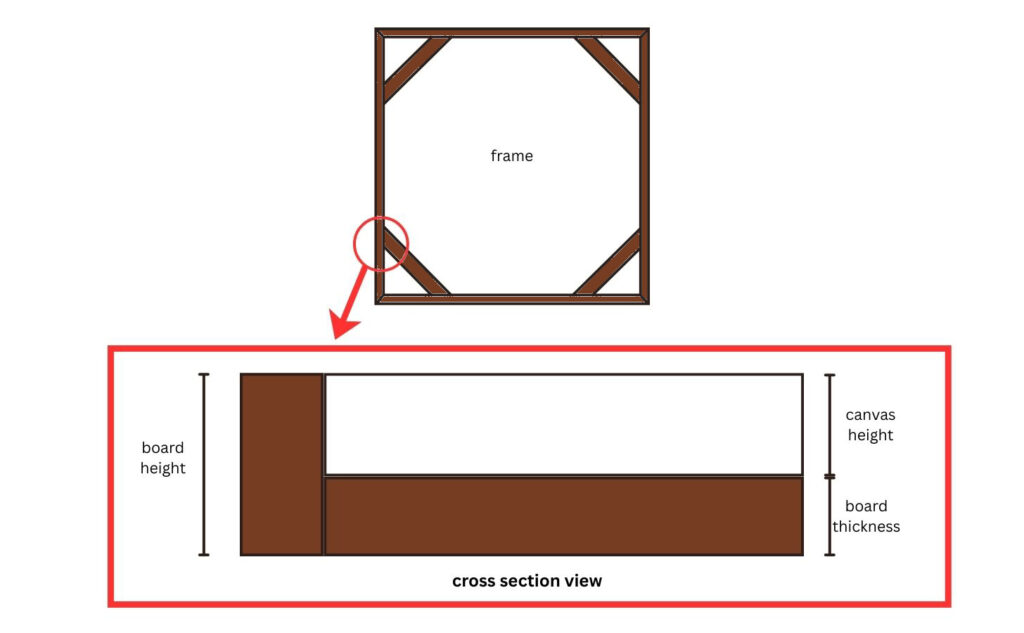
Once you know your canvas thickness, you’ll want to choose a wood dimension that will perfectly align the canvas with the top of the frame, helping it sit flush. The general formula I use is “board height – board thickness = canvas height”.
For example, for my gallery wrapped canvas (1.5″ thick), I decided to go with 1×3″ wood boards since the math works out perfectly:
2.5″-0.75″=1.75″, which is just enough clearance to cover up the canvas thickness.
Step 3: Floater space
You’ll want to determine how much float space you want in-between the canvas edge and the edge of the frame. Some artists prefer a wider float space while others prefer it to be tight. I actually prefer the latter option, a 1/8″ spacing to be specific, since I don’t need to worry about the back portion of the frame showing through. Keep this in mind for the next step.
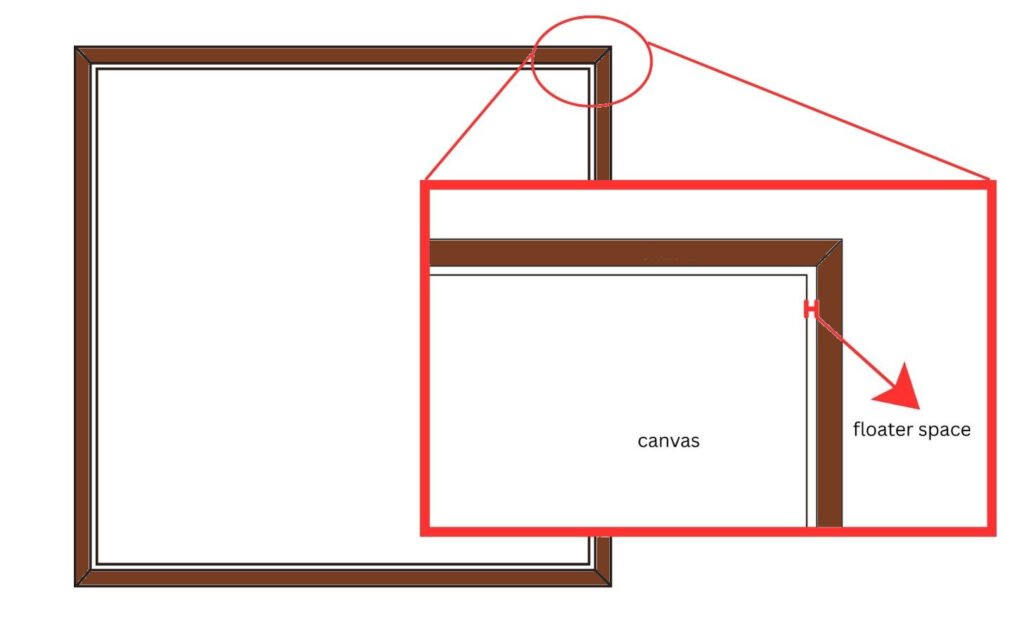
If you choose a floater space that is greater than 1/8″, it would be a good idea to make a backing for your canvas so it will still maintain the appearance of floating in the frame (and not show the color of the wall). Here’s an example of what I mean:
Step 4: Calculate Your Wood Dimensions
Now that you know what type of board you’ll need (in my case 1×3″) and the floater space (1/8″), it’s time to do a little math to figure out the total length of wood you’ll need for each side.
Here is a general formula I like to follow:
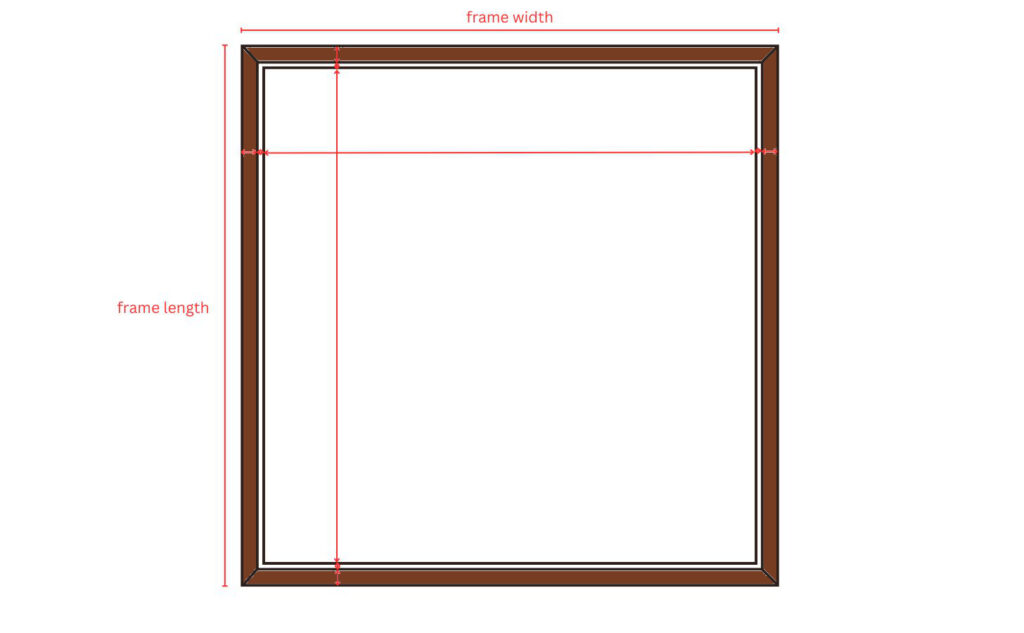
(ACTUAL Board thickness x 2) + (Floater Space x2) + Canvas Width 1 = Frame Width 1
(ACTUAL Board thickness x 2) + (Floater Space x2) + Canvas Length 1 = Frame Length 1
(ACTUAL Board thickness x 2) + (Floater Space x2) + Canvas Width 2 = Frame Width 2
(ACTUAL Board thickness x 2) + (Floater Space x2) + Canvas Length 2 = Frame Length 2
You might find that you have matching widths or lengths when measuring your canvas from step 1. If so, that’s one less formula you’ll need to use!
If you are choosing to do a floater space that is greater than 1/8″, you’ll want to calculate for the extra lumber to make a backing frame. A general rule of thumb would be the (Canvas length + (floater space x 2)) x 2 and then the (Canvas Width + (Floater Space x 2)) x 2. For example, to make a backing frame for a frame for a 16×20″ canvas with 1/4″ float space, I would get extra lumber at (16″+1/4″+1/4″=16.5″x2= 33″ and 20″+1/4″+1/4″=20.25″x2 = 40.5″).
Step 5: Cut Your Miters
Once you know your frame lengths and widths, it’s time to cut your wood boards to size AND make them angled (or mitered) at the tips so they join at a 45 degree angle. This really makes your frame look professional and absolutely beautiful. To do this, you can opt for a miter box or a miter saw to do the work.
I have used both and actually prefer to use a miter box and hand saw to get the precise cuts I need (mainly because I’m not quite sure how to realign the saw blade on my miter saw).

A note on measuring for miter cuts: What I have done is to first cut the wood to the exact lengths I need. Then I align my wood board inside my miter box so the edge is adjacent to the area where I would saw the miter. Once its clamped, I saw away, using a careful and slow rhythm until my saw breaks through to the other side. Voila, a miter cut.
If you chose a 1/8″ floater space, you’ll also want to cut 4 separate wood pieces with 45 degree cuts on both ends – I usually use a miter saw for this since I don’t need it to be too precise. If you opted for a greater float space, simply cut your wood so they fit snugly inside the frame. No need for miters.
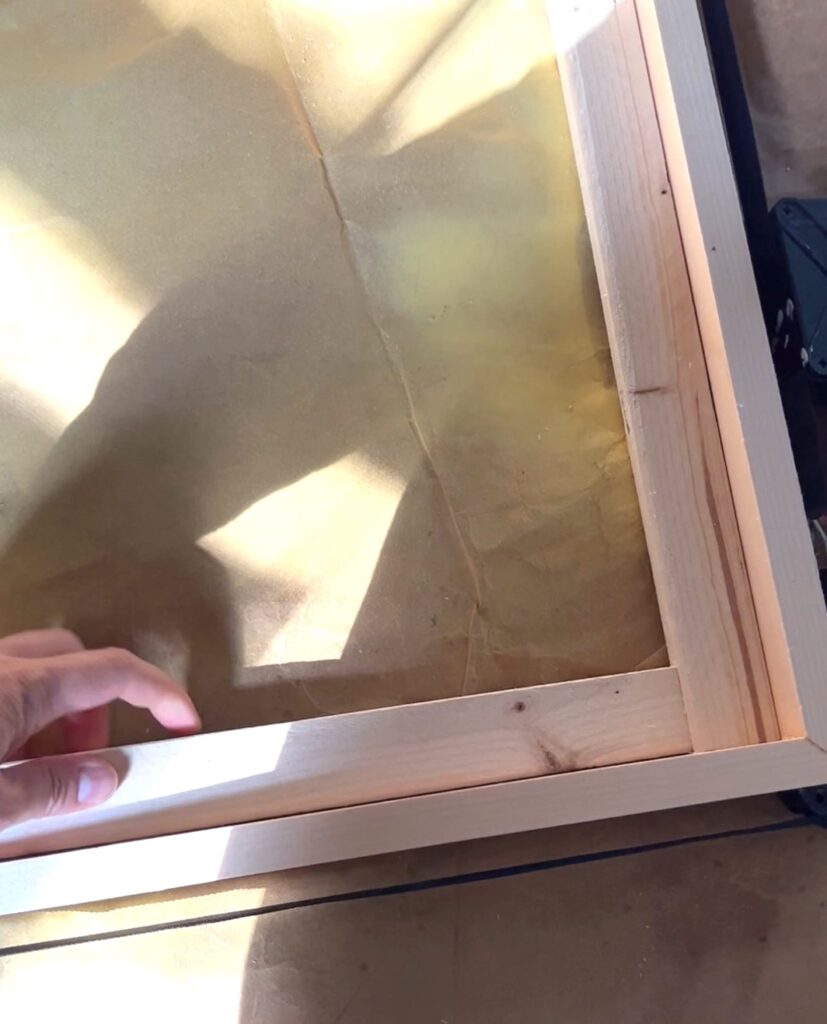
Step 6: Assemble
Once all your wood pieces are cut to size, it’s time to do a dry fit around your canvas to make sure everything looks right (trust me on this, this has saved my butt many times). Once everything looks good, add a generous helping of wood glue to the mitered edges and fit the frame pieces together, using a picture clamp to hold all the sides tightly together.
My Recommended Picture Clamp for the DIYer
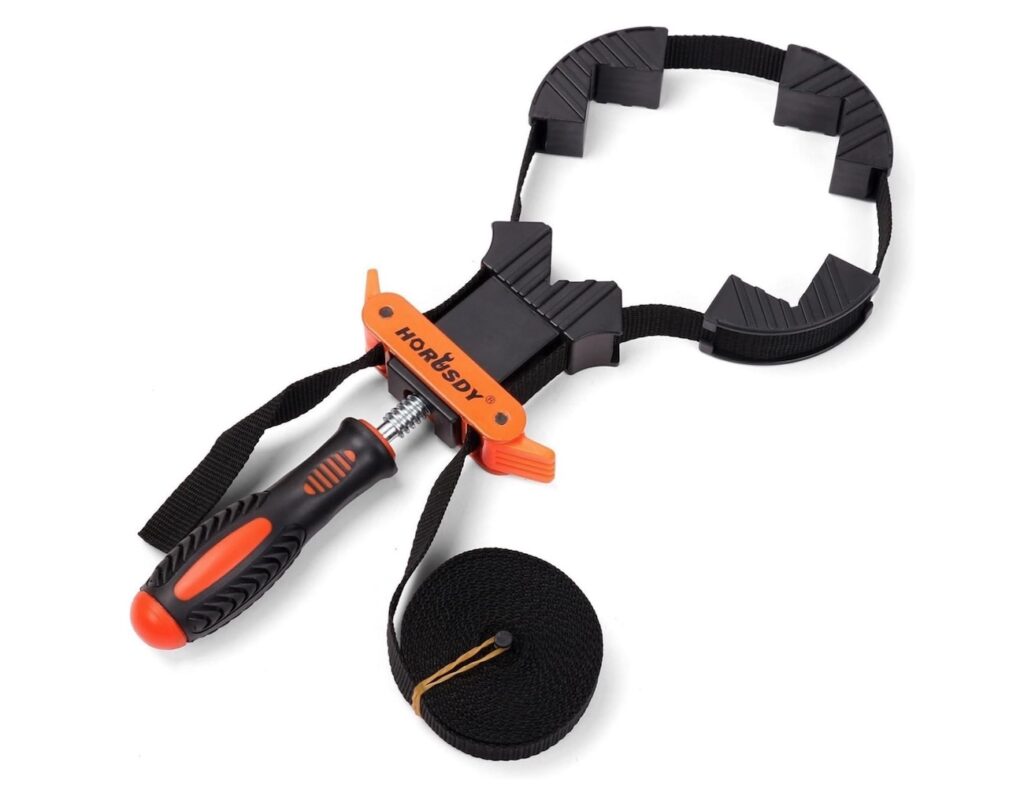
I usually leave this on for about 30minutes to an hour before I unclamp. I also sometimes like to add a brad nail to each miter joint to make extra sure it holds together, but it’s totally not necessary.

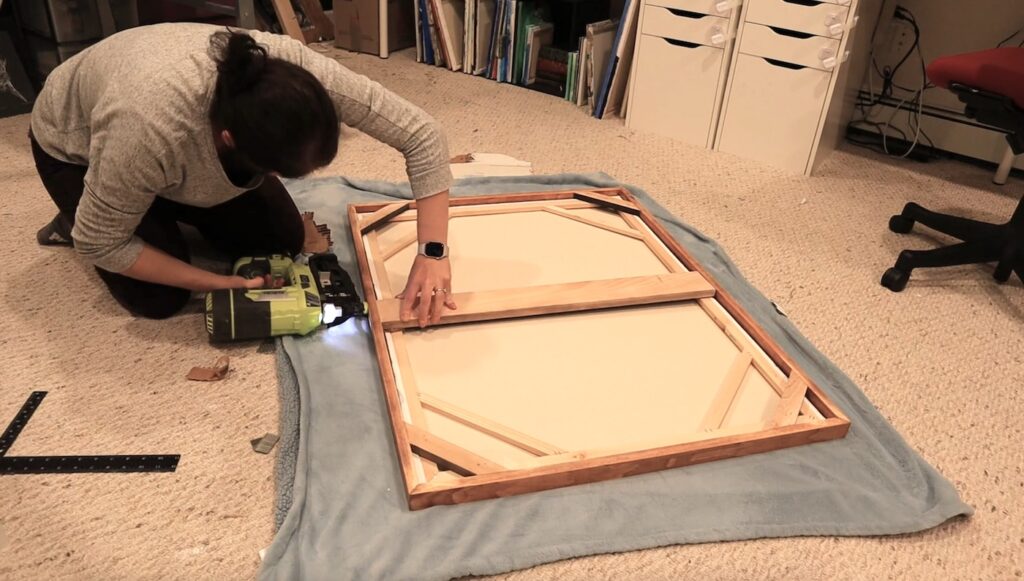
Once your frame is glued and dry enough to handle, you’ll want to glue and/or nail your 4 support wood pieces to be flush to the back of the frame so your canvas will sit right on top and have something to hold onto with screws in the next step.
Step 7: Stain, Paint & Poly
Now its time to color your frame. In my experience, I’ve painted and stained my frames depending on what the painting needed. Whichever way I choose to color my frame, I always seal it with a satin or glossy polyurethane sealant for longevity and professional finish.
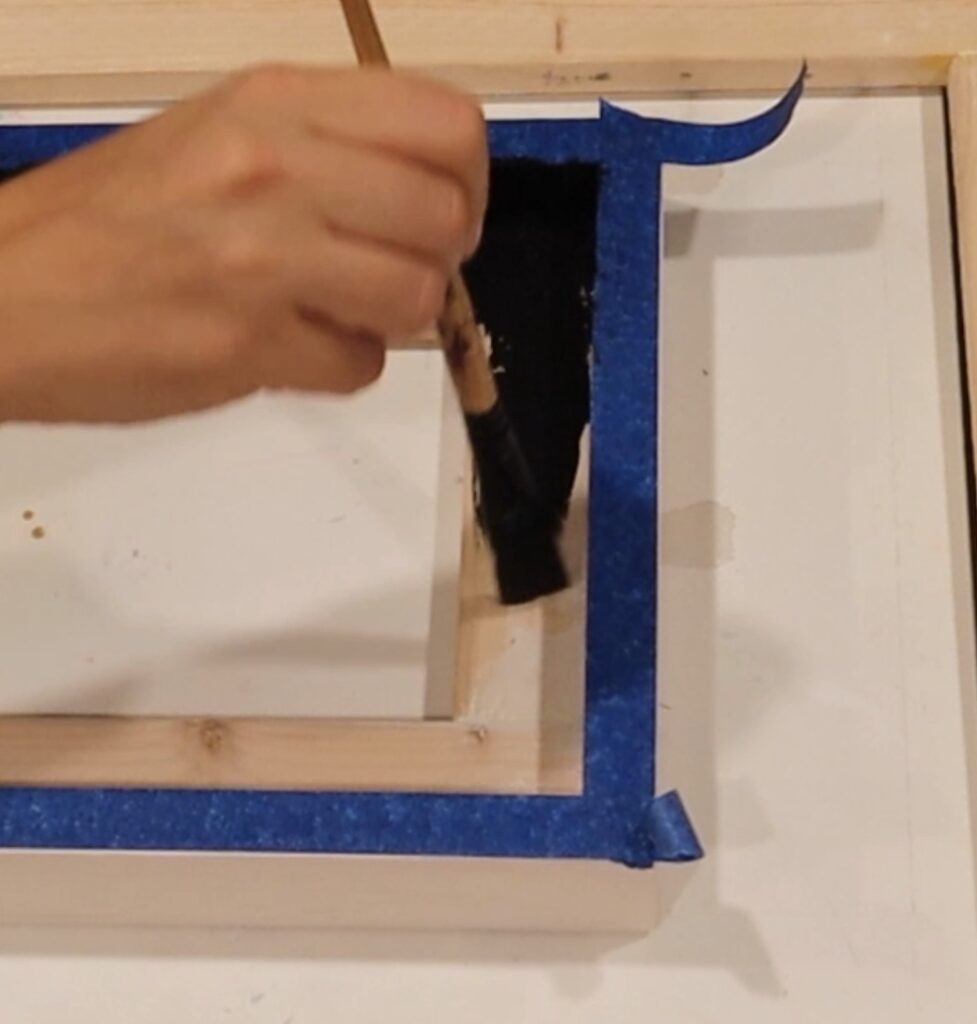
If you built a back frame for your painting, I recommend painting it a dark color so it will help blend the wood to the background and make the canvas the shining star.
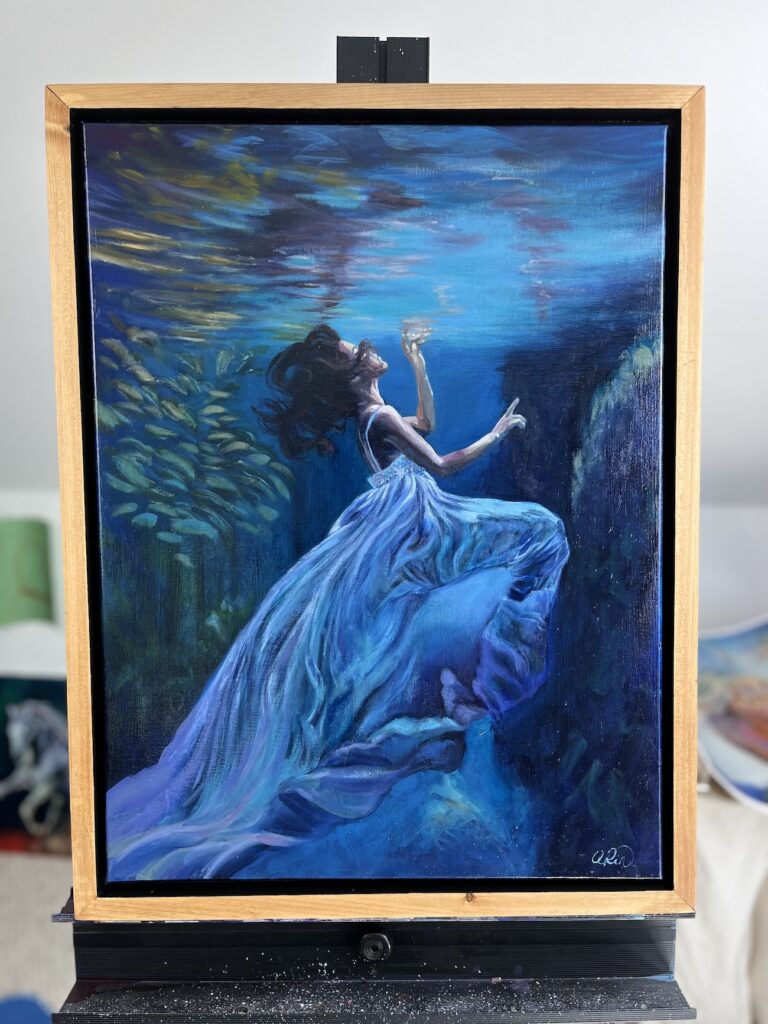

And voila! A DIY Floating Frame Anyone Can Do

Pin it for later! ⤵