
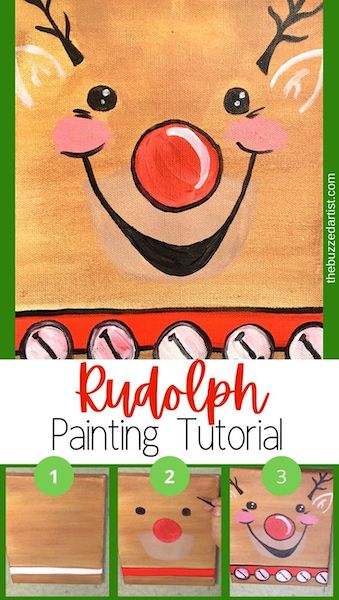
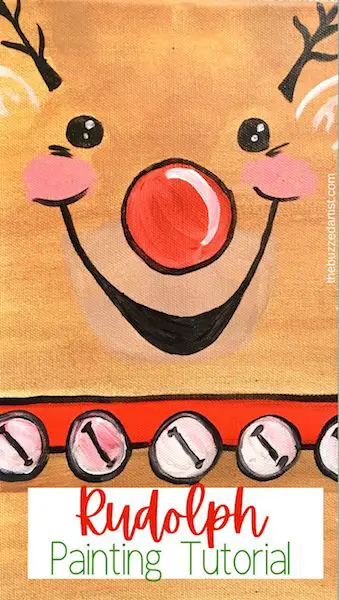
Create the famous red-nosed reindeer in this easy step-by-step acrylic tutorial for beginners
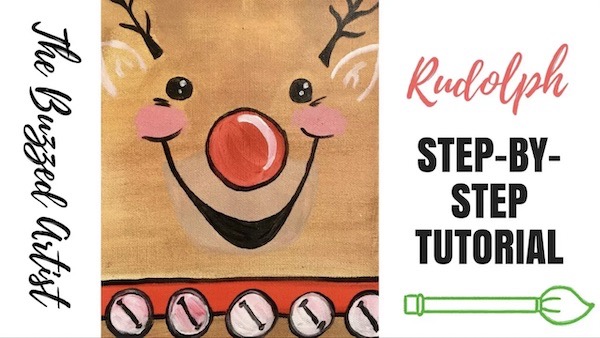
In this post, you’ll learn how to paint a cute Rudolph reindeer in this easy step-by-step acrylic painting tutorial for beginners. With your imaginations so bright, let’s go guide our creativity today.
Disclaimer: some links used in this post are affiliate links, which means I’ll earn a small commission if you purchase using my links at no extra cost to you. I only recommend products I think will be helpful to you and bring you one step closer to creating beautiful acrylic masterpieces!
👉 Want to host a paint party with this tutorial? Here is exactly how you can set up a fun DIY paint party at home.
Rudolph Acrylic Painting Supplies
Paints
Brushes
Rudolph Acrylic Painting Steps
Follow these step-by-step instructions on how to paint your very own cute Rudolph the red-nosed reindeer face.
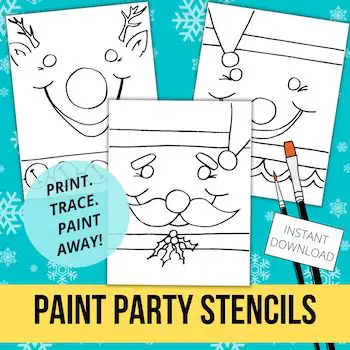
Want the Traceable Stencil?
If you want to get the full stencil for this painting, get the printable stencil here.
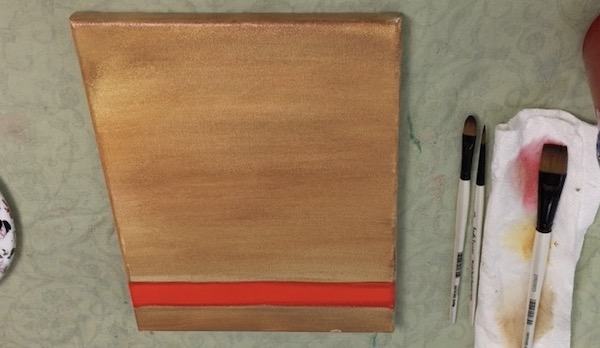
Step 1: Paint in Rudolph’s Fur
With your flat wash brush, mix together equal parts red and yellow with a bit of blue to create a brown color. This will be Rudolph’s fur. Then, using horizontal strokes, paint the entire canvas, leaving a 1″ horizontal strip about 1-2″ from the bottom of the canvas.
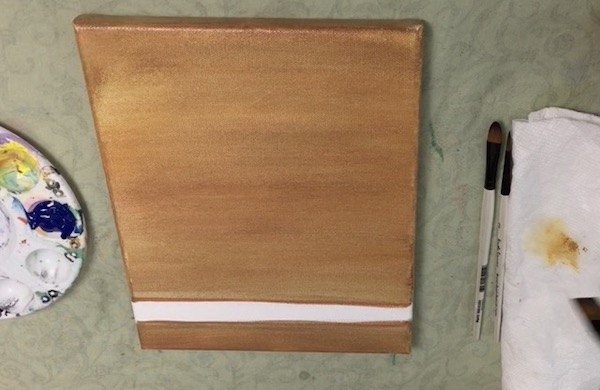
Step 2: Paint in the Collar
With your rinsed flat wash brush dipped in red, fill in the white strip towards the bottom of your canvas. This will serve as Rudolph’s collar.
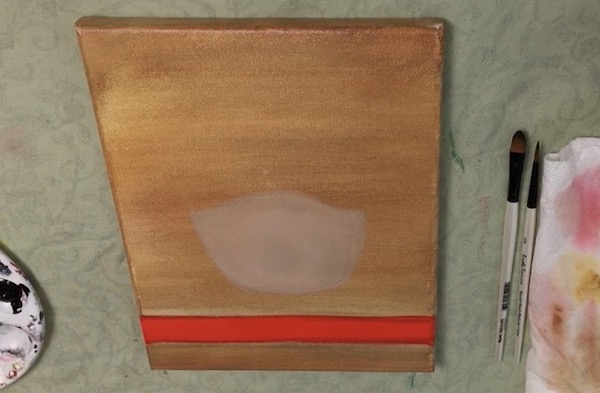
Step 3: Paint in the Muzzle
With your filbert brush, mix your brown with white to create a very light brown. Then at the center of the canvas, create a 3-4″ square shape. Then add two triangles at the sides to represent Rudolph’s muzzle.

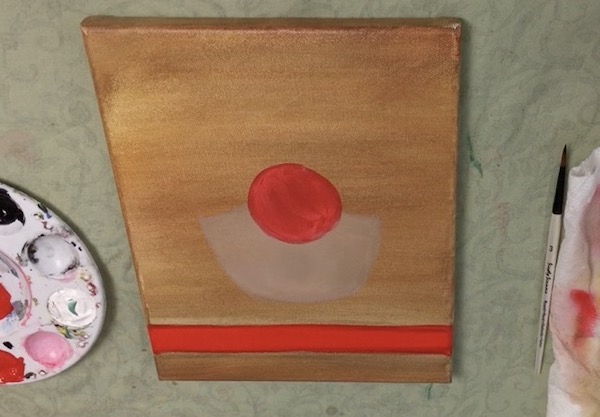
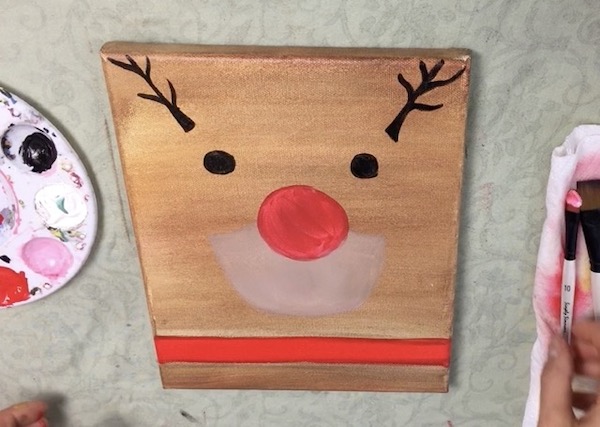
Step 4: Paint in the Red Nose
With your filbert brush dipped in red, paint a 3″ circle at the top middle of the muzzle to represent Rudolph’s big red nose.
Step 5: Paint in the Eyes
With a detail brush dipped in black, add two circles for Rudolph’s eyes and fill in.
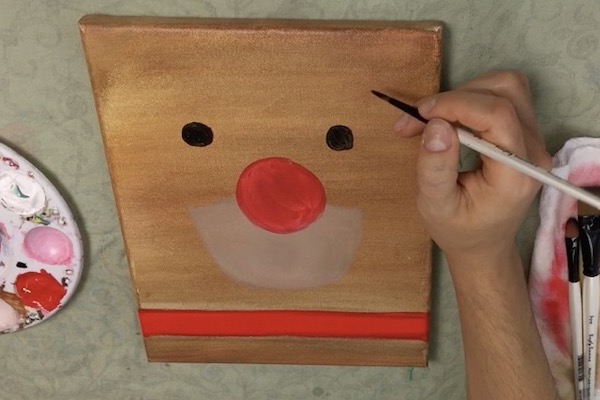
Step 6: Paint in the Antlers
With your detail round brush, paint in the antlers. Start by creating a diagonal line and make some “branches” that shoot off either side of the center line, resembling a “Y” shape.
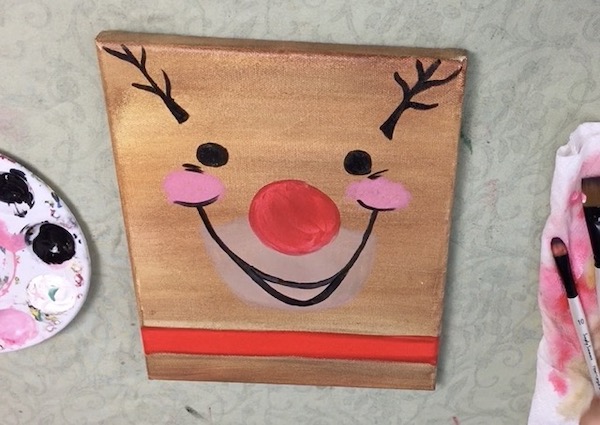
Step 7: Paint in the Mouth, Cheeks and Laugh Lines
With your detail round brush, paint a wide smile for Rudolph, making sure it extends from one eye to the other. I also added laugh lines under each of his eye bottoms for a more cheerful appearance.
To create the blushing cheeks, mix together red and white, load it onto your filbert brush, and lightly brush on the cheeks – I put the cheek color slightly off center from the eye bottoms.
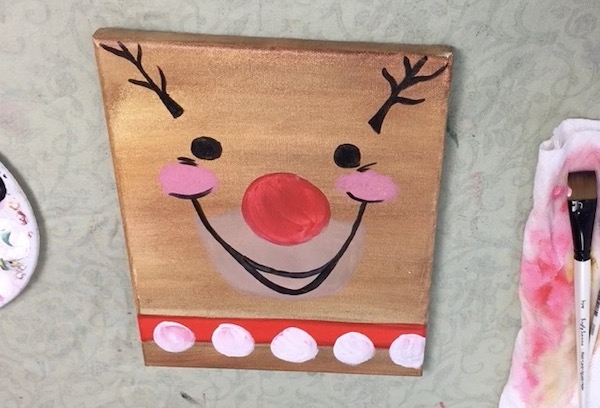
Step 8: Paint in the Bells
With your filbert brush dipped in white, paint a series of 1″-2″ circles along Rudolph’s collar. I had mine spaced out 1/2″ apart.
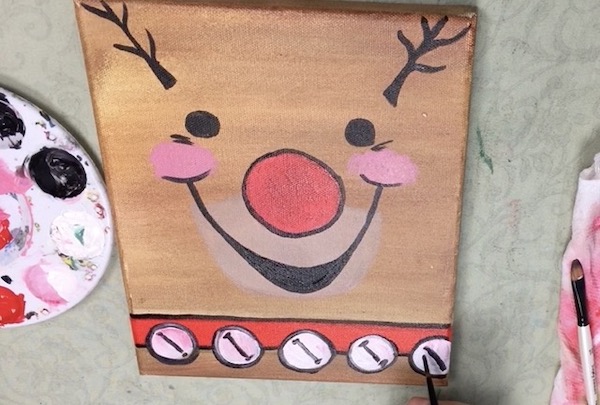
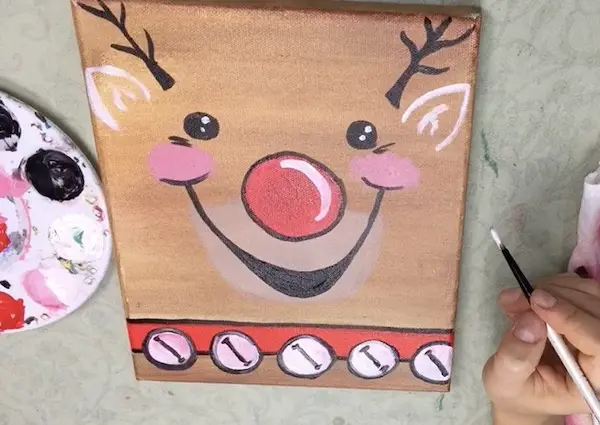
Step 9: Paint in the Bell Details
With your detail round brush, add a diagonal line inside each of the bells. I added a dot at the ends of the lines to closely resemble the bell details.
Step 10: Paint in the Highlights and Ears
With your detail brush dipped in white, paint in Rudolph’s ears under each of the antlers. My technique was to make a rounded triangle (without the base) for the ears and a small squiggle inside the ear to represent the fur.
After that, add some highlights to Rudolph’s eyes and nose for an extra touch of holiday magic. You are officially done and have your very own cute Rudolph the Red Nosed Reindeer painting.
Want the Traceable Stencil?
If you want to get the full stencil for this painting, get the printable stencil here.
Related Christmas Painting Posts
Easy & Cute Rudolph the Red Nosed Reindeer Painting Tutorial
More Posts You'll Like
 Reindeer Painting Tutorial on Canvas | Step-by-Step Acrylic Tutorial for…
 Santa Claus Painting Tutorial | Step-by-Step Acrylic Tutorial for Beginners
 Christmas Elf Painting Tutorial | Step-by-Step Acrylic Tutorial for Beginners
 Christmas Reindeer Galaxy Sky | Easy Acrylic Painting Tutorial for Beginners