Every artist needs a working surface onto which they can grab acrylic paint with brushes, mix their colors, and test out colors before doing the final transfer onto canvas. This working surface is known as an artist’s palette, and what better way to nab one than making your own DIY paint palette!
Read More: 10 Best Types of Palettes for Acrylic Painting
Over the years, I have dabbled with lots of palettes, and found myself making a good deal of them, mainly for three simple reasons:
- It’s a cheaper alternative
- It involved items lying around my house
- Clean up was so much easier to manage
And I wanted to share my “lazy artist” discoveries with you so you can dive in and start creating your very own palettes to use for many years to come.
PS. ain’t nothing wrong with being a lazy artist; I like to think of it as being resourceful and knowing where to put my creative energy lol.
TYPES OF PALETTES WE WILL COVER TODAY:
- DIY GLASS PAINT PALETTE (CLICK TO GO TO SECTION)
- DIY STAY WET PAINT PALETTE (CLICK TO GO TO SECTION)
- DIY FOIL PAINT PALETTE (CLICK TO GO TO SECTION)
DIY Palette 1: Glass Palette
I first saw this type of glass palette from a Youtube video from The Creative Glow, and I loved how simple yet effective making your own reusable glass palette is!
For starters, a glass palette has its own various advantages, like resisting pigment absorption, promoting optimal color mixing, and -most importantly – also allows for very easy clean up. Cool beans, let’s make this!
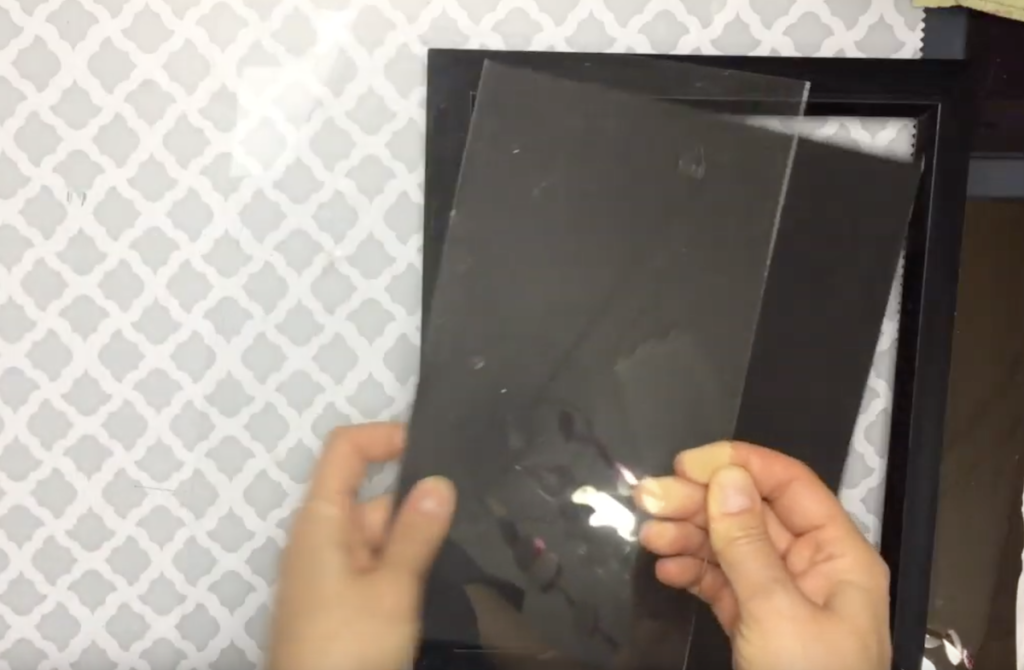
Step 1: Grab a rectangular piece of glass, preferably from an old picture frame
If I recall, this was an old picture frame that I had gotten eons ago at my local Dollar Tree, which cost me $1. Besides the materials I already had, I literally just spent $1 to make this palette. Score!

Step 2: Lay down newspapers on your work surface

Step 3: Grab a gray color for your palette background
I have seen various paint palettes with the gray background, which got me thinking. Why the heck is that so important?
Well, long story short, mixing paint against a gray background helps you create more natural tones that are not a stark contrast to the palette itself. Another way to think of this is seeing the color red against a white background (super contrast) to the color red on a gray background (much more muted in contrast, better for determining color tone).
Plus, I don’t have any palettes of this type, so I decided to make it happen for myself!
For this DIY paint palette, I decided to use Arteza’s cold grey acrylic paint, from their 24 acrylic paint set. You can check out my deep dive review of these paint sets here, but I decided on using a tube because it was available and I didn’t feel like mixing. Hah, lazy artist strikes again!

Don’t have the color gray? No worries! Alternatively, you can make the color gray with a slight blue tint. You can do this by combining equal parts titanium white, mars black, and aquamarine blue.

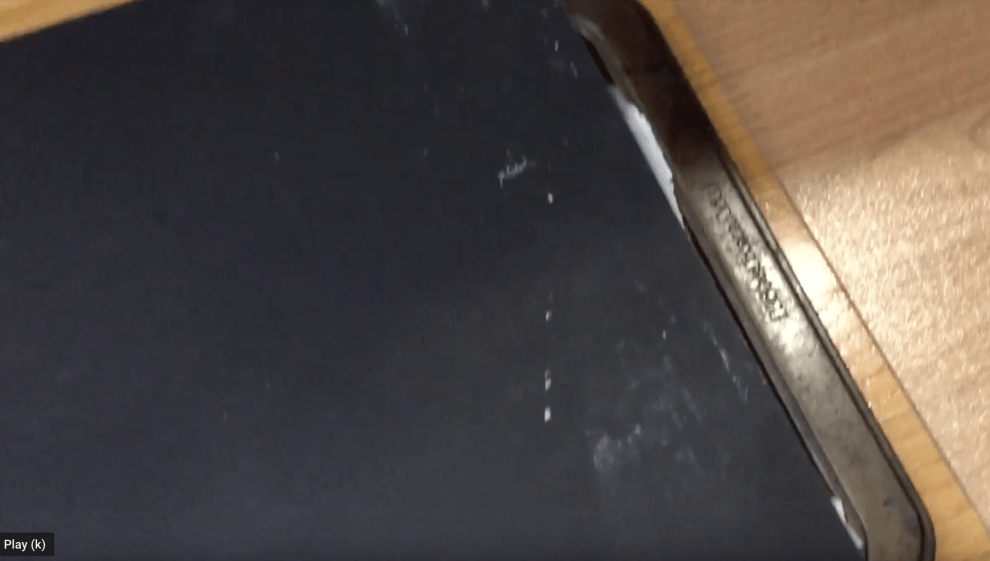
Step 4: Paint 3 even layers on one side of the glass, making sure to wait for each layer to dry


Step 5: Once your backing is dry, remove any residual paint on the non-painted side of the glass
This may be inevitable, as all paint do! So, just grab a scraper tool or Exacto knife and scrape off the excess paint on the non-painted side of your palette.

Step 6: On the painted side, place one strip of duct tape halfway between the edge of the glass and the backing. Fold over onto the non-painted side of the glass.


Step 7: Continue to add duct tape strips each abutting (not overlapping) one another

Step 8: Ensure last duct tape strip is halfway between the edge of the glass and the backing. Fold over onto the non-painted side of the glass.

Step 9: Turn over to the non-painted side and remove the excess strips from the glass sides

And just like that, you got yourself a DIY glass paint palette ready for use!


Plus, once you are done with your paints, you can simply wipe off any wet paint with a damp cloth or or simply use a scraper for dried on paint.

JUMP TO:
DIY Palette 2: Wet Tray Palette
Trays are a popular DIY paint palette option I am seeing artists use lately, mainly due to its nice walled borders, giving artists the ability to add wet towels topped with parchment or tracing paper to help make your acrylic paint stay wet longer.
Plus, you can’t beat the larger working surface and it’s reliable sturdiness.
So let’s make one!
Step 1: Grab a tray
What you need to start with is a tray or any flat surface with surrounding walls to keep items inside and not leak out.
I just used a cookie sheet I had in my kitchen, but many artists invest in ceramic or plastic trays for their palettes.

Step 2: Place 4 layers of paper or shop towels onto the tray
Of course, adjust so the towels fit as nicely as possible inside the tray.

Step 3: Pour water onto your paper towels, just enough to soak through the towels.
Make sure there isn’t a lot of excess water (aka water that couldn’t not be absorbed by your towels. You want just enough for your towels to completely soak up.

Step 4: Cut parchment or tracing paper to size to place directly on top of your soaking towels.
I made to sure smooth out the parchment paper right on top of the wet layer of towels for optimal contact. This will create a safe, non-invasive surface for your paint to rest, be readily mixed, and stay wet!


You are now ready to use your wet tray palette!

What if you need to take a break and want to set aside your tray palette?
Simply place a wooden or plastic board atop the tray leaving just a bit of space for air circulation. And then just walk away and enjoy eating that ice cream sandwich or whatever it was you needed to do.
To keep your tray palette staying wet for longer, all you need to do is keep adding more water to your paper towels as they dry up and ensure the parchment paper is making good contact with the soaked towels. Just be sure to not oversoak the towels!


On top of all that, once you are done with your paints, you can simply throw away the tracing or parchment paper and start fresh with a clean set of paper!

JUMP TO:
- DIY GLASS PAINT PALETTE (CLICK TO GO TO SECTION)
- DIY STAY WET PAINT PALETTE (CLICK TO GO TO SECTION)
DIY Palette 3: Aluminum Foil Palette
This next DIY paint palette has a shine to it! Aluminum foil palettes are simply palettes with an aluminum foil mixing surface. This is one I have used in the early days of painting, and is very very easy to make and clean up.

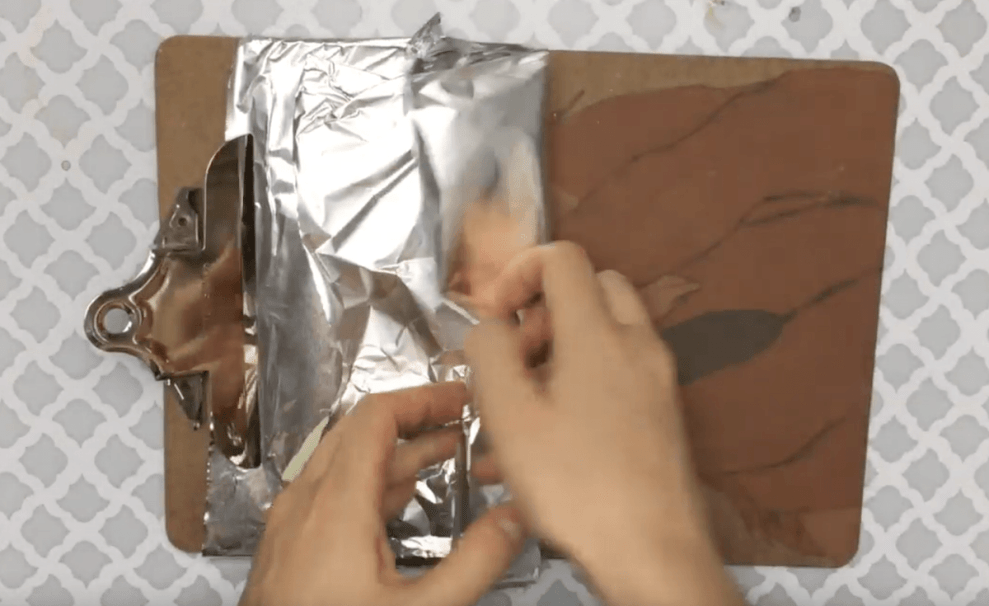
Step 1: Take aluminum foil and wrap it tightly around a sturdy, wooden surface (you can also tape the edges for added security).

and that’s it! You are ready to go to town with your DIY foil palette!

Plus, once you are done, you can remove the foil and throw it away. Easy peasy lemon squeezy!
You can even swap out aluminum foil for other types of material like parchment paper, saran wrap, cellophane, or tracing paper. The concept is quite easy and simple to execute!
and I am certainly not the only one who has done this!
Artist, Chuck Black, uses particle board cut to size and cellophane tightly taped onto its surface with painter’s tape for his palettes. He loves it!

NOTE: The one thing that can be a pain is the metallic nature of foil. It can throw you slightly off when it comes to creating different color tones, so watch out for that.
Related Paint Palette Posts
No matter what palette you choose, just remember to choose something that works best for you.
What type of DIY paint palettes have you made before? Which one is your favorite?