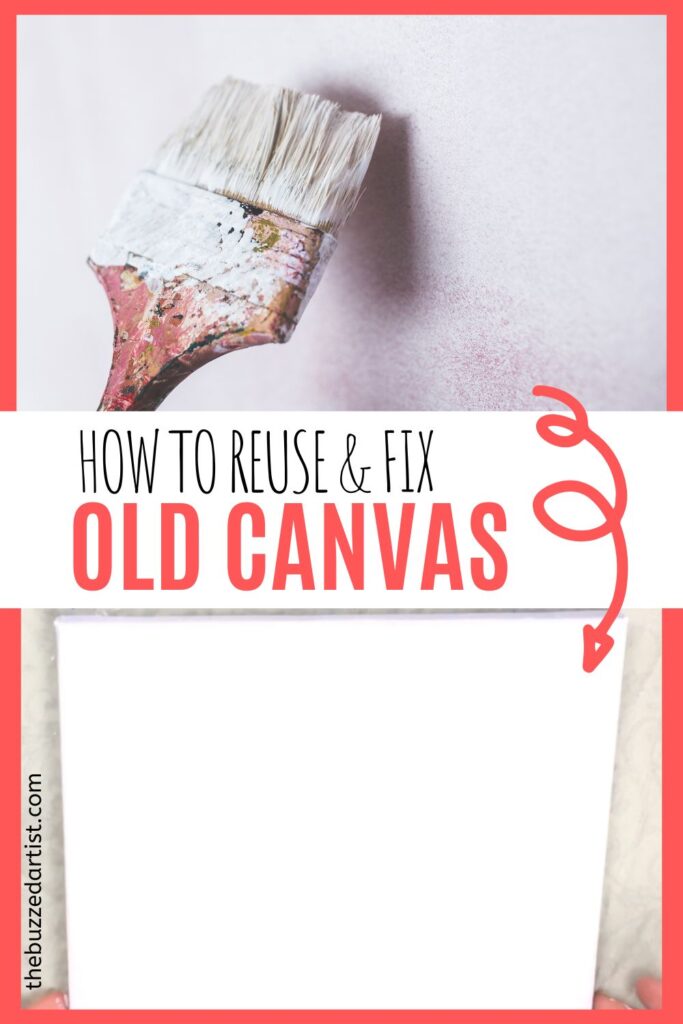
Easy methods to reuse or touch-up acrylic canvas paintings for your next painting project
Ever had an unfortunate incident where your painting is all “jacked up” and you just need to start all over again, but don’t have extra canvas lying around? Or perhaps there is just one area of your painting that looks -er- not quite right and needs to be completely redone.
As much as we hate to admit it, a botched painting is totally normal. It happens to the best of us.
Pin it for later! ⤵
And, being the clever saver of resources, I found two ways to reuse any old painting, from previous failed paintings or paintings I bought from thrift stores and transform them back into bright, white canvases to use again, which include:
- Sanding and using white gesso
- Removing paint layers with cleaning agents
Watch the video below or continue reading to dive a little deeper into these two methods.
Disclaimer: some links used in this post are affiliate links, which means I’ll earn a small commission if you purchase using my links at no extra cost to you. I only recommend products I think will be helpful to you and bring you one step closer to creating beautiful acrylic masterpieces!
Method 1: Reuse old canvas with a sander and gesso
The first step here is to sand down the entire surface with a sand block to ensure a smooth canvas surface. This is especially important if you want to avoid any bumps or weird protuberances while you are painting.
To test for bumps, be sure to feel the surface with your fingers. If you still feel bumps, you might want to keep on sanding for a little while more!
Once you finish sanding, make sure to wipe down the surface to remove any dust or dirt from sanding.
Secondly, I use white gesso to completely cover the entire canvas. Using a flat brush (preferably one that is 4-6″ wide), I apply 3-4 coats of gesso paint.
I have gotten a few questions on whether you can just skip gesso and use straight-up white acrylic paint to cover your previous painting. My answer would be yes, you can totally do that, however, I like to reserve my acrylic paints for my actual artwork mainly because it is more expensive than gesso. But you do you!
I always make sure to wait for each layer to dry in between coats, just so I can get the best complete coverage.
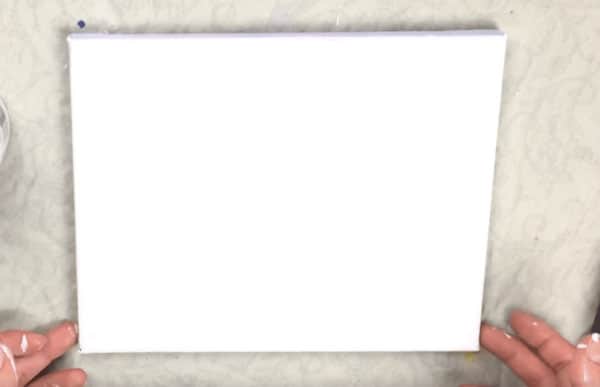
Once dried, you now have a canvas ready and waiting to be your next new masterpiece…the second time around!
When it comes to most of my canvas reusing efforts, I prefer to use this method, mainly because I know I didn’t add that many layers from my previous painting session with the canvas.
However, in the event I have too many layers on my canvas, I like to resort to method 2.

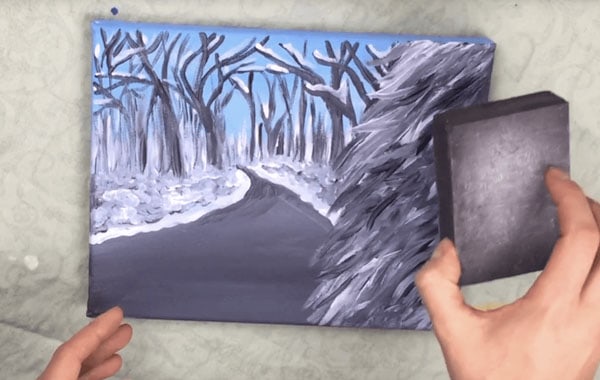
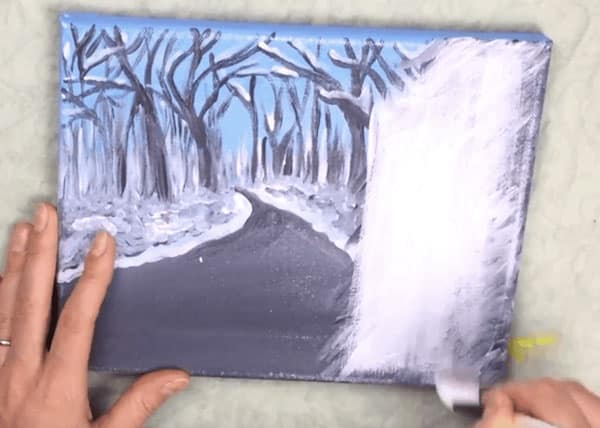
Method 2: Soak your canvas in paint thinner and remove the paint layers via scraping.
This process is a bit involved, but it will basically restore your canvas back to it’s original state – a blank one.
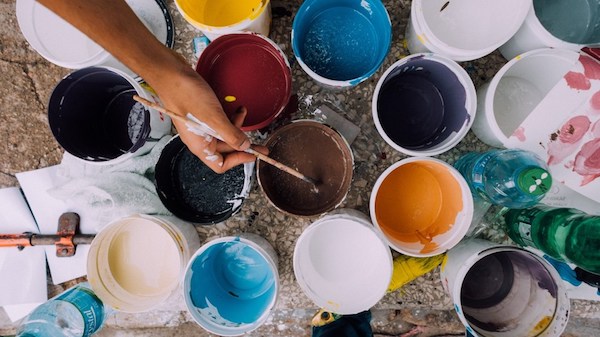
Step 1: In a well-ventilated area or outdoors (and wearing rubber gloves!), mix a layer of turpentine, mineral spirits, and rubbing alcohol in a container. Make it deep enough so you can cover your entire canvas in it. Take your canvas and place it inside the container ensuring the painted area comes into contact with the cleaning solution. Let sit for an hour.
Step 2: Remove the canvas from the solution and using a putty knife scrape away any remaining paint from the surface. Remove as much as you can with your knife and in the event you uncover more layers of dry paint, simply re-soak your canvas for another hour and repeat.
Step 3: If you really want to clean off any paint that may have soaked through the canvas fibers, simply place a clean cloth dipped in turpentine or rubbing alcohol over the desired area and let sit until the cleaning solution has dried. Keep repeating this process until no more paint comes up with the cloth.
As an added note, you can also choose to use dedicated paint strippers like 2 Minute Remover or Citristrip, which can work just as well in removing layers of paint and varnish.
With this process, if you were working with a pre-gessoed canvas, you’ll probably end up with an almost white canvas after step 2. However, if your canvas was originally untreated/unprimed, you might end up with a non-white working surface.
This may not be a huge deal for some artists, especially if you intend to paint on top of that surface once again; however, if you really are looking for a pure white background, you may need to add a few layers of white gesso on top of your freshly cleaned canvas before working on it.
How many times can you paint over a canvas?
In all honesty, you can probably do quite a bit of layers of paint on top of your canvas – hell, I’ve seen some paintings with 8-10 layers of paint and be just fine.
With all things in art, I would recommend you go by feel. But, you’ll know you’ve reached your limited when your paint begins to peel off the canvas, has way too much texture to sand away, or doesn’t glide the way you’d like.
So, in the event you add too many layers, simply follow the steps outlined in method 2 above.
Can you paint over a varnished acrylic painting?
If you want to do little touch-ups here and there on a varnished painting, then yes, painting over varnished canvas is fine – in moderation.
However if you are looking to completely redo a painting, painting over a varnished painting is NOT the way to go. Doing so actually can create an uneven working surface and cause your paints to not glide or work the way you’d like.
What I would recommend is completely removing the varnish from the painting surface, exposing the original acrylic layers underneath. You can find acrylic varnish removers from several paint brands, including:
- Winsor & Newton Artist’ Acrylic Varnish remover (which can only be ordered online via Walmart or Michaels.com)
- Schmincke Varnish Remover
- Dedicated paint varnish removers (Citristrip, 2 Minute Remover, Max Strip, SmartStrip)
- Turpentine
Before beginning, wear gloves, work in a well-ventilated environment, and be sure to remove any dirt or debris on your canvas- using either a cloth or a soft brush. Then, with your chosen varnish remover, VERY gently rub into the varnish film using a clean cloth. It’s important you are very gentle during this process and are working on small areas at a time – general rule of thumb is a 2″ x 2″ working area. If a small amount of paint pigment is visible on the cloth after doing this, you know you have successfully removed the varnish.
Read more: Do you really need to varnish your acrylic paintings?
If you have chosen a strong varnish remover like 2 Minute Remover, you may need to consider using a neutralizer to stop any remaining varnish remover from eating its way into the painted layers of your canvas. There are several options you can use, either using household items to commercial items including:
- rubbing a rag saturated with turpentine on the canvas
- mixing equal parts vinegar and water and gently rubbing it onto the canvas
- rub using mineral spirits with a cloth
- use whatever brand-specific neutralizers are recommended on the varnish remover itself
To help further illustrate how the varnish removal process goes, here is a short helpful video to give you some pointers.
Once you have removed the varnish, you can now follow the steps mentioned above to determine if you want to sand the surface down and add gesso or completely strip all the paint layers off and start fresh. Again, this part is totally your call.
so when it comes to reusing canvas, you have lots of varying options to choose from – some simple and others a bit more involved.
What did you think of my tips for reusing old canvas? Do you have your own restoration tips? Comment below!