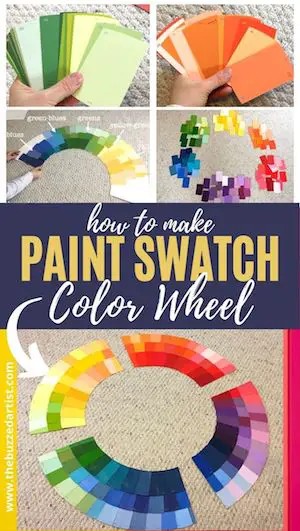
A step-by-step DIY approach to upcycling paint swatches into a colorful art statement
Don’t throw away those old paint swatches! Instead, up-cycle them to create a giant color wheel to add a pop of color to any room in your home (or to use as reference for your future paintings). You can do this by following the easy steps below:
 Step 1: Gather your primary color swatches
 Step 2: Gather your secondary color swatches
 Step 3: Arrange all your swatches
 Step 4: Create the circle base
 Step 4a: Attach 4 poster boards together
 Step 4b: Draw on two concentric circles
 Step 5: Cut out the circle sectors
 Step 6: Glue the swatches onto the circle sectors
 Step 7: Clean up the sectors
 Step 8: Attach the color wheel sectors to the wall
Making paint chip art is a much easier (and affordable) way to create colorful statement pieces – and what better way to do that than with the mother of all colors- the color wheel. Now, making this color wheel from paint swatches does involve a bit of planning and lots of patience. So let’s dive in a little deeper to find out how you can make your own.
A Deep Dive into Making a Color Wheel with Just Paint Swatches

Step 1: Gather your color swatches
Ok, the first step for this entire process is to gather all the paint swatch colors. This took me a while because I felt weird grabbing handfuls of paint swatches from the paint section at the Home Depot all at once. So instead, I spaced it out over a few months to ease my Catholic guilt lol. But of course, these swatches are indeed free, so grab as much or as little as you like.
The rule of thumb I used on the type of swatch colors to grab is this:
Grab 20-30 swatches of reds, blues, yellows, oranges, greens, and purples. That is anywhere between 120-180 individual paint swatches. No particular order or specific colors. The more varied the color tones, the better.
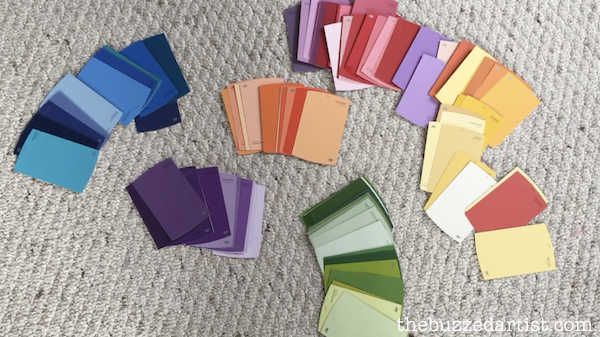
Step 2: Arrange your Primary Color Swatches
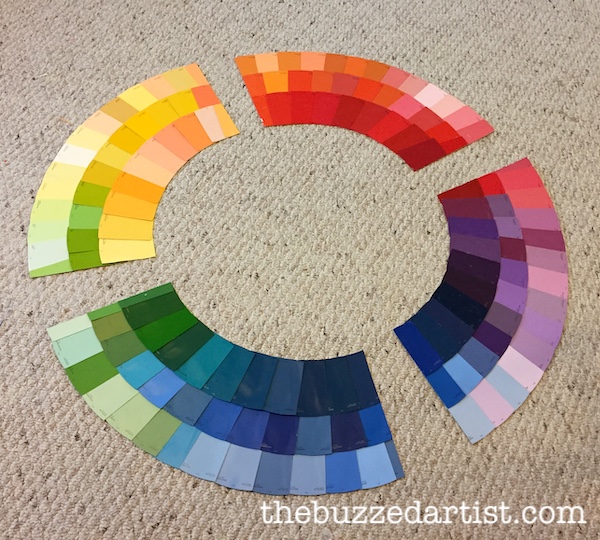
Once you have all your paint swatches ready, it’s time to quickly arrange all the colors following the circular shape of the color wheel. I used my floor to help me plan things out before I moved on.
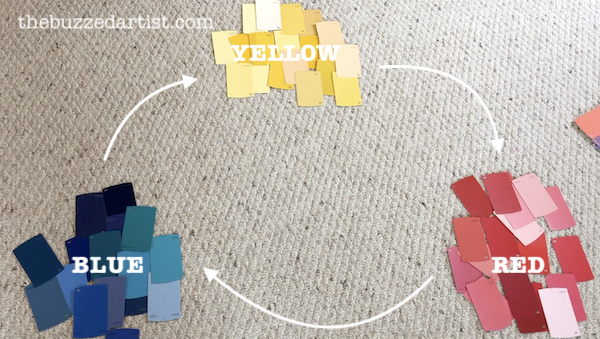
I began by first grouping together all my primary colors – reds, yellows, and blues. Arrange this color into piles leaving space in between each to allow for adding the secondary color swatch piles.
Step 3: Arrange the Secondary Color Swatches
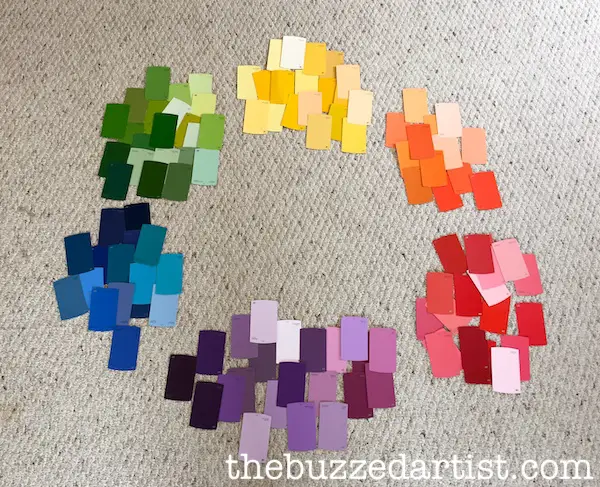
Next, add the secondary color swatches (greens, purples, and oranges), making sure to put the appropriate colors in the right spots. For example, you’ll want to place your purple piles in between the blue and red piles; green piles in between yellow and blue piles; orange piles in between red and yellow piles.
Once you have that done, you’ve successfully arranged your piles in the correct order and pattern to make your color wheel.
Step 4: Create the Circle Base
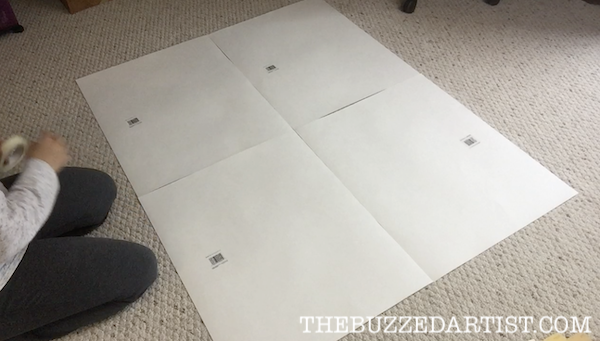
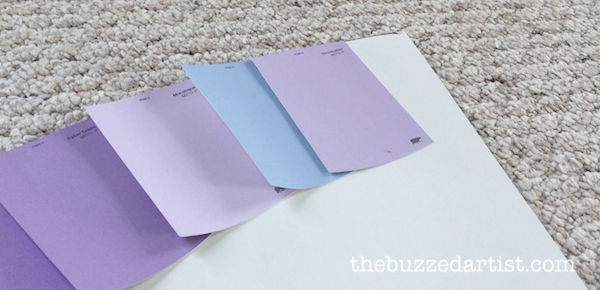
Next, it’s time to create the circular base that your color swatches will rest and glue onto. Begin by taking 4 poster boards and arrange them together to help create a larger rectangular base.
Step 4a: Attach 4 poster boards together
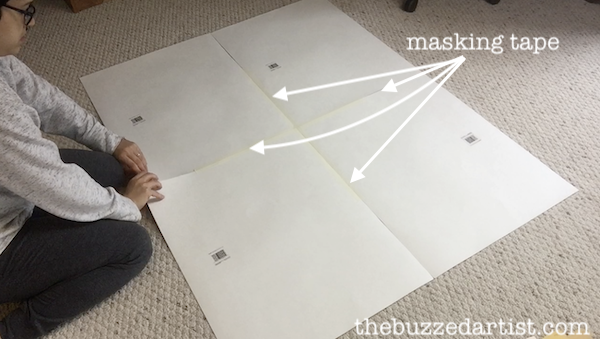
Then with masking tape, tape the connecting edges of the poster board. Then, flip the board to the other side.
Taping the boards beforehand will help keep them together while you perform the next step.
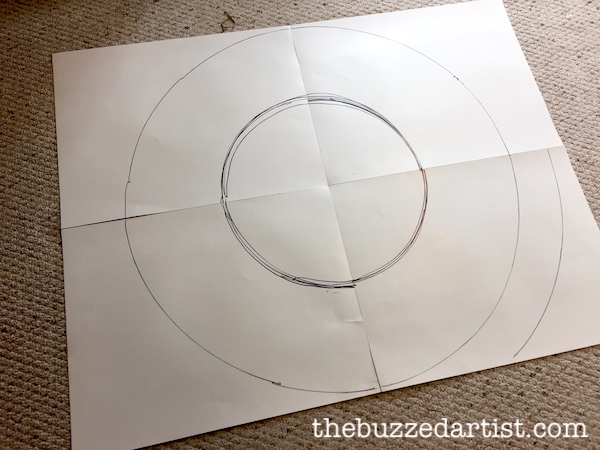
Step 4b: Draw two concentric circles
To create the circular base for the color wheel, you’ll want to draw two concentric circles with the center point at the area where all the poster boards touch. First, grab some twine and a marker and attach them together. Then measure out the shortest length of the poster board; this will be your circle radius.
Then, taking your marker-twine and placing the twine at the center point of the poster boards, hold the string down with your thumb and with your other hand holding the marker taut, draw a large circle. Take your time with this, especially when you need to readjust to make sure you keep your circle the same radius throughout.
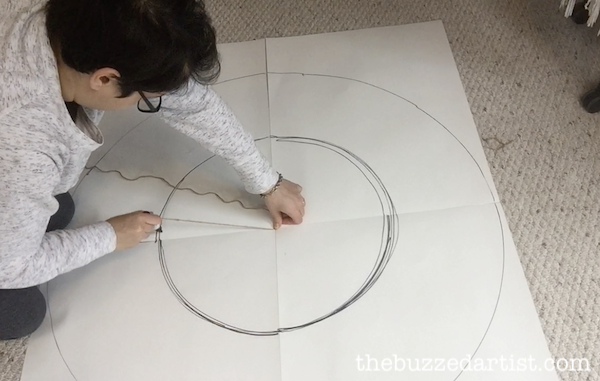
Repeat this same process for the smaller circle inside the larger circle; the only thing you’ll do differently is shortening the length of the twine to create a smaller circle radius. I brought in the twine about 6-7″ for added context.
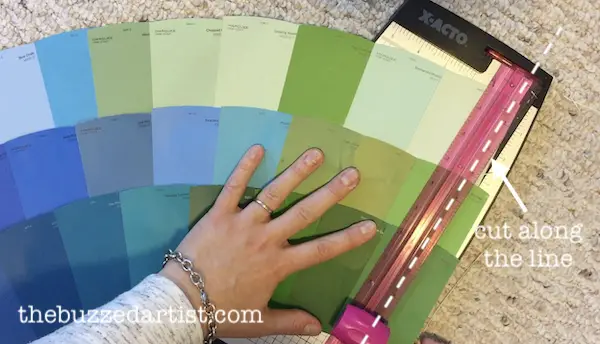
Step 5: Cut out the circle sectors
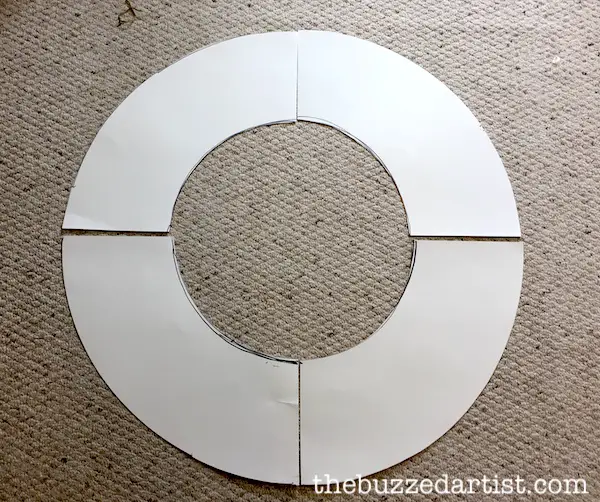
Once you have drawn both your circles, cut along the lines of the circle with scissors to help create 4 separate sectors.
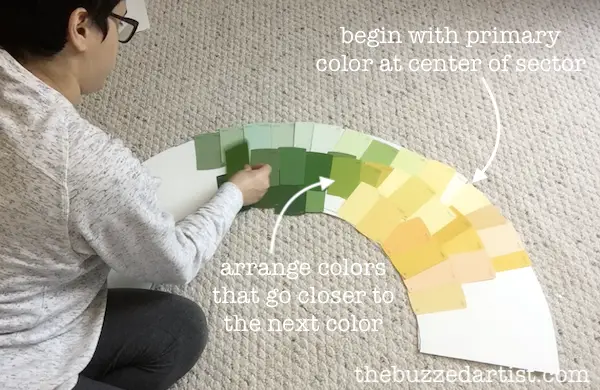
Step 6: Arrange the swatches onto the circle sectors
Now comes the fun part…and by fun, I mean some concentration and a keen eye. Starting with one circle sector, pick one primary color pile (reds, yellows or blues), and begin placing them at the center of the sector. Then, begin to place the secondary colors to the right or left. At this point, you’ll want to arrange your swatches such that the colors begin to integrate seamlessly into one another.
This means, any color that is tending towards another color will be arranged as such. For example, if I started with yellow, I would arrange my “pure” yellows at the center of the circle sectors, then any swatches that looked more green-yellow would tend to the left of the center while other swatches that looked orange-yellow would tend to the right.
I repeated this process for every single paint swatch, making sure to put the colors in the right spots. Another example is arranging the pure greens towards the center of one sector and any greens that tended towards blues would be to the left of the center, while yellow-greens tended towards the right of the center.
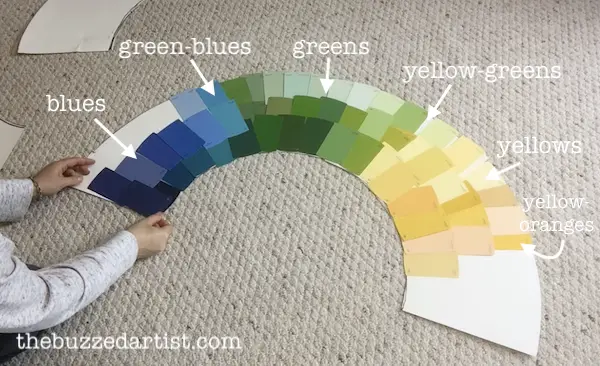
(I know this may sound confusing, but if you’re in the process of doing this, it’ll all make perfect sense. But if you still need a little guidance, just look at any old color wheel to get the idea)
Step 7: Glue on the Paint Swatches in a Consistent Pattern
Now that you’ve gone through all the trouble of arranging your paint swatches, it’s now time to glue each swatch onto the circle base. And it’s actually really satisfying!
I decided to go with a spray adhesive since it’s much quicker to apply (and I was up to here with making this project any harder).
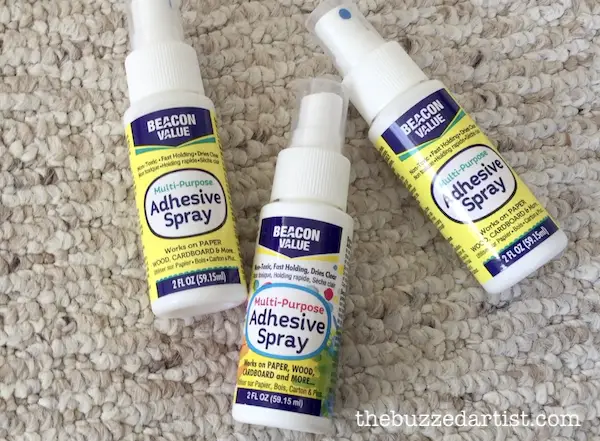
I sprayed the back of each paint swatch with adhesive and starting on one side of the sector, proceeded to arranged the swatches onto the base in a consistent overlapping pattern. This is pretty important because it really gives your final result a clean, sharper look that doesn’t scream hot garbage mess.

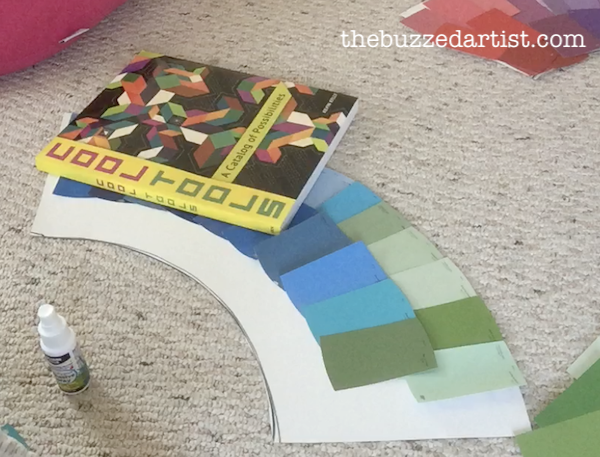
Now, because of the nature of glue, the swatches naturally wanted to curl up and warp as I was sticking them onto the base. In a flash, I quickly grabbed some large flat objects like books and binders to lay on top of freshly glued swatches to help keep them down and secure while the glue dried. Worked like a charm.
Step 8: Clean up the sectors
Now, unless you’re a robot with uber precise arrangement skills, your circle will probably have some swatches that are a tad out of place or need to be trimmed. In this case, I decided to trim the outer and inner areas of the circle with scissors and cut along the sides of the sectors to get a sharper edge.
This of course will mean the circle sectors will not actually touch or match up when placed together (which I was totally OK with).
But, if you want to make sure all your sectors match up at all the edges, forgo the side cuts (and make sure you have a row of swatches that go slightly over the sector edge to create a seamless attachment point to the adjoining sector.
Step 9: Attach the color wheel sectors to the wall
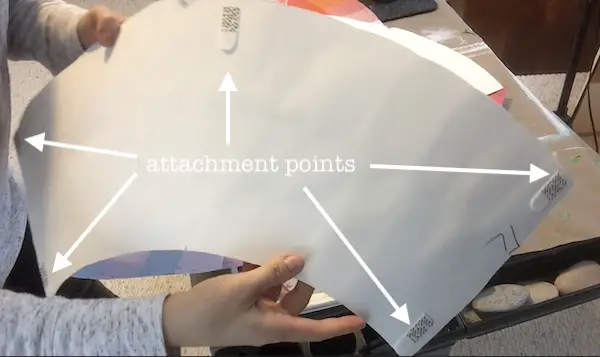
It’s now time to hang up your paint swatch color wheel masterpiece. Using 3M command strips, I added them to 5 points on the back of each circle sector; although this is overkill and totally not necessary, I wanted to make sure these suckers did NOT fall down.
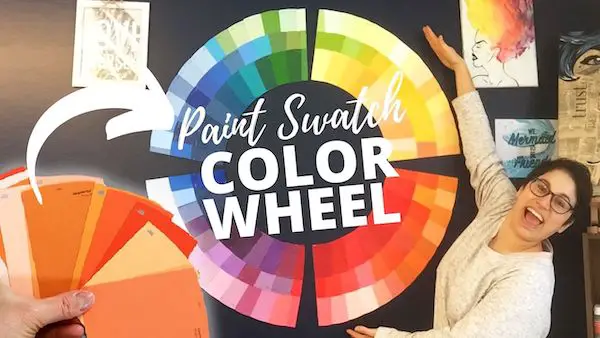
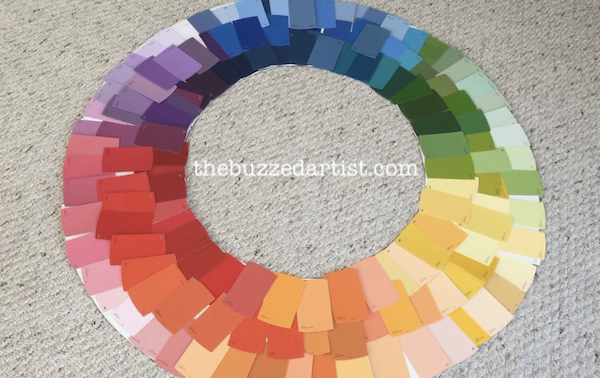
Step 10: Step back and admire your work, Queen Bee
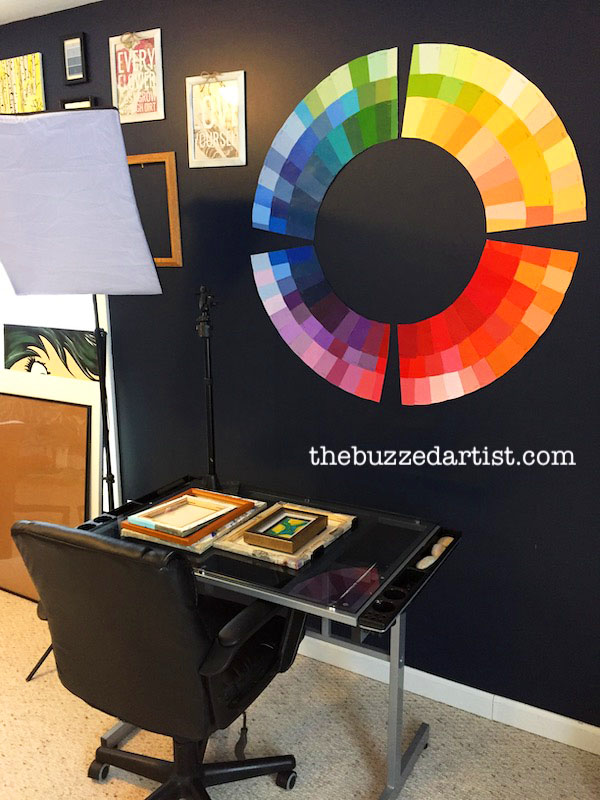
Gawd daaaahm, Queen bee. After all that work, you can finally step back and admire your paint swatch masterpiece in all its glory. I love how this adds a huge pop of color to any room in your home on such a LOW budget (I spent a total of $5 to make this!). This is definitely an up-cycle project I am proud to show off and use in my daily art shenanigans.
Related Upcycle Articles
- Upcycling Boring Thrifted Art into a Colorful Masterpiece
- Turn a Hum-Drum Notebook into a Work of Art
Make a Giant Color Wheel from Paint Swatches