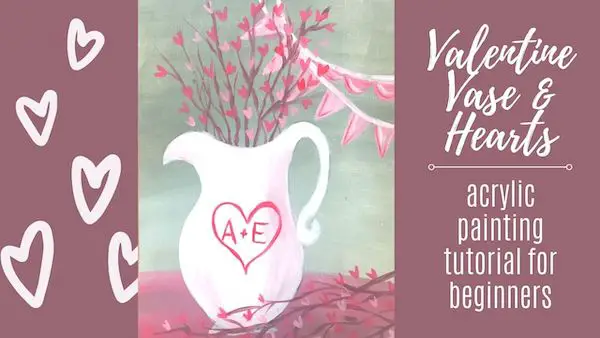
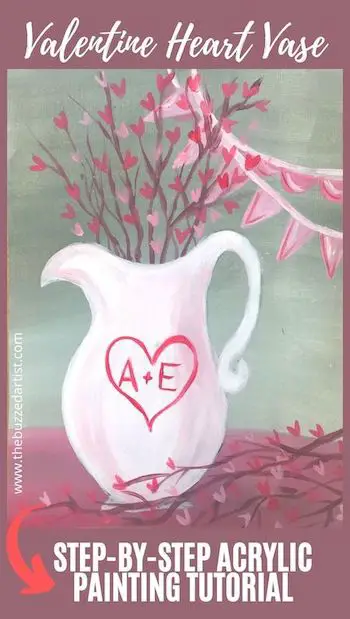
The beginner’s step-by-step guide to painting a sprigs of valentine hearts arranged in a pitcher vase using acrylic paint
Love is in the air, especially with this valentine vase and hearts acrylic painting tutorial that’ll have you swooning with delicious creativity. Plus, you’ll have a pretty dope personalized gift to give to your special someone…like your spouse, dog, or yourself.
Related: Valentine Hearts on Strings Acrylic Painting Tutorial
And don’t be intimidated by the colors or techniques. We are only using 2 colors plus white (heck yes!) and just 3 brushes. Plus, i’ll walk you step-by-step through this entire process; all you have to do is bring a winning attitude and some paint.
Some links mentioned below are affiliate links which come at NO extra cost to you, my darling Queen Bees! If you wish to support this website and send me an extra thank you, be sure to use the links below.
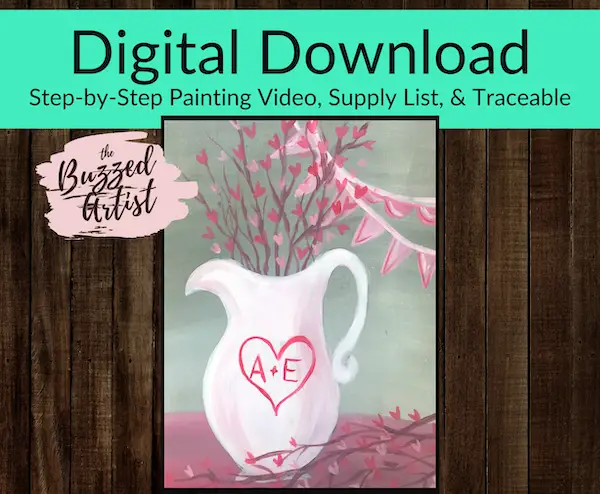
Valentine Vase & Hearts Acrylic Painting Supplies
- 9″x12″ Acrylic paper
- ART1st Tracing Pad
- Carbon Pencil
- Sketch Pencil
- Cup of water
- Table cloth
- towel
- palette paper
Brushes:
Paints:
Easy Valentine Vase & Hearts Acrylic Painting Tutorial

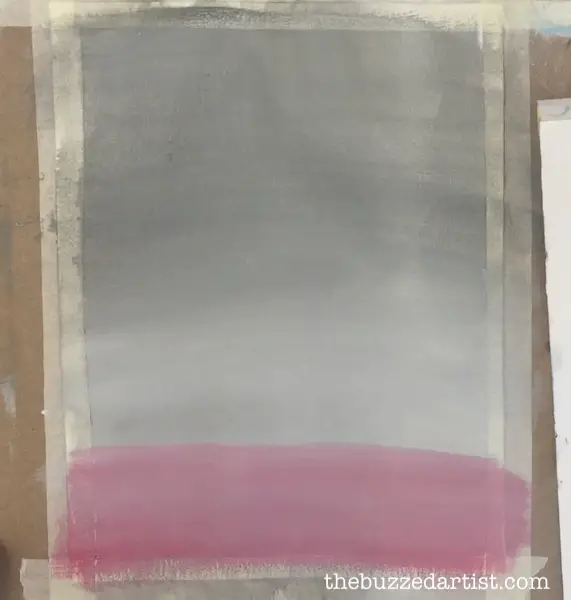
Step 1: Create the background color
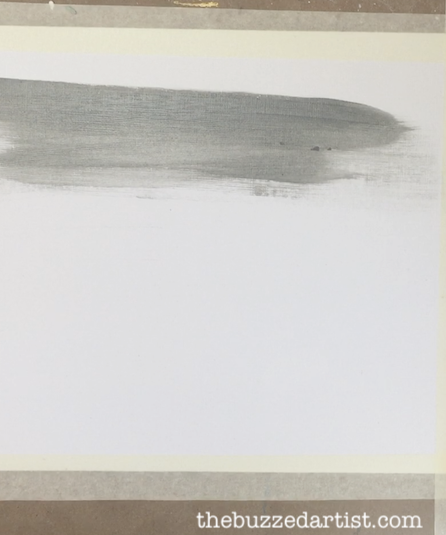
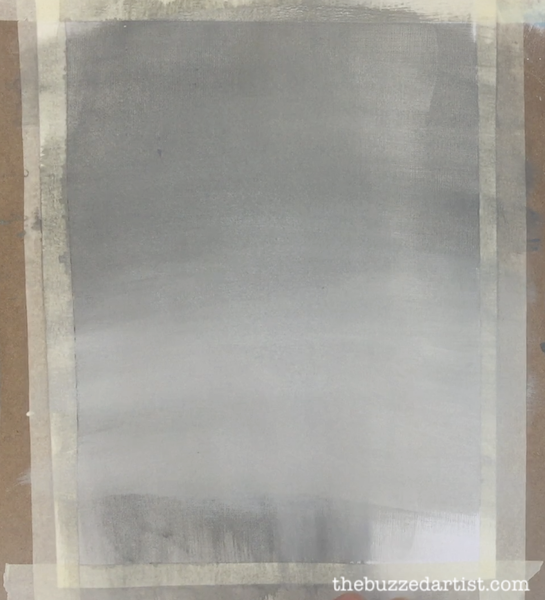
First things first, orient your canvas in portrait position (with the longest sides being vertical). Then with your 3/4″ flat wash dipped in water, load your brush with gray. Apply a series of horizontal strokes starting at the top to about half-way down the canvas.
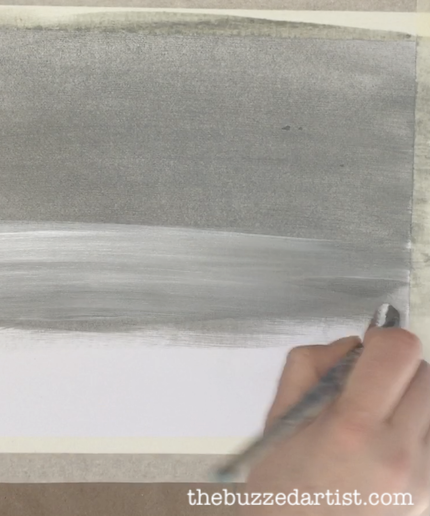
With your un-rinsed brush loaded with titanium white, start towards the middle of the canvas and blend using horizontal strokes into the gray area, making your way towards the bottom of the canvas. Repeat the strokes until you get a smooth gradual blend.
Related: How to paint smooth blends like a pro
Step 2: Paint in the Table top
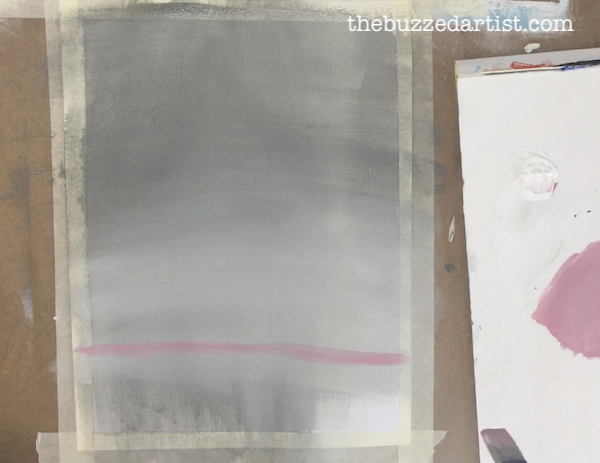
With your rinsed flat wash brush, mix red with a bit of gray and white. Using the tip about 3″ from the bottom of the canvas, create a horizontal line going from one end to the other. This will serve as the table-top.
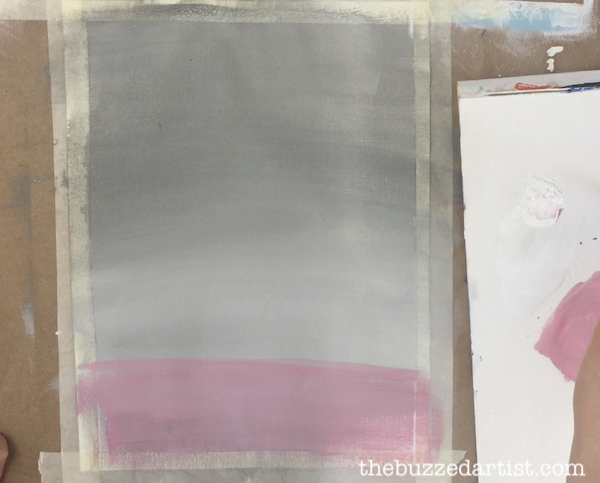
With the same brush and color, fill in the remaining area from the line to the bottom of the canvas.
For added depth, grab a tiny bit of red onto your un-rinsed flat wash and blend it using horizontal strokes onto the tabletop area. As with all blending, this works best when the previous layers are still wet, so work fast!

Step 3: Trace in the Vase Outline
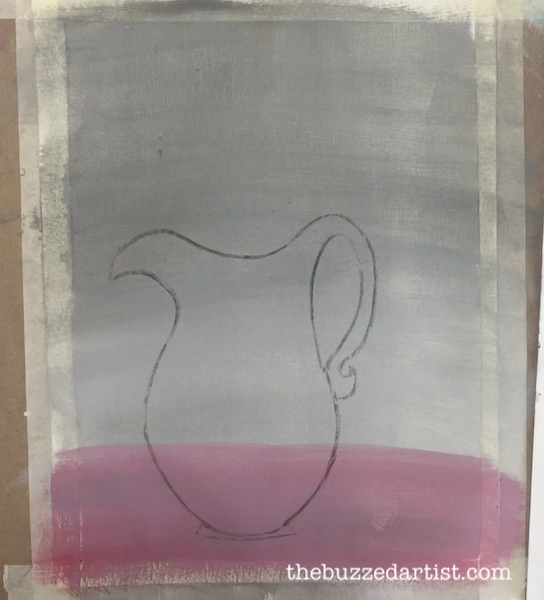
Using the vase stencil, place your vase towards the center of your canvas about 1-2″ from the bottom.
Related post: How to transfer any drawing to canvas
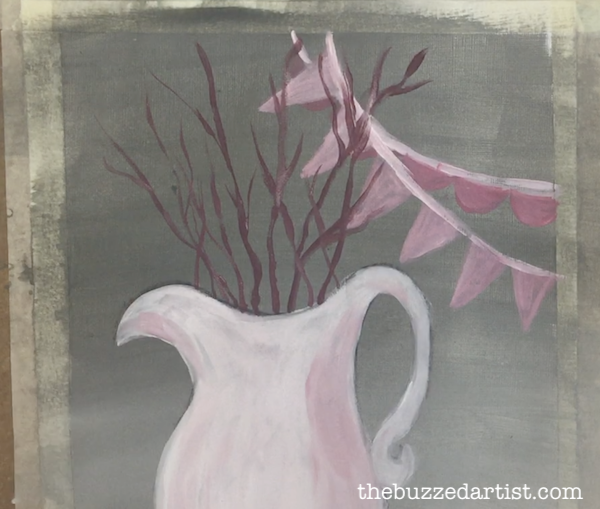
Step 4: Paint in the Flag Strings
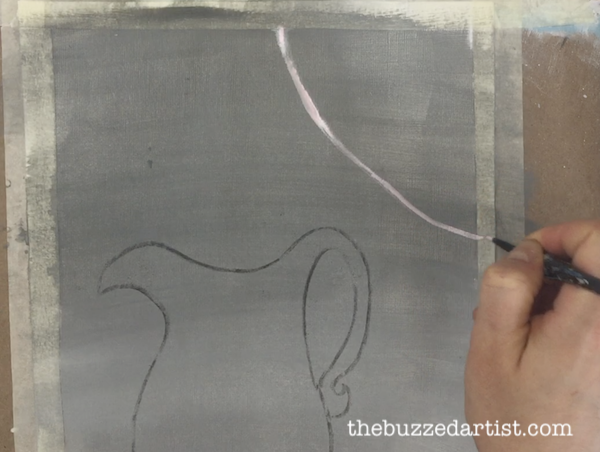
With your detail brush dipped in water, mix together white with a bit of red to get a nice pink color. Then, starting at the top middle portion of your canvas, create a curved line ending about 3-4″ down the right side of the canvas. This is the first string where the flags will rest on.
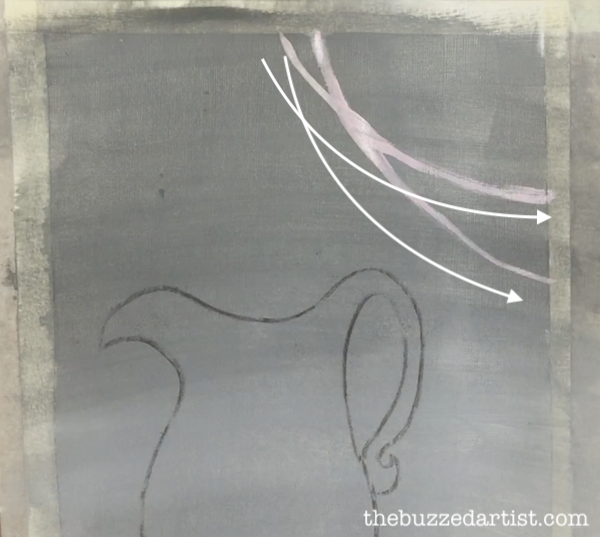
With the same brush and color, create another similar curved line, starting slightly to the left of the first string and ending an inch higher than the first string.
Step 5: Paint in the Flags
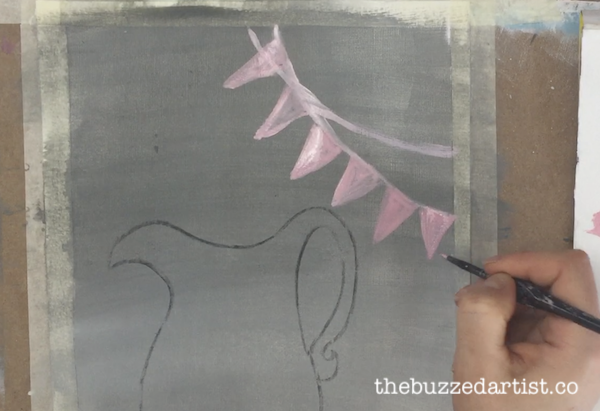
With the same color and brush, create a series of triangles with the base at the string and the pointy ends out. Make sure the pointed ends are perpendicular to the string so it looks like a flag garland.
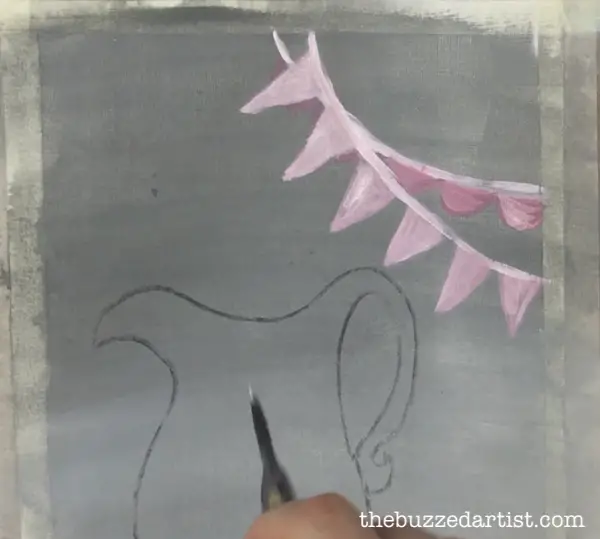
With the same brush mixed with a bit more red and a touch of white, add another set of rounded flags on the second string.
Step 6: Paint in the Vase
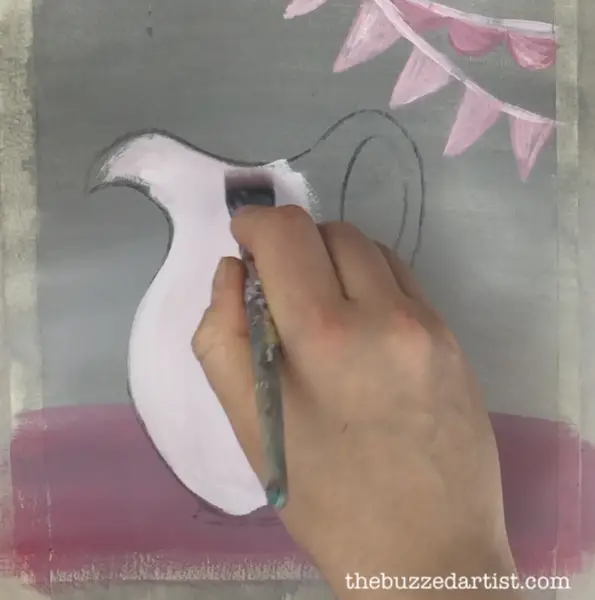
With your flat wash brush mixed primarily with white and a tad of red, paint in the large areas of your vase.
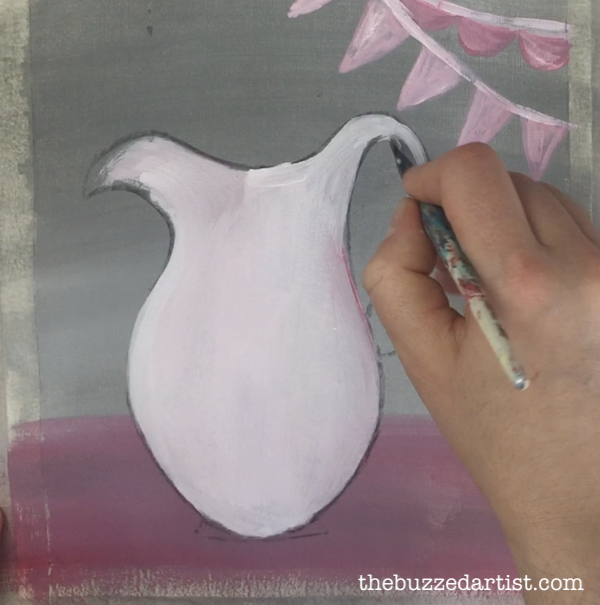
Using the same color with your shader brush, add the vase color to the smaller areas like the handle and spout.
Step 7: Paint in Vase Bottom

Continue with your shader brush to fill in the bottom of the vase to create a flattened area with the two sides tapered in towards the body.
Step 8: Add Shadow to the Vase
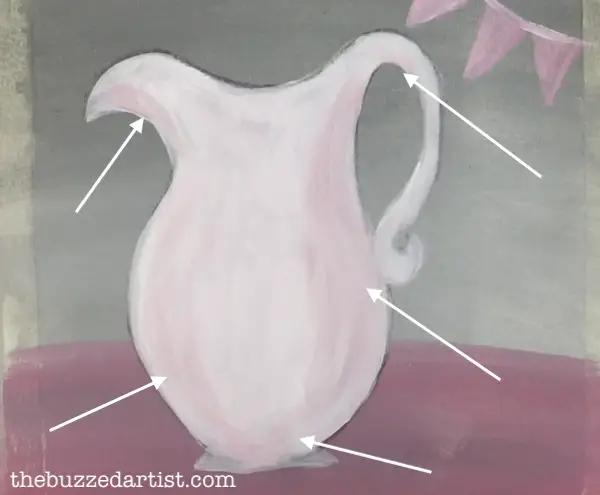
With your un-rinsed shader brush mixed with white and a tiny bit of red and gray, lightly paint the shadows of the vase, making sure to concentrate the strokes on the rightmost side of the vase body, under the handle and spout, as well as the vase bottom.
Step 9: Paint the Twig Sprigs

To make your sprigs, take your detail brush dipped in red and gray, and create a line from the top opening of the vase towards the top of the canvas. This will be your first of many sprigs (and don’t worry about making it perfect or straight! Imperfection is always encouraged!)
Also, be sure to leave a bit of room at the top of the canvas for adding your hearts in a later step.

Next, it’s time to add the branches from the main body of the sprig. Simply create a series of lines with your detail brush coming out of the main line, making sure to form the letter “Y” to make more convincing branches.
Repeat this same process to make more sprigs. Have fun with this process and feel free to overlap the sprigs over one another to appear more organic.
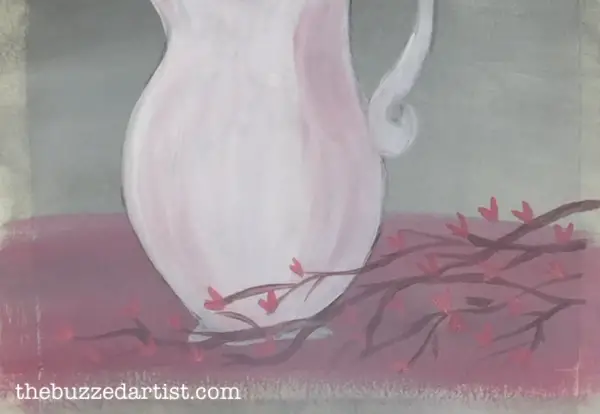
Step 10: Paint the Side Sprigs
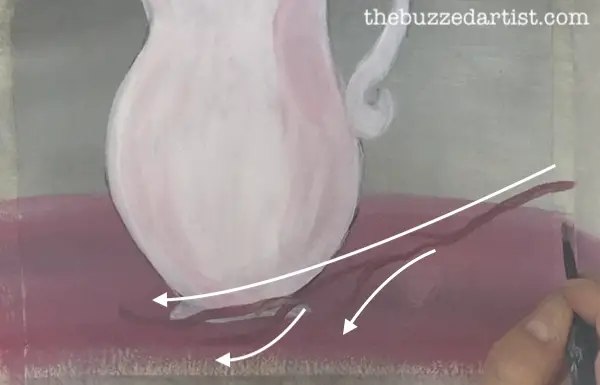
Using the same brush and color, use the same technique for making sprigs from the previous step, but instead orienting the main body line sideways to appear like the sprigs are lying on the table. Follow the same “Y” technique making sure the lines are oriented sideways as well.
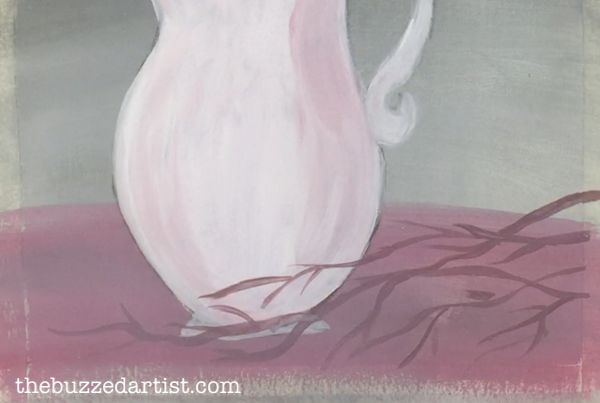
Repeat this technique to create additional sprigs on the table, being sure to overlap the lines (and don’t be afraid to paint some in front of the vase too!).
Step 11: Paint the Valentine Hearts
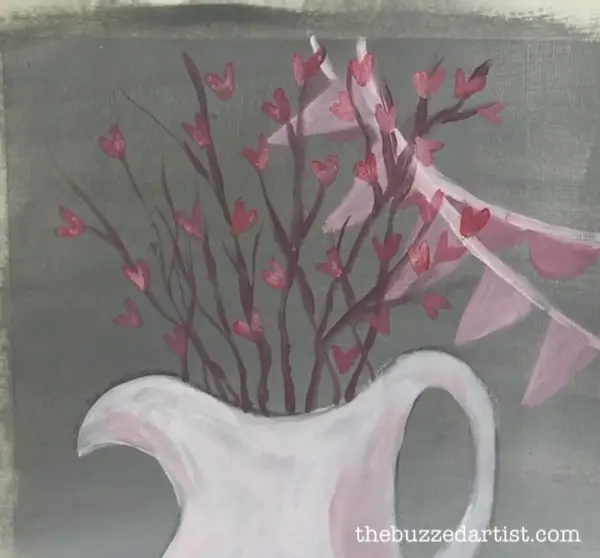
With your rinsed detail brush mixed with red and a hint of white, create a series of little hearts that are attached throughout the sprigs. A quick and easy way to create hearts is to paint a “V” shape, which is perfect for making lots of little hearts.
Be sure to orient these hearts facing up, to the side as well as a few that are upside-down (because, why the hell not!?)
Repeat this same heart painting process to the table sprigs, making sure to orient the hearts differently for more authentic look.
Step 12: Paint in Lighter-Colored Hearts
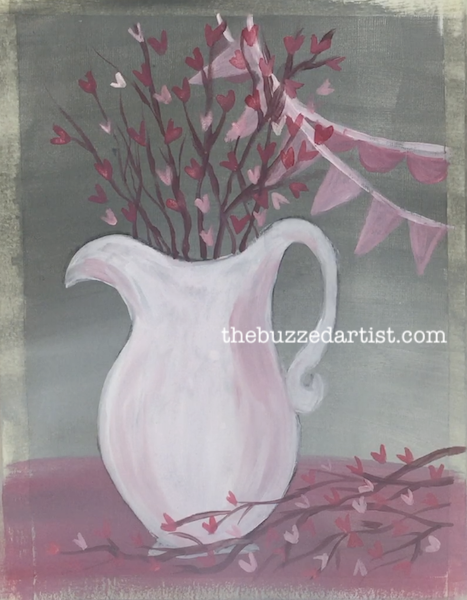
Create another color of hearts (pink + white) throughout all the sprigs to create more interest.
Step 13: Add a Custom Message to the Vase
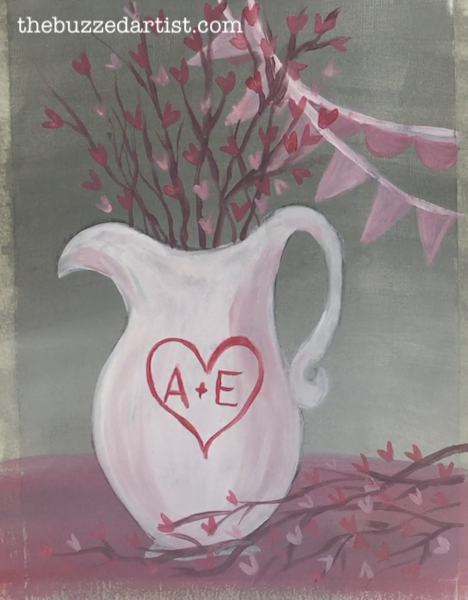
With your detail brush dipped in red, add a cute customized message to the vase face. In this case, I added a heart and initials on the inside, but you can choose to do whatever your little soul desires.
Step 14: Add Embellishments to the Flags
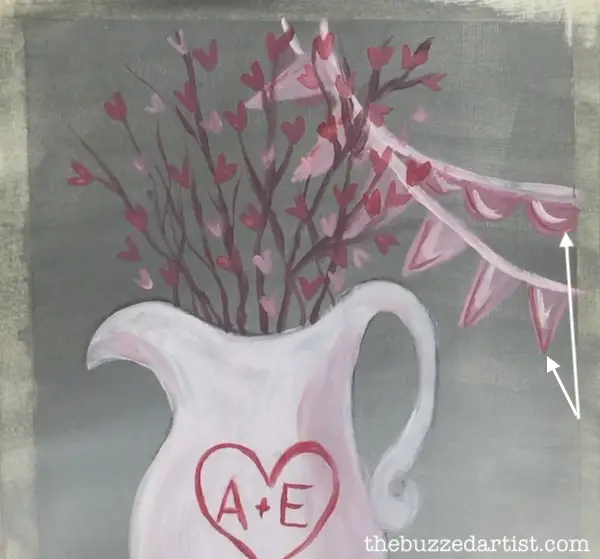
With your detail brush dipped in the same red color, add a few embellishment lines outlining the flag shapes. Then, with a mix of white and a bit of red, add another set of lines within the flags, imitating their shape.
Step 15: Step back and Admire your Work, Queen
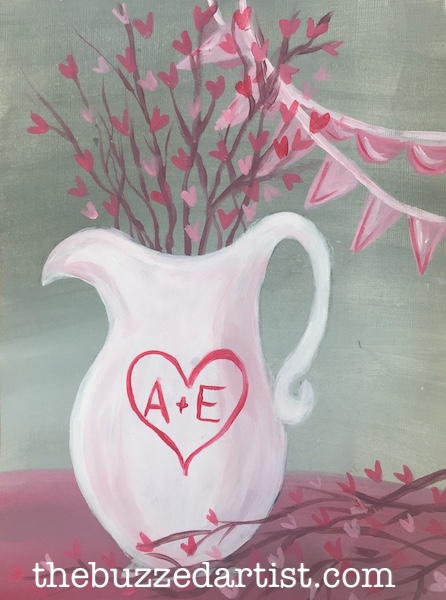
and there you have it, a cute Valentine-themed vase filled with beautiful heart sprig arrangement, ready to capture hearts, fill the soul with love, and revel in the joy of affection.