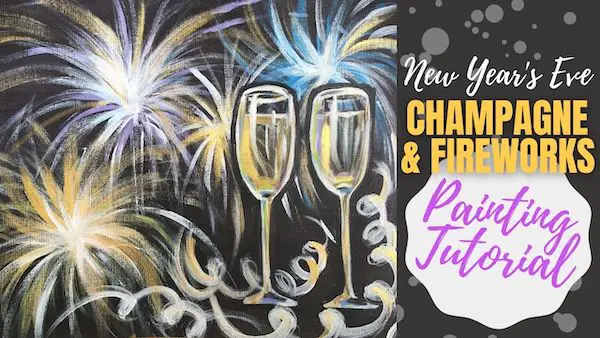
The beginner’s step-by-step guide to painting a New Year’s Eve scene with Champagne & Fireworks using acrylic paint
Well, 2020 was….quite a year, to say the very least. woof.
But what is so exciting about the end of the year is the promise and hope of the new one- filled with possibility, new dreams, and toilet paper a-plenty (finger’s crossed).
And the only way to welcome in the new year is to say goodbye to the previous “dumpster fire” year – and a great way to do that is by harnessing our creativity, whipping out the acrylic paint, and slapping that brush faster than the production schedule of Hallmark Christmas movies.
So in this post and video tutorial, you’ll learn how to paint a dynamic, colorful scene filled with sparkly fireworks and champagne glasses, filled to the brim with liquid courage to toast in the new year. Let’s get to it!
Some links mentioned below are affiliate links which come at NO extra cost to you, my darling Queen Bees! If you wish to support this channel and send me an extra thank you, be sure to use the links above!

Champagne & Fireworks New Year’s Eve Acrylic Painting Supplies
- Multi-media paper
- ART1st Tracing Pad
- Carbon Pencil
- Sketch Pencil
- Cup of water
- Table cloth
- towel
- palette paper
Brushes:
Paints:
- Ultramarine Blue Acrylic Paint
- Titanium White Acrylic Paint
- Mars Black
- Raw Sienna Acrylic Paint
- Dioxazine Purple Acrylic Paint
- Lime Green Acrylic Paint
- Gold Metallic Acrylic Paint
Easy New Year’s Eve Acrylic Painting Tutorial

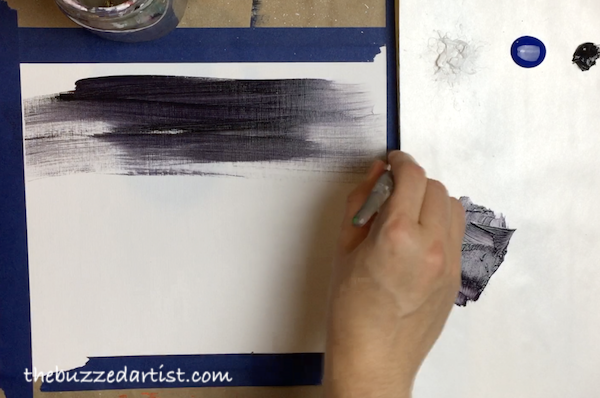
Step 1: Paint the Background
To begin, let’s start with the background. Take your flat wash brush, dip in water, and mix equal parts black and purple. Then using broad horizontal lines, paint the entire surface of your canvas.
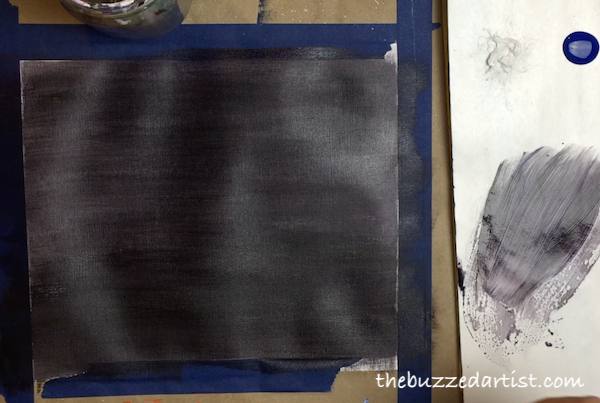
Once you finish your background, give your flat wash brush a lovely rinse and put it aside.
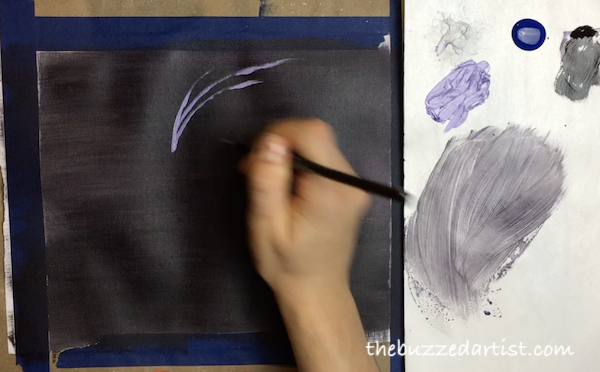
Step 2: Paint the First Firework
Now, it’s time to have some fun with fireworks 🙂 With your detail round brush, dip it in water and mix together equal parts purple and white. Load the color to your brush and pick the first location of your firework. I decided to place my first firework about 5-6″ from the left and top side of the canvas. Firstly, start by making a dot and using your palm as a pivot, create your first 4″ curved line emanating from the dot.
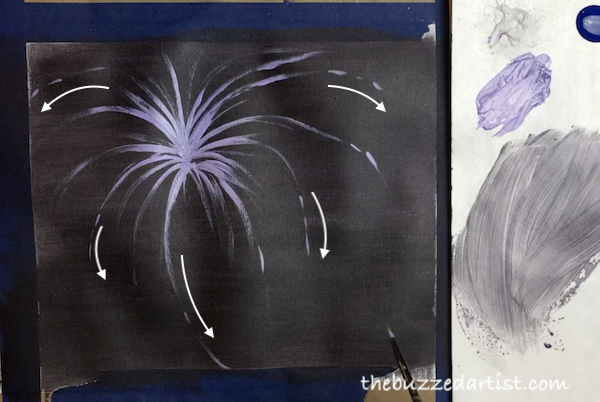
Once you have your first curved line, repeat creating the lines, making sure to always start at the same origin point as the other lines. Keep repeating these lines, going all around the dot and varying the line lengths as you do so.
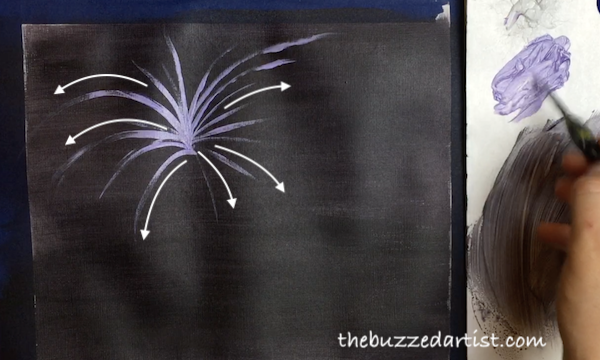
As an extra flair, add several dotted lines continuing at some of the line ends. Be sure the dotted lines follow the same curves as the lines they are coming out of.

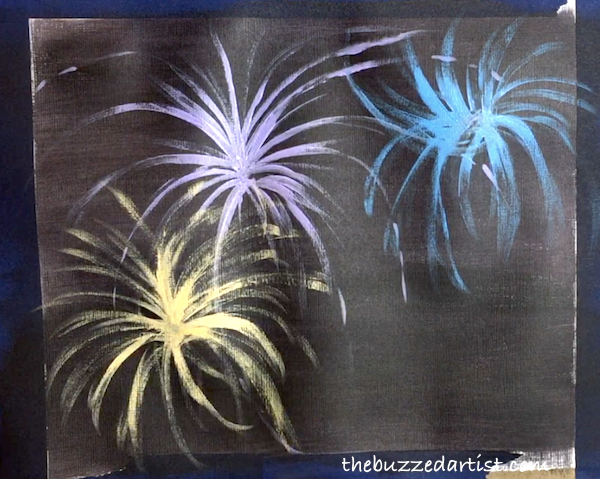
Step 3: Paint the Other 3 Fireworks
Once you have made your first firework color, you simply choose another color and repeat the same process for creating more fireworks. In this case, I decided to create a yellow and blue firework.
For the yellow firework, mix raw sienna with titanium white and load your rinsed detail brush. Place your second firework about 3-4″ from the bottom left of the canvas. For the blue firework, mix blue and white and load your rinsed detail brush and proceed to add it to the upper right portion of your canvas.
Add your fourth firework using just white this time with your rinsed detail brush. Simply repeat the same painting process to set your sparkler scene.
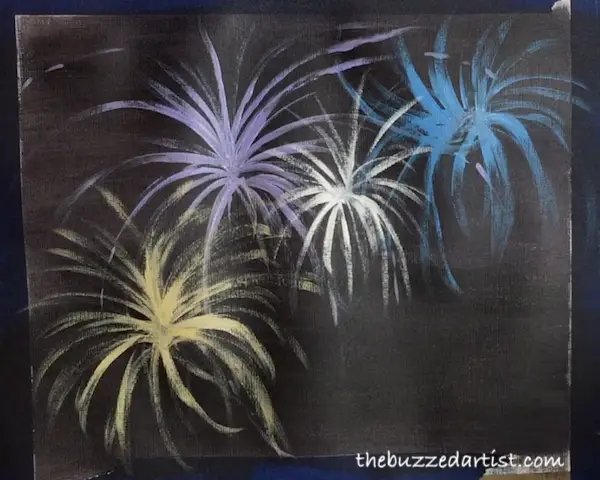
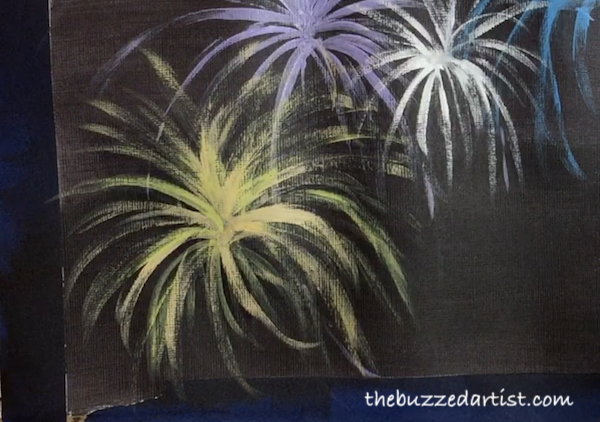
Step 4: Add Color Embellishment to Firework
For added color and depth, load your rinsed detail brush with green and add several lines to your raw sienna color firework, making sure to repeat the same brush strokes as you go.
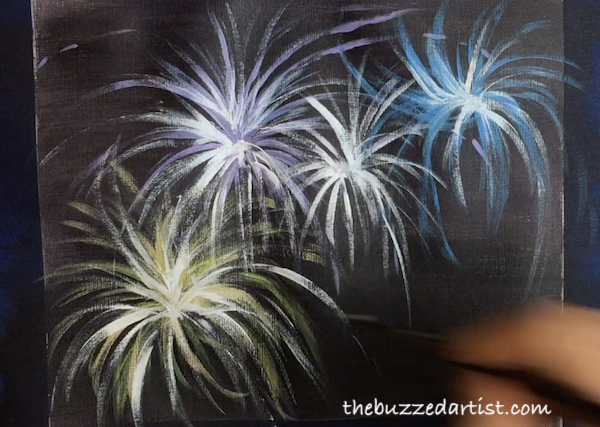
Step 5: Add Firework Highlights
Now this is where your fireworks will begin to get that “spark”. With your rinsed detail brush, load it with white and on the inside of your firework, create similar curved lines circling the same center. As always, be sure to vary the line sizes as you go.
Step 6: Paint the Champagne Glass Outline
Now it’s time to paint in the champagne glasses! Using your detail brush loaded with white (and dipped with water), paint the outline of your champagne glass around the rightmost area of your canvas.

Step 7: Paint Liquid Outline Inside Glass
With your #8 round brush, dip it in water and load it with raw sienna. Proceed to paint the inner outline of the glass as well as the glass stem and the left portion of the glass foot.
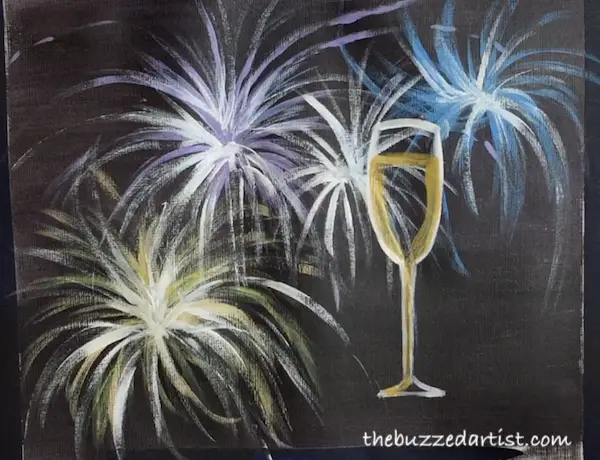
With the same brush, make sure to tap any remaining paint on your towel and dip your brush back in water (but do not reload with paint!). With your wet brush, pull the raw sienna color layer towards the middle of the glass, thereby thinning the layer to make it appear more transparent. You don’t necessarily have to fill in the entire middle portion of the glass, just enough to show there is liquid inside.
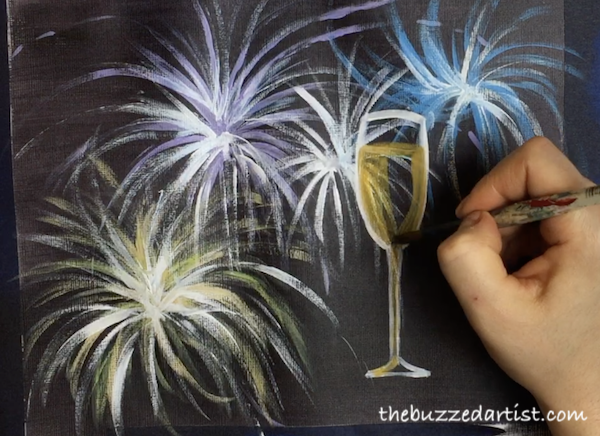
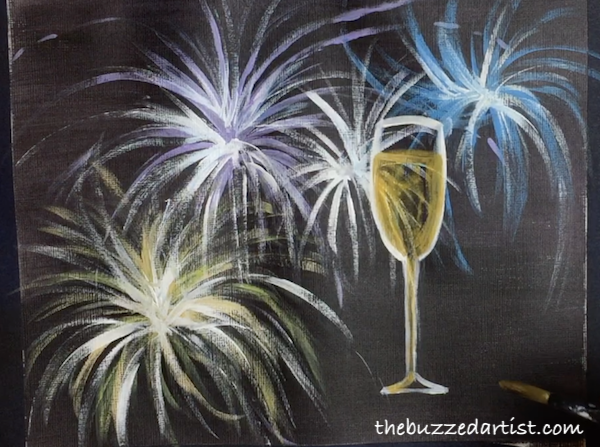
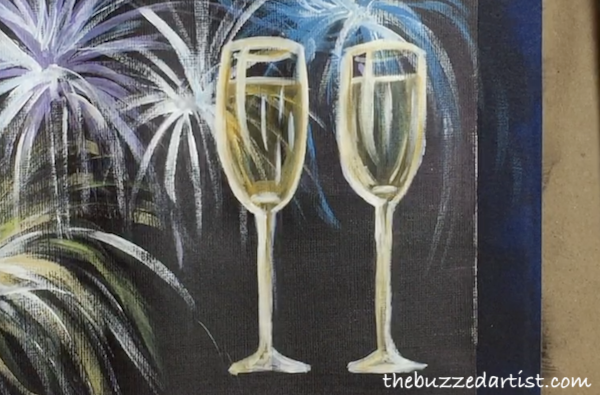
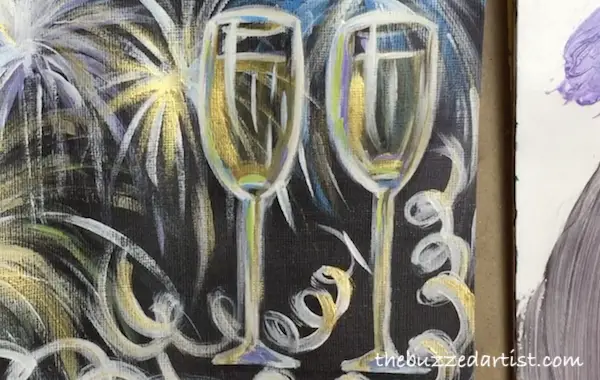
Step 8: Paint Glass Highlight
With your rinsed detail round brush dipped in white and a tiny dash of raw sienna, add several vertical curved lines on the glass to imitate the reflective surface. Be sure to make one defining highlight stroke (shown on the left portion of the glass) and be sure every highlight follows the respective curve of the glass.
In case you want a point of reference when painting in your champagne glass, here is one helpful reference image I found.
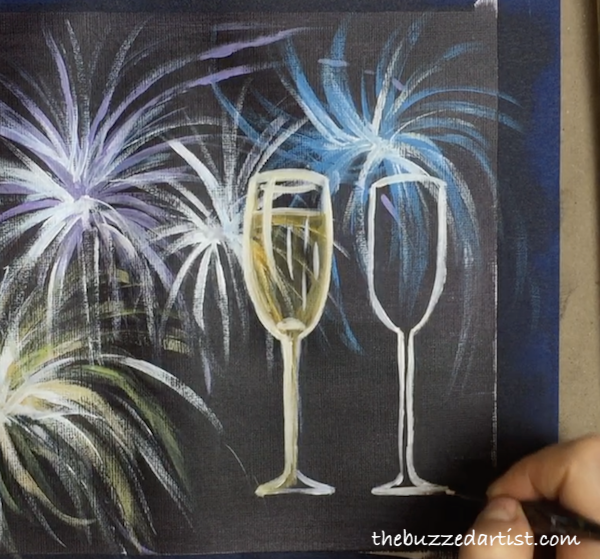
Step 9: Paint Second Glass Outline & Repeat
With your rinsed detail brush loaded with white, add a second champagne glass about 2-3″ to the right of the first glass. Simply repeat the same steps as before to paint in the glass outline, champagne liquid and reflective highlights.
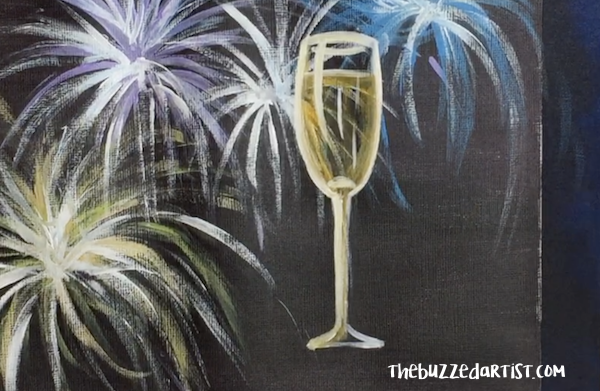
Step 10: Paint Black Glass Shadows
The interesting thing about glass is how it reflects a lot of the colors around it. So we’re going to start adding layers starting with black and your rinsed detail brush. Add small detail lines at the glass edge, at the neck, stem, and the lip, making sure to keep light pressure on your brush.

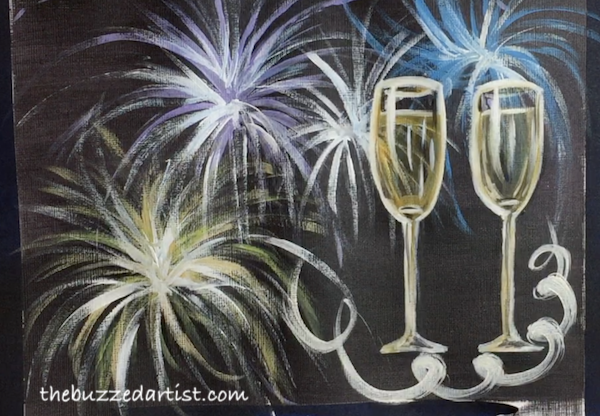
Step 11: Paint Curled Ribbons
With your rinsed #8 round brush dipped in white, make a set of curly lines on the rightmost bottom portion of the canvas to represent the curling ribbon. Repeat this process as much as you like to add more ribbon in the scene.
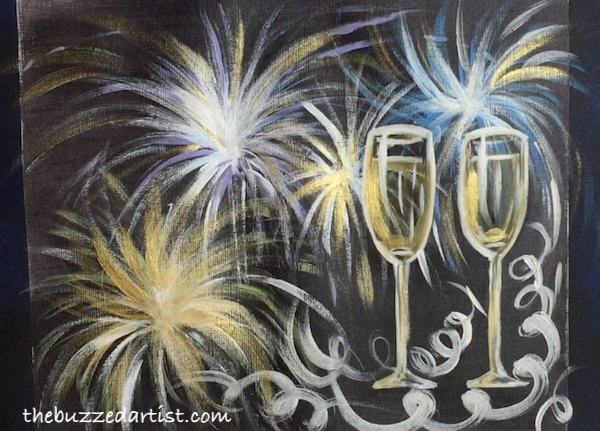
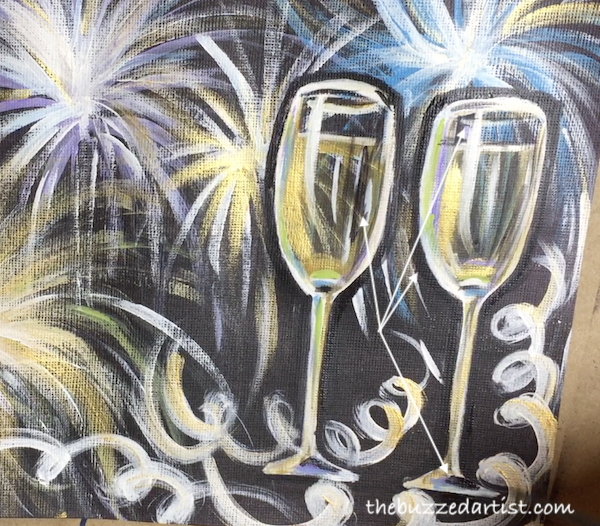
Step 12: Add Gold Paint Embellishments (optional)
I am a bit obsessed with gold metallic paint lately, and a New Year’s Eve scene is just the perfect time to add that shimmer shimmer. Using your rinsed #8 round brush dipped in gold paint, add several light strokes around each firework as well as a few strokes on the left edges of the champagne glass and stems.
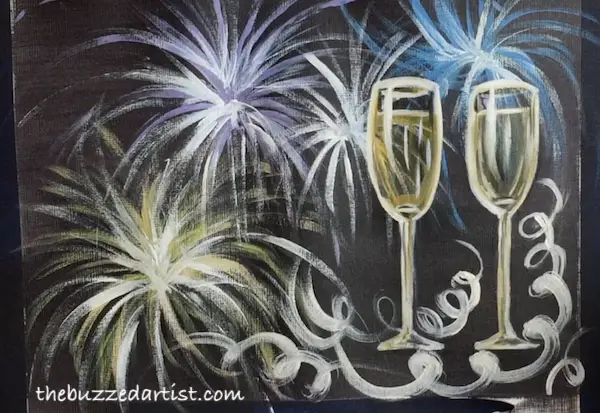
Step 13: Add White Layer to Fireworks
With your rinsed detail brush loaded with white, add back the white highlights of the fireworks and champagne glasses.
Step 14: Add Bits of Firework Colors to Glass
Like we mentioned before, glass has a funny way of showing all the colors in the scene on itself. So with the colors of the fireworks (light purple, blue, and green), add tiny strokes on the glass outline, lip, stem, and foot.
Step 15: Paint Black Outline Around Glass
With your rinsed detail brush loaded with black, add an outline around each of the champagne glasses to provide a sharp contrast to the colorful background. You can also add a few tiny lines at the lip and foot for additional detail.
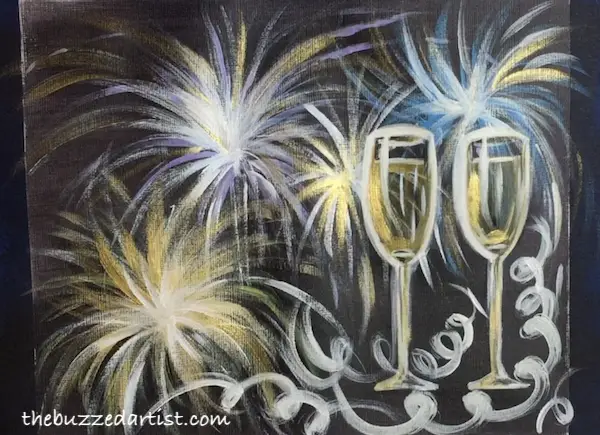
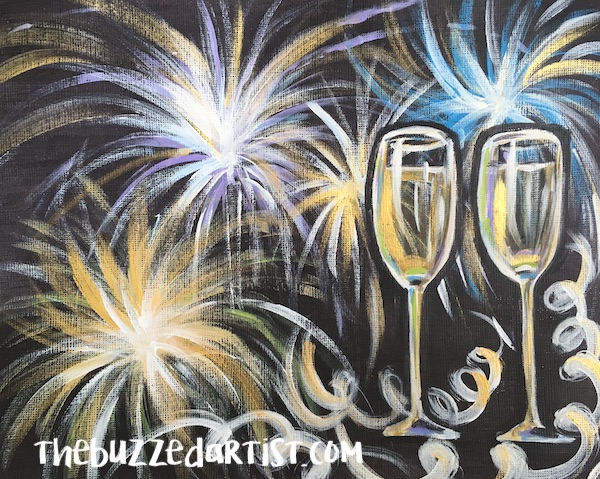
Step 16: Step Back and Admire your Work, Queen
And there you have it, a colorful, shimmery, action-packed scene resplendent with fireworks and champagne to hail in the new year and say goodbye to the old.
Related Holiday Acrylic Painting Tutorials
- GingerBread Acrylic Painting Tutorial
- Pop Art Nutcracker Painting Tutorial
- Easy Snowy Christmas Tree Acrylic Painting Tutorial