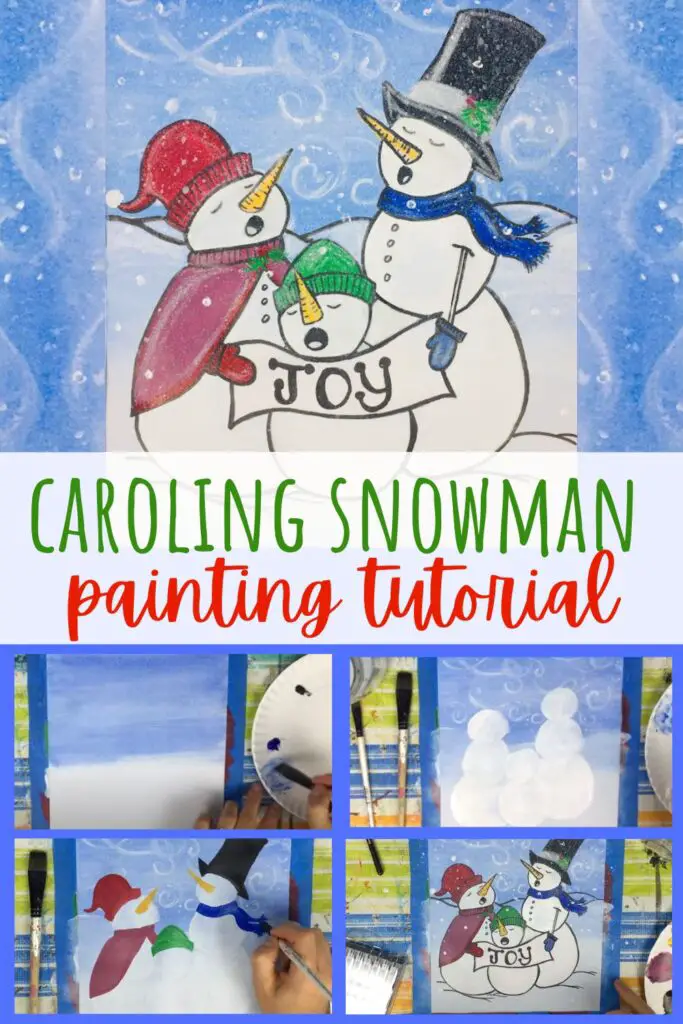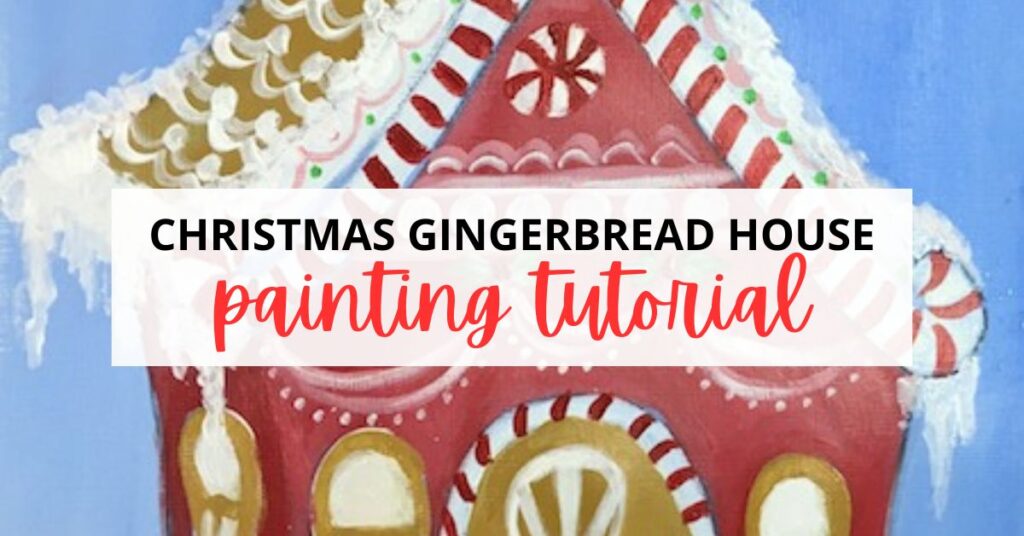
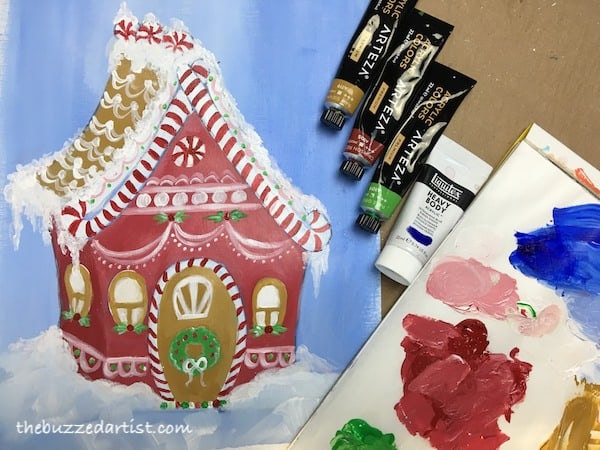
The beginner’s step-by-step guide to painting a decorative gingerbread house using acrylic paint.
Christmas is just around the corner and if there is one thing my taste buds cannot go without, it’s gingerbread! I freakin’ love gingerbread anything – cookies, snaps, spices…and most of all – GINGERBREAD HOUSES. I was the weird kid that LOVED to snarf down the gingerbread house after it’s been sitting on the counter for a few days like a rabid raccoon on Thanksgiving night.
(The dried icing and slightly stale cookie taste just did it for me for some odd, god-forsaken reason)
So I knew this was the perfect opportunity to paint a cute, decorative gingerbread house and show you how you can do it too.
In this video and post, you’ll learn how to create your very own delicious Christmas Gingerbread house to decorate your home for the holidays. Follow along with this easy step-by-step acrylic painting tutorial for beginners 🙂
Some links mentioned below are affiliate links which come at NO extra cost to you, my darling Queen Bees! If you wish to support this channel and send me an extra thank you, be sure to use the links above!
👉 Want to host a paint party with this tutorial? Here is exactly how you can set up a fun DIY paint party at home.
Ginger Bread House Acrylic Painting Supplies
- Multi-media paper
- tracing paper
- carbon paper
- Cup of water
- Table cloth
- towel
Brushes:
Paints:
- Ultramarine Blue Acrylic Paint
- Titanium White Acrylic Paint
- Crimson Red Acrylic Paint
- Pale Green Acrylic Paint
- Burnt Sienna Acrylic Paint
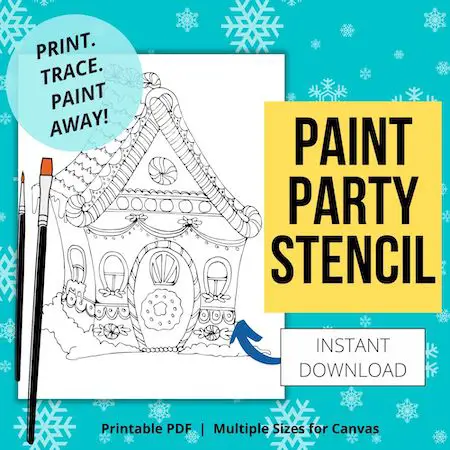
Want Gingerbread House Stencil?
If you want the stencil that goes along with this tutorial, just click here to get it.
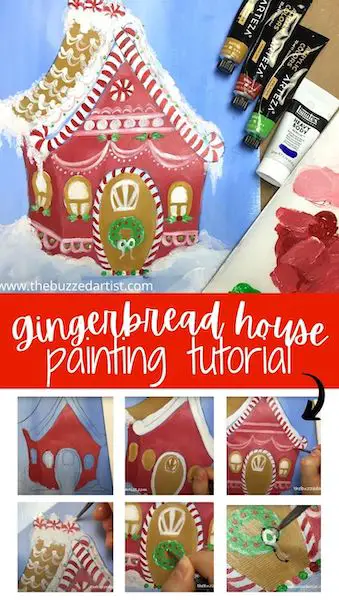
Easy GingerBread House Painting Tutorial
Follow these step-by-step instructions or full length video on how to paint your very own cute and customizable gingerbread house.
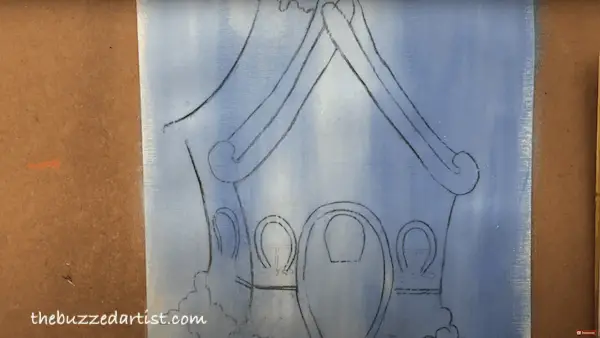
Step 1: Paint in the Background
With your flat wash brush, mix equal parts blue and white and apply broad vertical strokes onto your canvas.
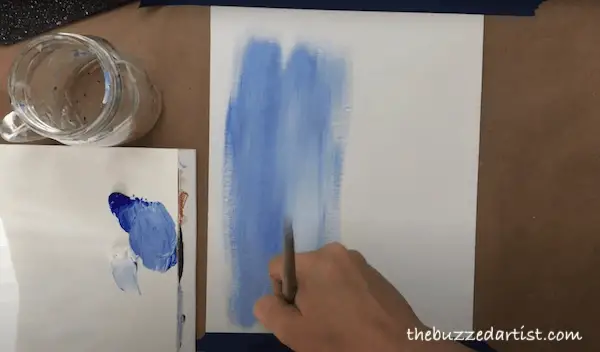
As you are applying strokes, vary the amount of blue and white you paint onto your canvas. This will help create a blended background that looks like a wintery faded “wash”.


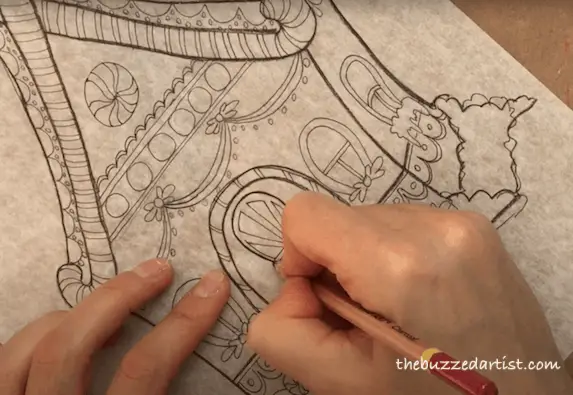
Step 2: Trace the Gingerbread Stencil onto the Background
Once your background has dried, take your gingerbread house stencil and using a carbon pencil, trace the stencil lines you want to have transferred. Turn the paper over onto your canvas and with a pencil, rub the areas of the paper you went over with the charcoal pencil. This will help transfer the carbon to the canvas.
Related: How to easily transfer any drawing to a canvas
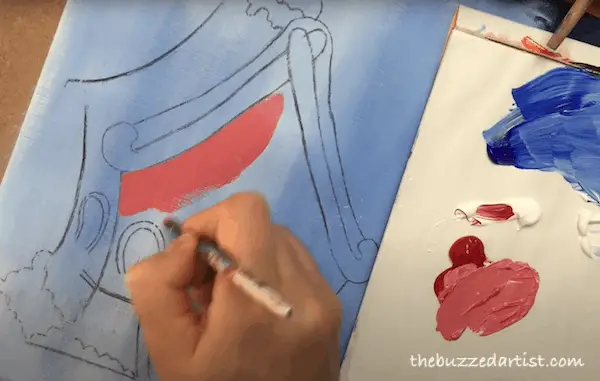
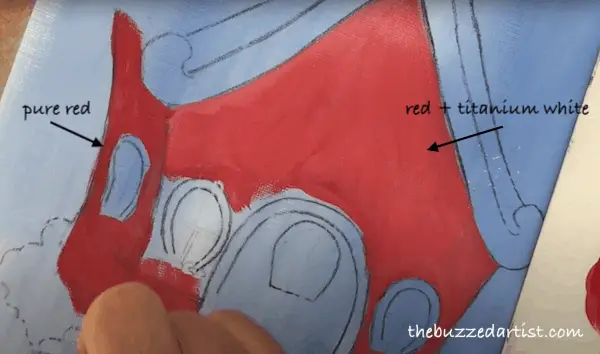
Step 3: Paint in the House Base Color
Mix equal parts red and white and using a shader brush, paint in the front portion of the gingerbread house. For the side of the house, simply take your brush (unrinsed) and add more red to it. This creates a darker shade of red to show depth and dimension to the painting.
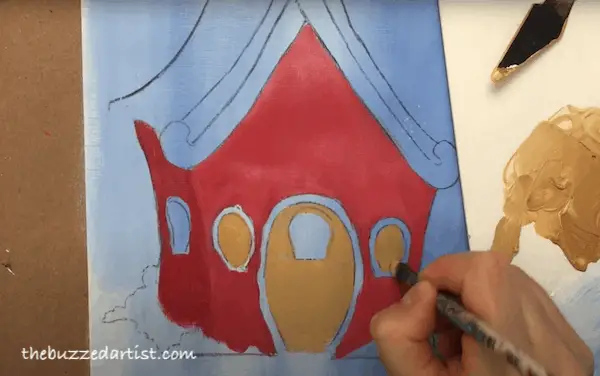
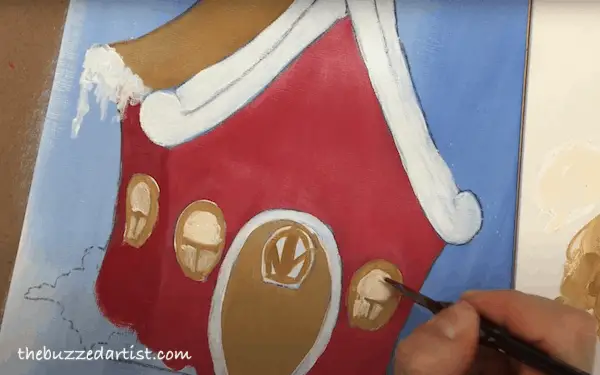
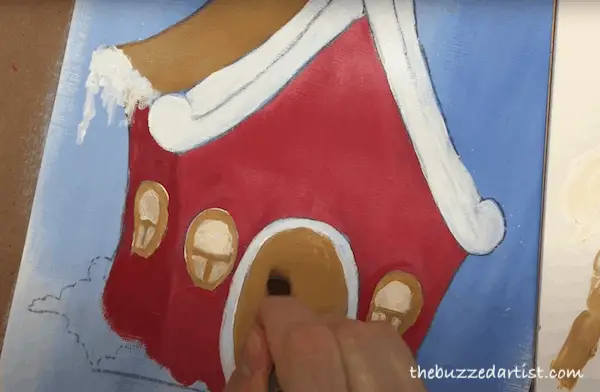
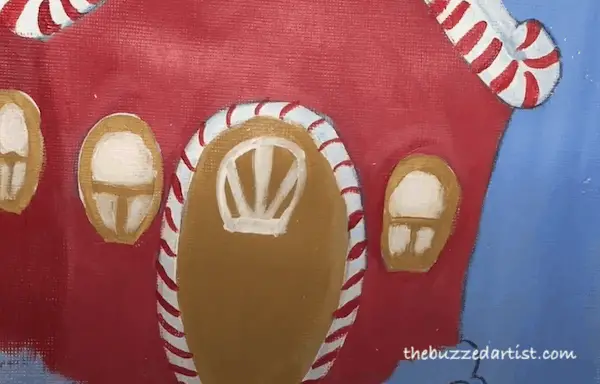
Step 4: Paint in the Door and Windows
Mix raw sienna with a bit of white and using your rinsed shader brush, fill in the doors and all the windows.
(note: at first, I left out the window trims and the door window, but later filled it in with raw sienna. If you want to paint or color in things differently, you are more than welcome to do so)
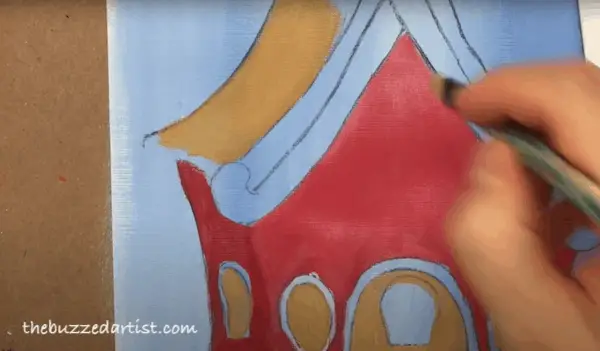
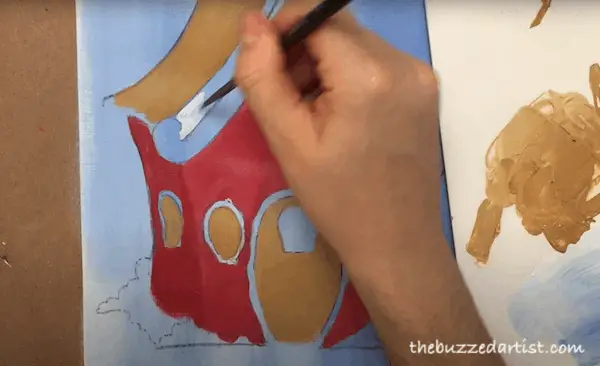
Continue to add more raw sienna to the side of the gingerbread house roof.
Step 5: Paint in the Roof Lines
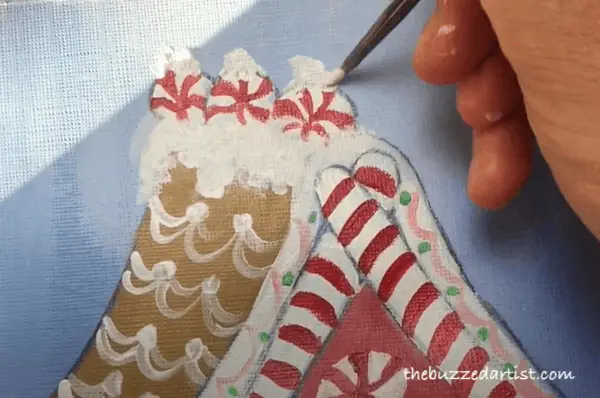
Take a detailed round brush and using titanium white, begin to add white to the front roof lines.
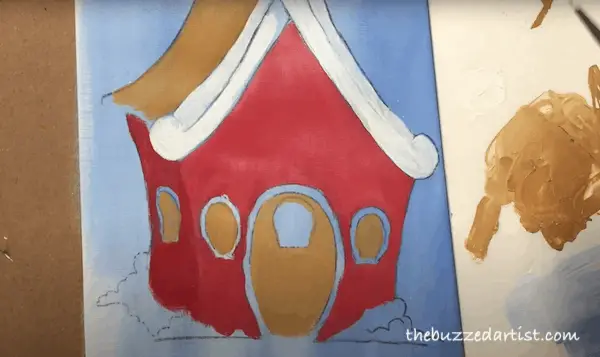
With the same brush and color, paint in the body of the peppermint candies on the tip top of the roof line.
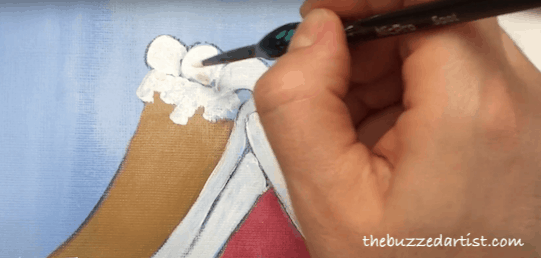
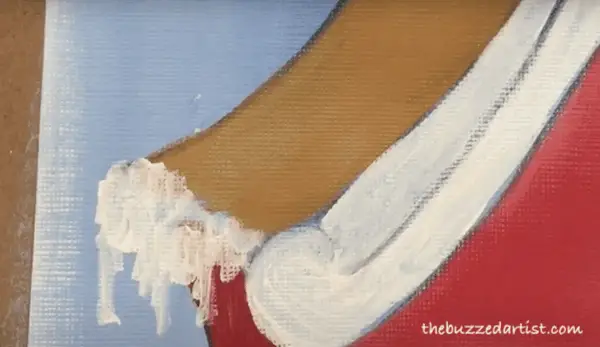
Then, making slight swiggly vertical lines with your detail round, add in snow and icicles on the side of the roof where the roof meets the house. Be sure to layer your lines to create more “clumpy” Christmas snow accumulation.
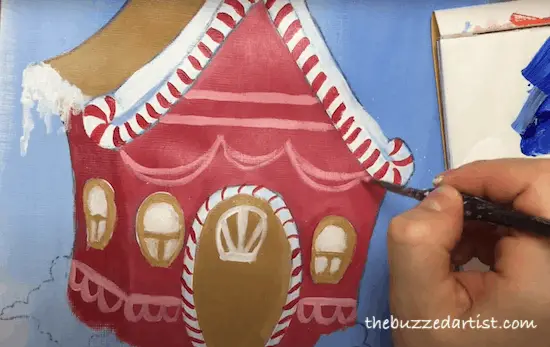
Step 6: Paint the Window Details
Like I mentioned a few steps ago, I changed my mind about the window trim and proceeded to paint them in with raw sienna and my rinsed detail brush.

Using the same detail brush (rinsed) and titanium white, paint in the window. Refer to the stencil for window shapes or make a half-circle for the top of the window and two squares at the bottom (making sure to leave gaps in between each shape for the window panes).
HOT TIP: If you ever need to “erase” a painting mistake, wait for the previous layer to dry and then cover with either white or the desired color. In this case, I used raw sienna to cover up the door window.
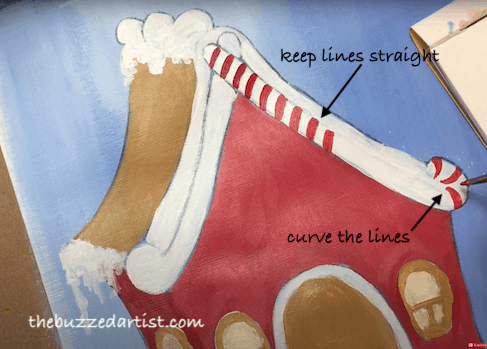
Step 7: Paint in the Candy Cane Roof Lines
With your rinsed detail brush and pure red, paint in straight lines that come out perpendicular to the candy candy roof lines.
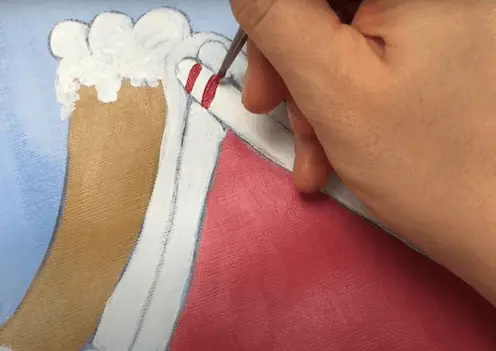
For the part of the candy cane that curves, make sure to curve your peppermint lines.
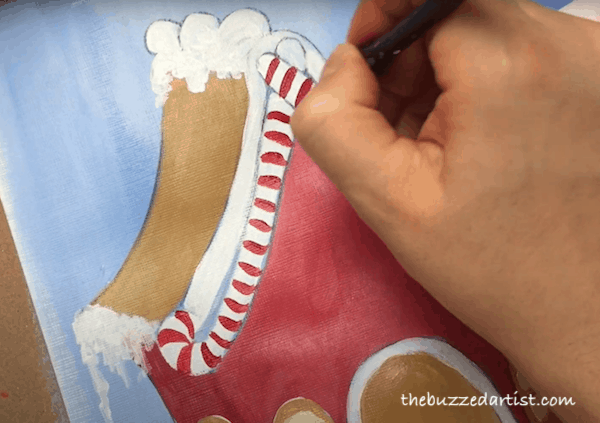
Repeat these same steps for the left candy cane roof line.
Step 8: Add in the Candy Cane Door Trim & Window
With the same detail brush and red paint, add candy cane strips along the door trim, making sure to slightly curve the lines as they follow the candy cane shape.
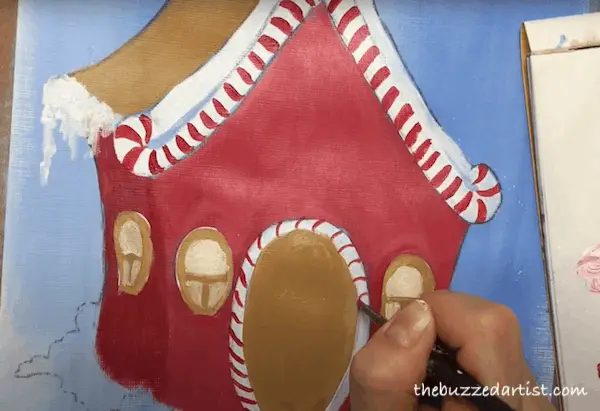
Rinse your detail brush and with titanium white, add in the window for the door (refer to the stencil for the shape).
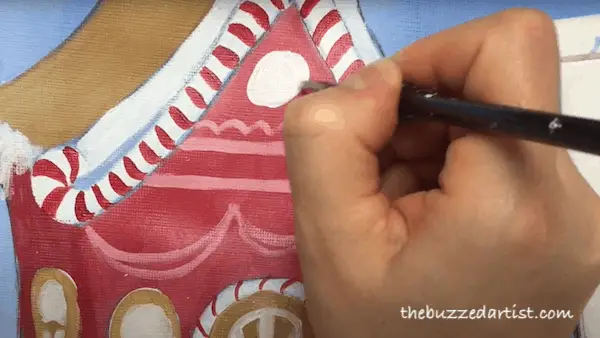
Step 8: Paint in the Decorative House Details
Now it’s time to go nuts with your decorations. When it comes to gingerbread houses: the more details, the better (at least I think so!)
Begin by mixing red and white to create a rosy pink and with your rinsed detail brush, add in trim lines under the windows, garland lines above the door, and horizontal lines intersecting the candy cane roof line.
Begin to add the peppermint candy body at front of the house’s roof line using titanium white and a rinsed detail brush. Leave to dry.
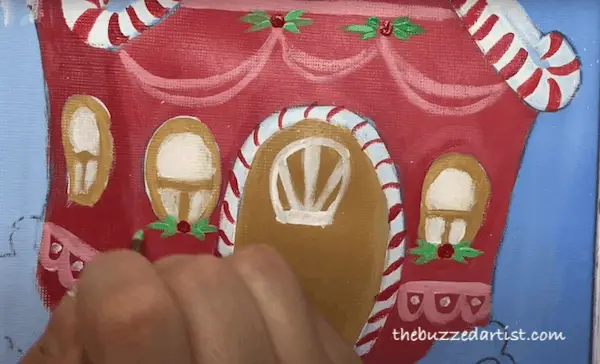
Step 9: Paint in the Holly Berries & Branches
With your red paint and rinsed detail round brush, add dots at the center of the window trims and garland points.
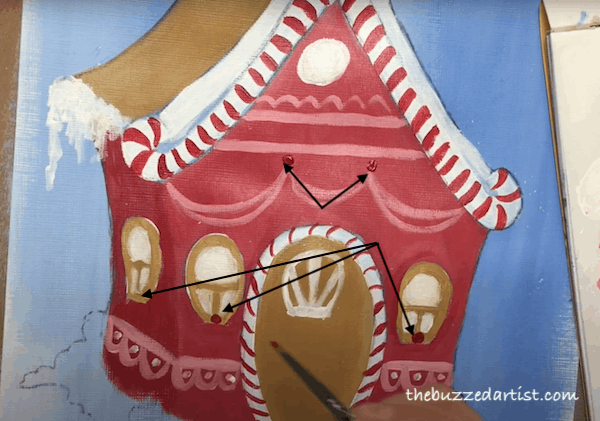
Rinse your detail brush and with a mix of green and a tad bit of white, angle your brush horizontally and starting from the holly berry, move your brush to the right to make the first holly leaf. Move your brush back to the same holly berry and this time angle it 45deg up and move your brush in that direction (making sure to take off pressure immediately) to make your 2nd holly leaf. Repeat this and instead move your brush up at a 45 deg angle for the third holly leaf.
Repeat this entire process for all the holly leaves around the berries.

Step 10: Paint Peppermint Swirls
Now that your peppermint body has dried, it’s time to add the swirls. With a rinsed detail brush and red, start at the circle center and create a curved line with a slight thicker end to the edge of the peppermint. Continue this all around the peppermint until you filled in all the red lines you desire.
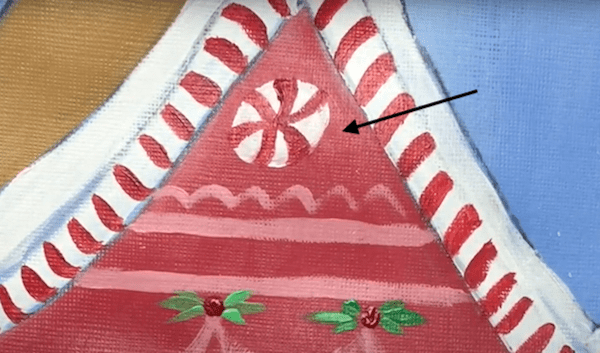
Repeat these steps for the peppermint roof line candies.
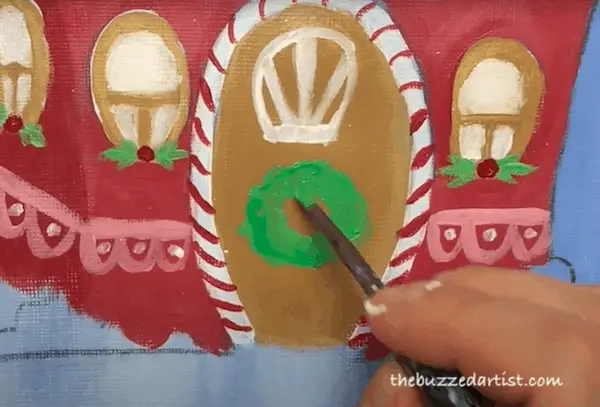
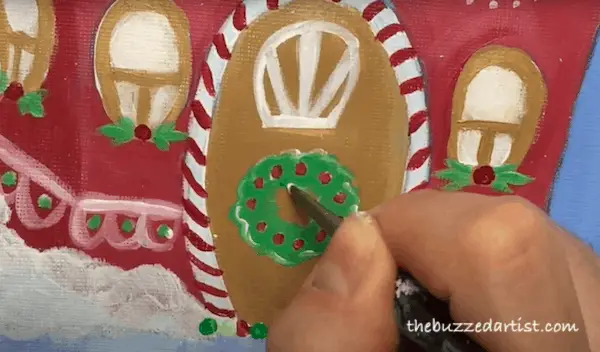
Step 11: Paint in Door Wreath
With your rinsed detail round brush and green, paint a thick circle/donut shape on the door slightly below the door window. Be sure to make curvy lines around the circle perimeter to make it appear more organic.
Step 12: Add in more decorative details (as much or as little as you like)
Once again, this is your invitation to go nuts with more details and decorating. I decided to take my rinsed detail round and titanium white and add embellishments like white circle, dots, and accentuating the decorative trim at the the front and sides of the house.

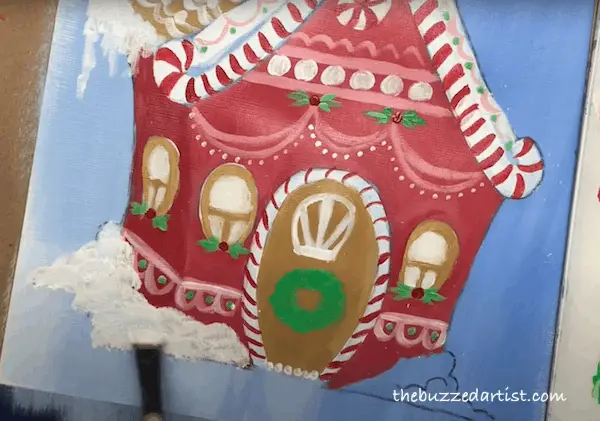
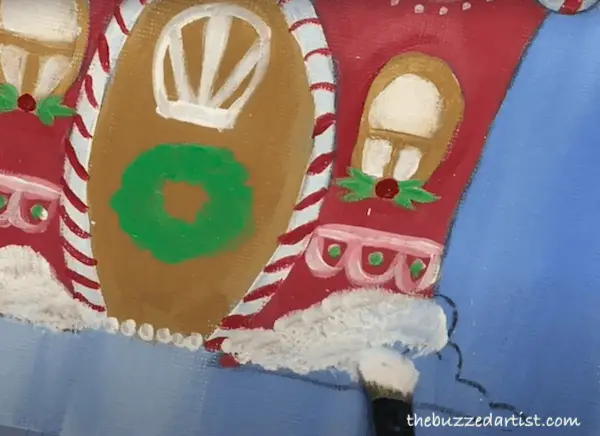
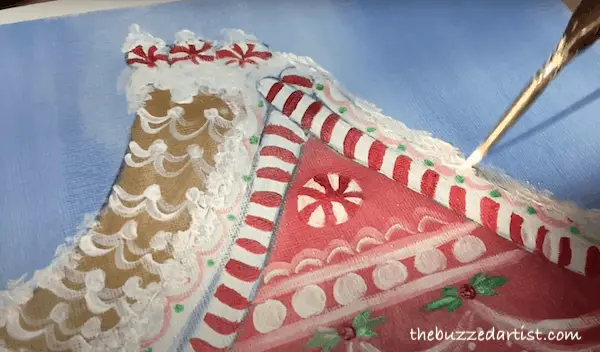
Step 13: Paint in the Snow Piles Around the House
Using a filbert brush and titanium white, add the snow piles around the gingerbread house. Be sure to use the broad side of the brush and gently tap to make a soft pillow-ey snow. Be sure to layer and repeat to create more abundant-looking snow.
Step 14: Add Wreath highlights and ornaments
With a rinsed detail brush and titanium white, add various curved highlights around the inside and outside perimeter of the wreath. I also added white dots that made an ornament circle arrangement and then added red on top of the white to make red ornaments.
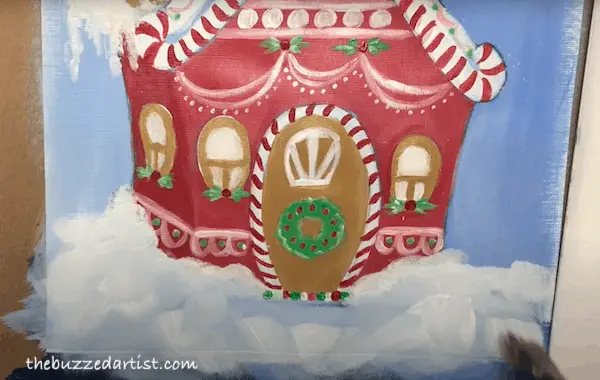
Step 14: Paint in Surrounding Snow
Using a wash brush and titanium white, add broad strokes along the front of the gingerbread house, gently blending the snow piles from the previous step into the entire landscape. Be sure to vary the direction of your brush strokes to create more abstract, spontaneous looking snow.
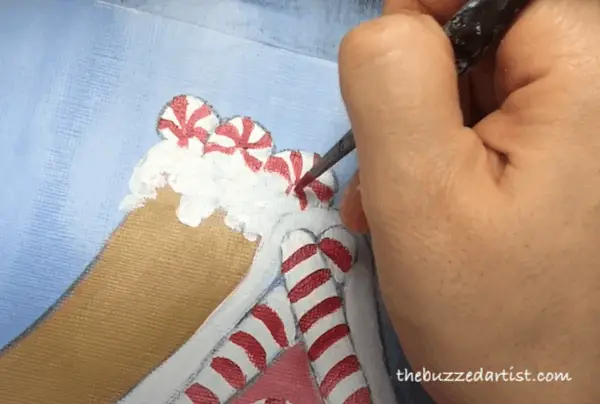
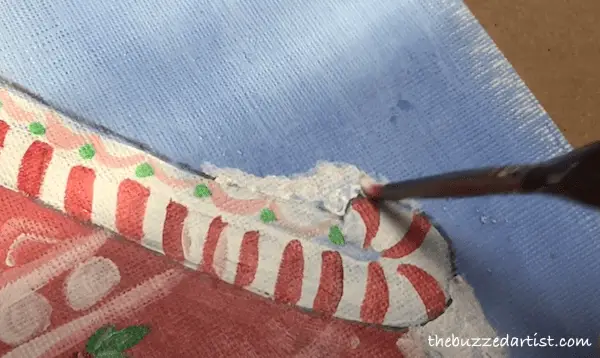
Step 15: Paint in Detailed Snow Piles
With a rinsed detail brush and white, gently tap your brush onto areas you would like to add snow piles along the roof line. I decided to make piles on the peppermint candies as well as the edges of the roof line. Once again, layering the strokes will work in your favor.
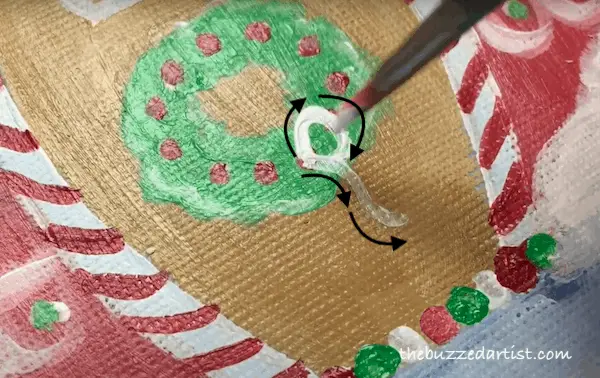
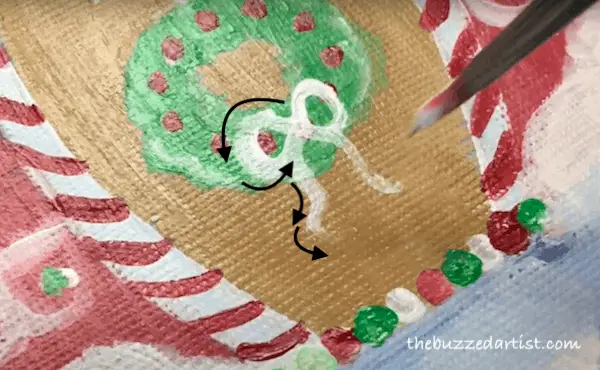
Step 15: Paint Wreath Bow
With your un-rinsed detail brush, paint in the wreath bow. Start on the right side of the bow by making an “0” shape that has a slight point on the left. Then on the left side (where the point is) create a curved line to represent the bow tassel. Repeat this on the left side to complete the entire bow.
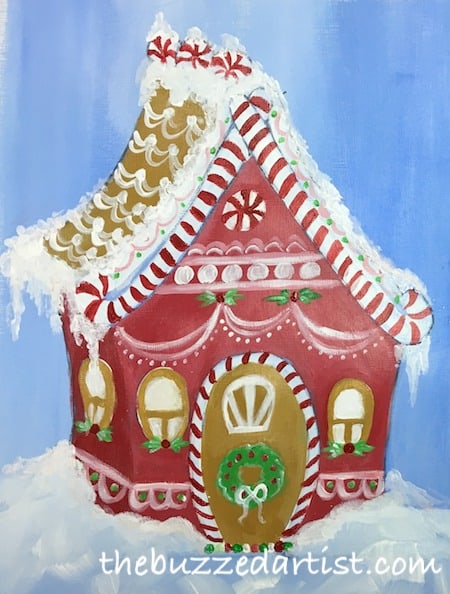
Step 16: Stand back and admire your work, Queen
and there you have it. A gingerbread house that’ll make your holidays feel warmer, brighter, and much more festive.
Want Gingerbread House Stencil?
If you want the stencil that goes along with this tutorial, just click here to get it.
More Christmas Painting Tutorials You’ll Love