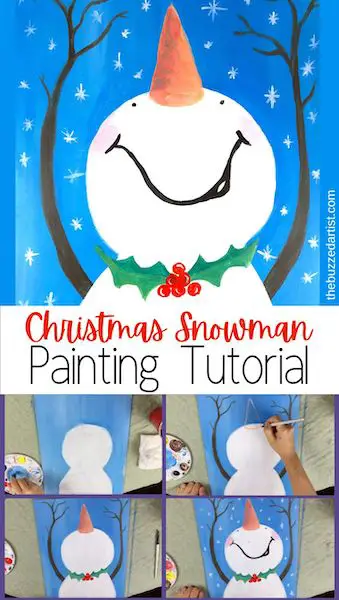
Paint a Snowman Family in this Easy Step-by-Step Tutorial for Beginners
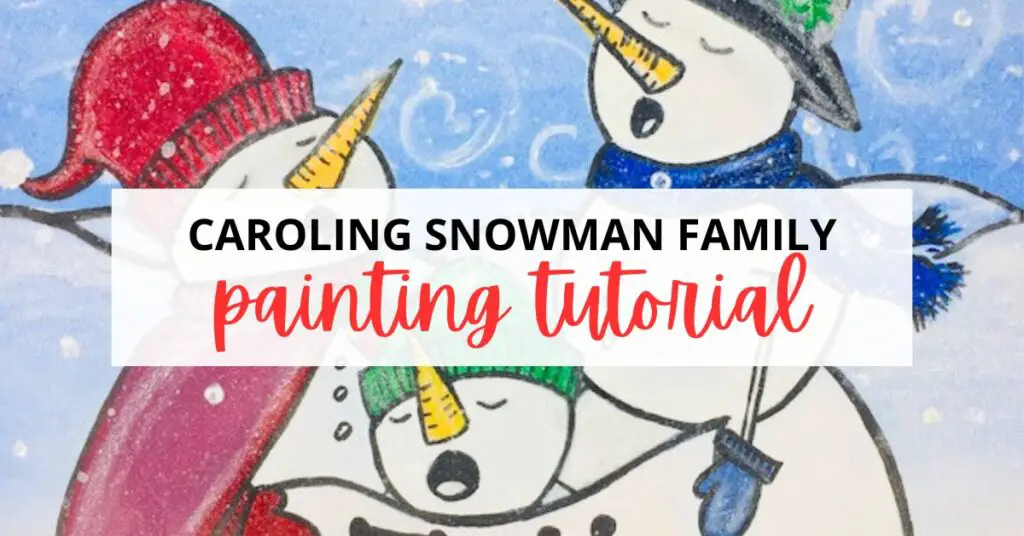
In this easy, step-by-step tutorial, I will show you how to make two snowmen and a snow lady carolers, who are singing lovely Christmas carols into the snowy sky.
Pin it for later! ⤵
Disclaimer: some links used in this post are affiliate links, which means I’ll earn a small commission if you purchase using my links at no extra cost to you. I only recommend products I think will be helpful to you and bring you one step closer to creating beautiful acrylic masterpieces!
👉 Want to host a paint party with this tutorial? Here is exactly how you can set up a fun DIY paint party at home.
Caroling Snowmen Painting Supplies
- 11″x14″ Canvas or canvas paper
- Palette or palette paper
- Cup of water
- Table cloth
- towel
Brushes
Paints
- Mars Black Acrylic Paint
- Primary Red Acrylic Paint
- Primary Yellow Acrylic Paint
- Primary Blue Acrylic Paint
- Titanium White Acrylic Paint
Caroling Snowmen Painting Steps
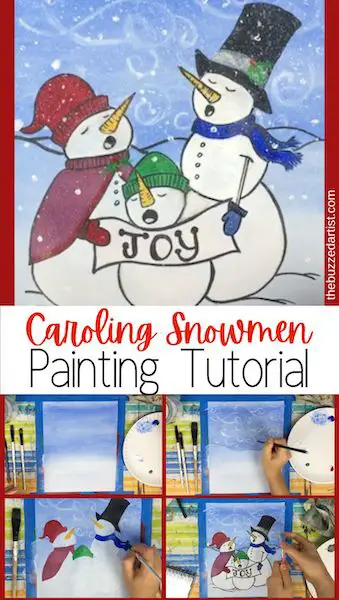
Follow these step-by-step instructions on how to paint your very own cute snowman carolers singing into the flurried winter sky.
Want the Full (Ad-Free!)Step-by-Step Video & Stencil?
If you want to get the full step-by-step video tutorial and stencil for this painting (without all the ads!), get the instant class download.
just want the stencil? Get it here!
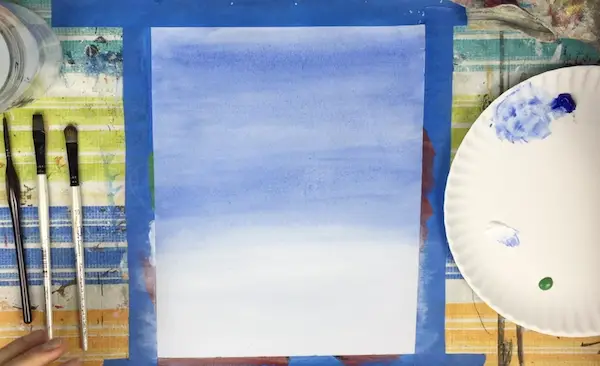
Step 1: Paint in the Sky
With your flat wash brush, mix together blue with some white and paint in the blue sky using horizontal strokes spanning across the canvas, covering about 2/3 of the entire canvas.
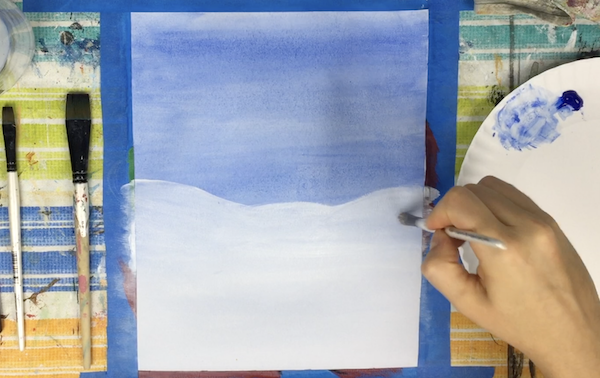
Step 2: Add in the Snowy Hill
Using your filbert brush loaded with white, paint in some snowy hills.
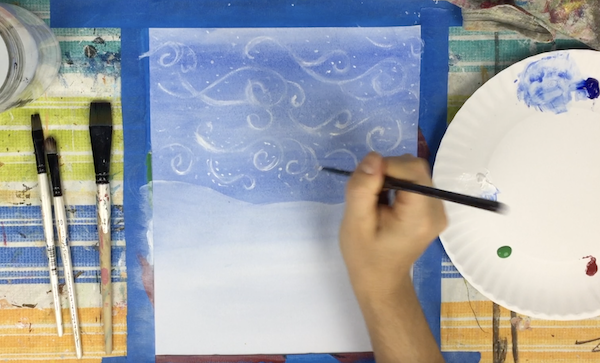
Step 3: Add in snow flurries
With your detail brush, paint in some swirls across the blue of the sky – to represent the snow flurries. You can also add other shapes like little dots for a more active sky.
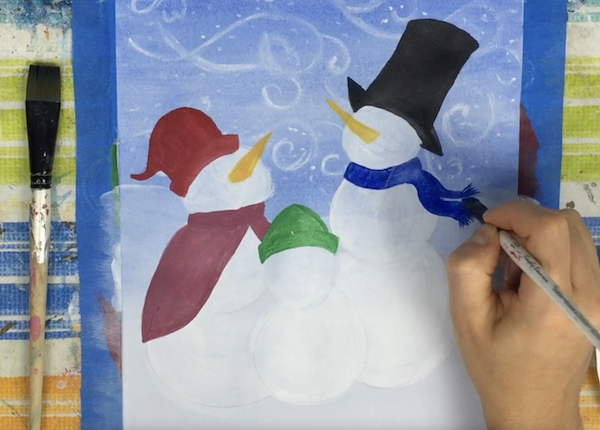
Step 4: Trace and Paint in the Snowman Carolers
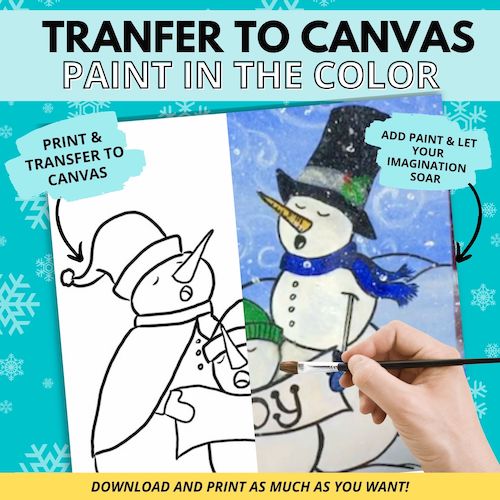
Using your snowman caroler stencil, place and trace onto your canvas or canvas paper. If you need directions on how to do this, read this helpful post on transferring stencils to paper.
From there, using your filbert brush and detail round brush, paint in the snowman bodies using white paint. Then, you can use a variety of colors you like to fill in the clothing colors. I used red for the snow lady, green for the snow-kid and blue scarf with black hat for the snowman. Feel free to use different colors and combos.
To paint in the carrot noses, mix together yellow and red to make an orange color. Block in the color onto the carrot nose shapes.
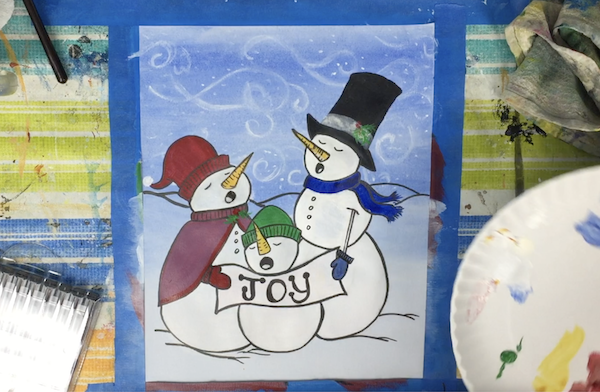
Step 5: Outline
Using a sharpie or detail brush with black paint, outline all the snowmen carolers as well as the hills. I added a few lines where the snowmen are standing to create more detail.
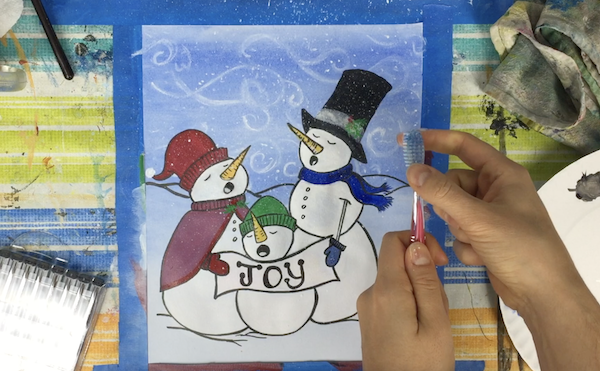
Step 6: Add in Snow
With a toothbrush (or large brush), dip it into a watery mix of white and water. Then, hover your brush over the canvas, pull the bristles back and release to make a lot of splatter. This creates the appearance of a lot of snow flakes. Repeat as much as you like.
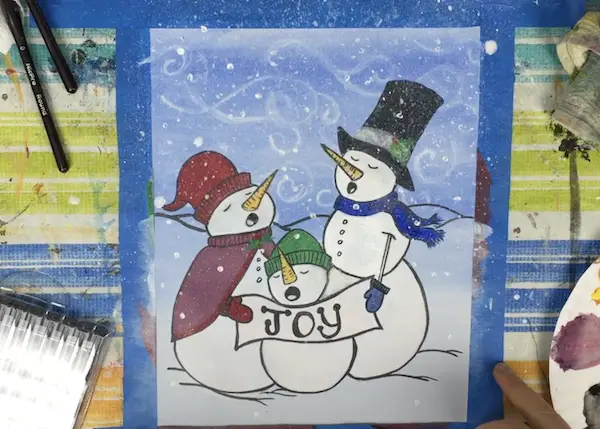
Step 7: Add Final Touches and Admire your Work
With your detail brush, add a few more snow flakes in the shape of dots to complete the scene. Then, once you’re satisfied, step back and admire your work.
Want the Full (Ad-Free!)Step-by-Step Video & Stencil?
If you want to get the full step-by-step video tutorial and stencil for this painting (without all the ads!), get the instant class download.
just want the stencil? Get it here!
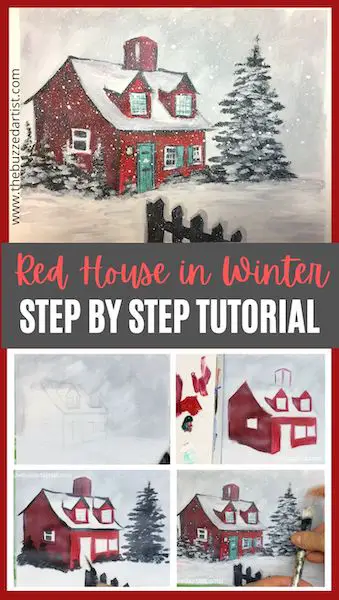
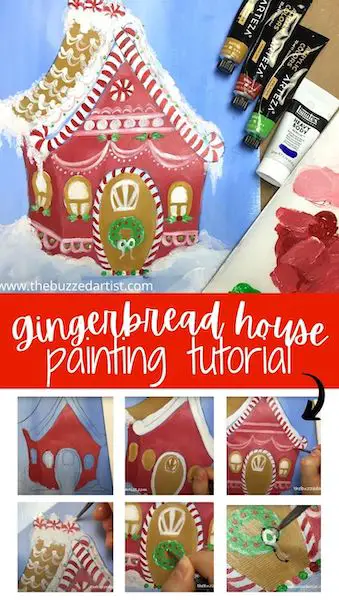
More Christmas Painting Tutorials You’ll Love