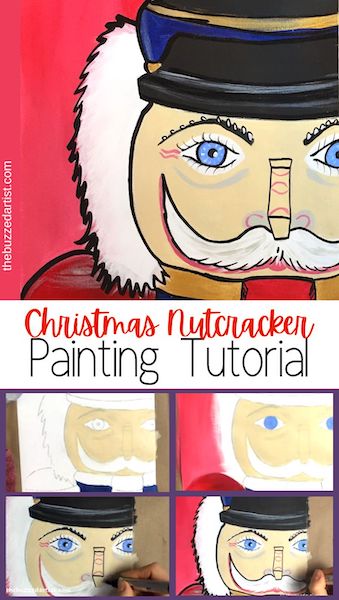
The beginner’s step-by-step guide to painting a nutcracker in the pop art style using acrylic paint.
Whenever I think about Christmas, my mind immediately snaps to memories of watching old Christmas movies, catchy singalongs, and decorating the mantle with my nutcracker. As a little kid, nutcrackers always fascinated me (mainly I loved ooggling their highly detailed, fabulous-looking suits glitzed with glitter).
Fast-forward 20-ish years later, this grown-ass woman still loves her nutcrackers more than ever; so this was the perfect opportunity to capture that special Nutcracker-y magic onto canvas with a tiny pop art flair.
So let’s grab some supplies and get to it.
Disclaimer: some links used in this post are affiliate links, which means I’ll earn a small commission if you purchase using my links at no extra cost to you. I only recommend products I think will be helpful to you and bring you one step closer to creating beautiful acrylic masterpieces!
👉 Want to host a paint party with this tutorial? Here is exactly how you can set up a fun DIY paint party at home.
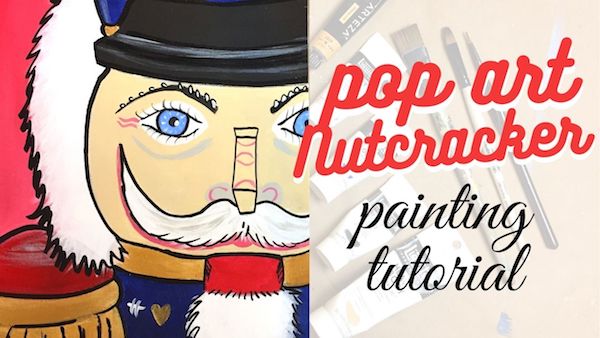
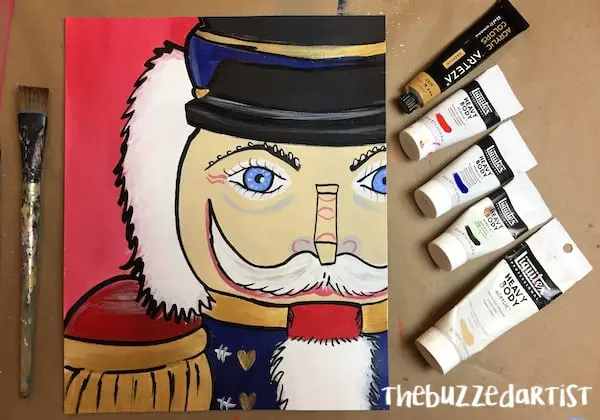
Christmas Nutcracker Pop Art Acrylic Painting Supplies
- 9″x12″ Canvas or mixed media paper
- Palette or palette paper
- Cup of water
- Table cloth
- Towel
Brushes:
Paints:
- Ultramarine Blue Acrylic Paint
- Titanium White Acrylic Paint
- Crimson Red Acrylic Paint
- Unbleached Titanium White
- Mars Black and/or black marker
- Gold Metallic Acrylic Paint
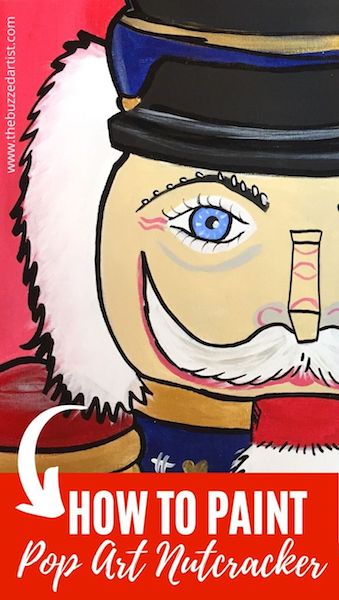
Easy Pop Art Nutcracker Acrylic Painting Tutorial
Follow these step-by-step instructions on how to paint your very own nutcracker in the pop art style.
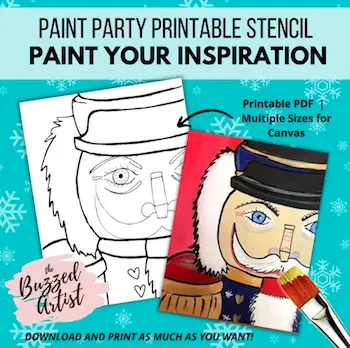
Want the Nutcracker Stencil?
If you want the nutcracker stencil that goes along with this tutorial, just click here to get it.
Step 1: Sketch in the Nutcracker
Before we go on paint-slappin’, it’s a good idea to sketch out the general look of our nutcracker. I used my personal nutcracker as a reference for this and sketched out the proportions onto my canvas.
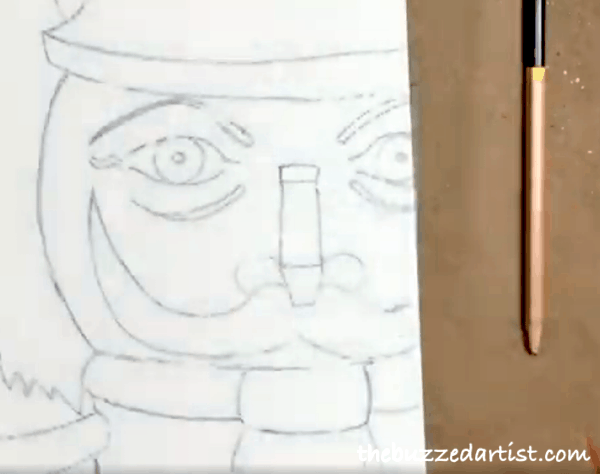
If you don’t want to sketch one out yourself, you can download my nutcracker stencil.
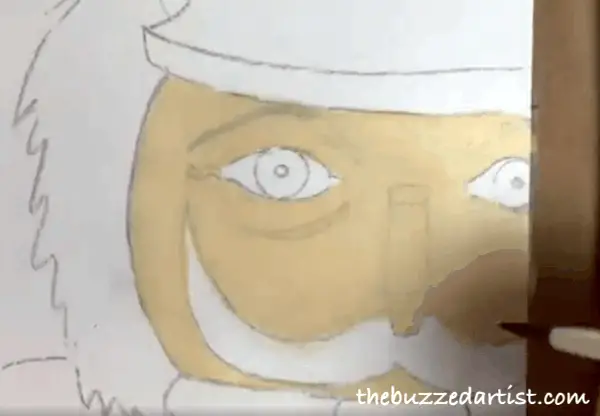
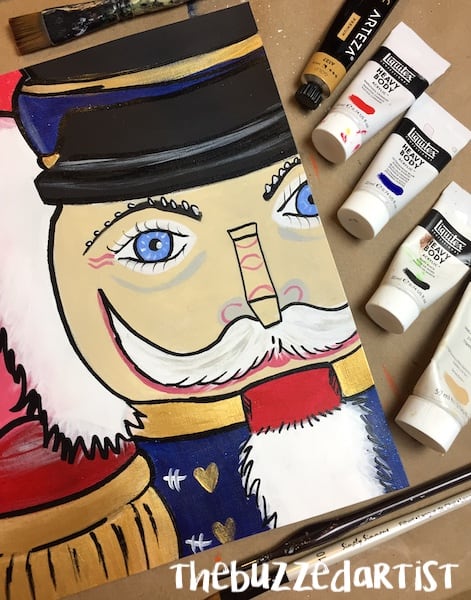
Step 2: Paint the Nutcracker Face
Dip your filbert brush in water and load unbleached titanium white onto it. This will be used to paint the skin tone of our nutcracker. If you want to vary the skin color, you can do the following: Add burnt umber to darken or add yellow + white to lighten.
Step 3: Paint the Nutcracker Body Suit
With your rinsed filbert, mix together blue with a tiny bit of black to get a darker tone of blue. This will be the suite and hat color. Paint along the body of your nutcracker as well as the top portion of the hat.

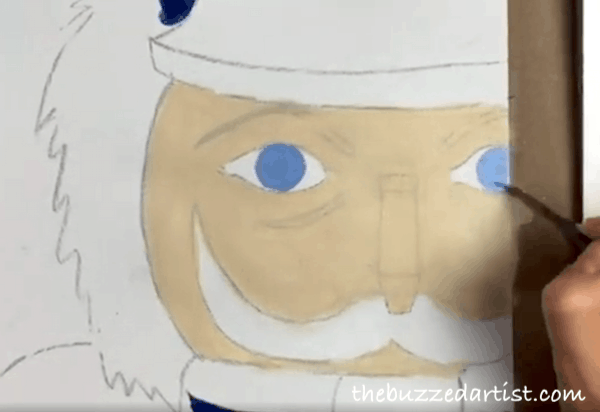
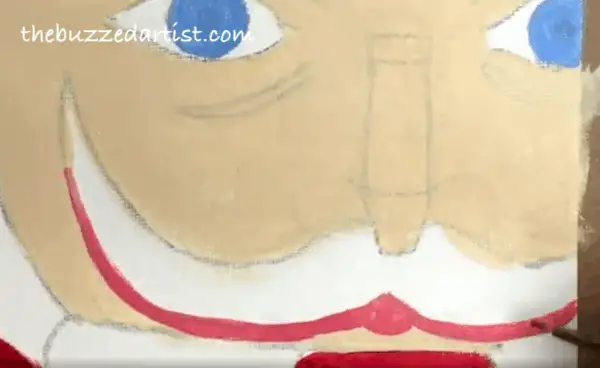
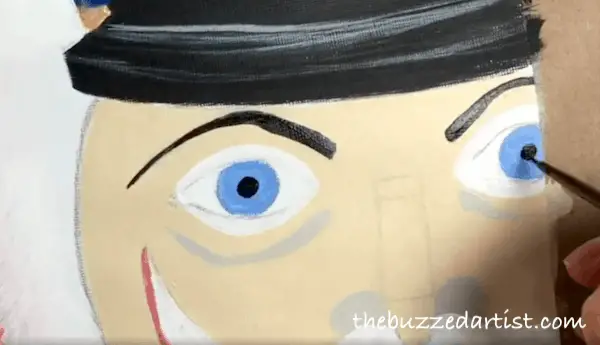
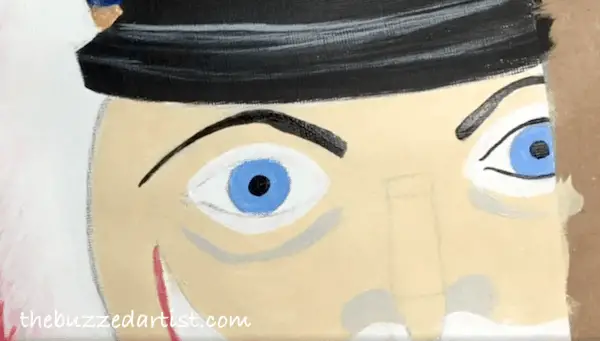
Step 4: Paint the Eye Pupil
Using your detailed brush dipped in water, mix together blue and white to make a light blue. Paint in the pupils of the nutcracker.

Step 5: Paint the Shoulder Cap
Using your filbert brush, load it with red and paint the shoulder cap. Leave a tiny bit to the right unpainted for the shadow (next step).
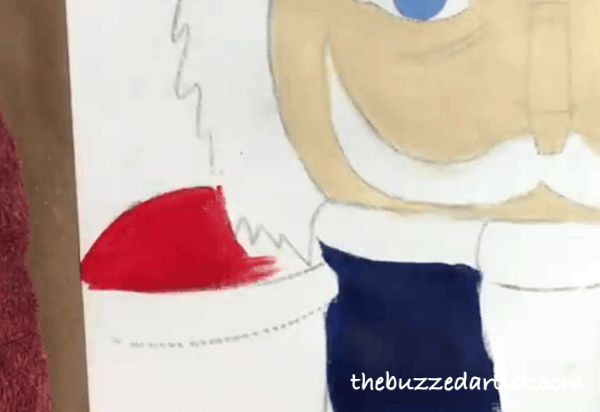
Mix together a tiny bit of black with red using your filbert brush (not too much!) and add the darker tone to the rightmost portion of the shoulder cap and lightly brush the color to the red portion of the cap to make a smoother blend.
Read: How to great smoother painting blends

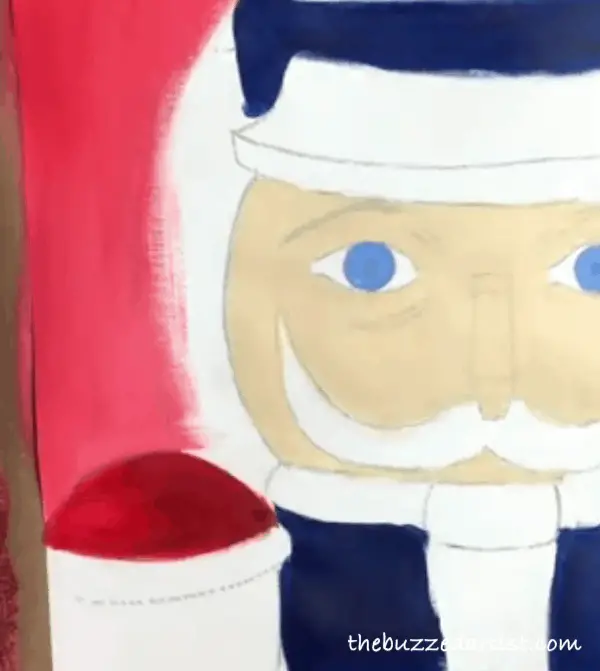
Step 6: Paint the Background
Using your flat wash brush dipped in water, mix together red and a bit of white to make a lighter red. Paint this color onto the background portion of the nutcracker, making sure to keep your strokes vertical.
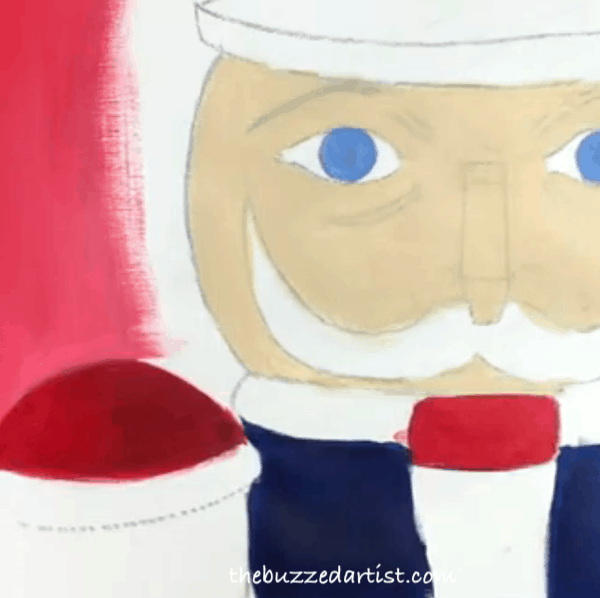
Step 7: Paint the Mouth
With your rinsed shader brush (or filbert), load with just red and paint in the mouth piece of your nutcracker.
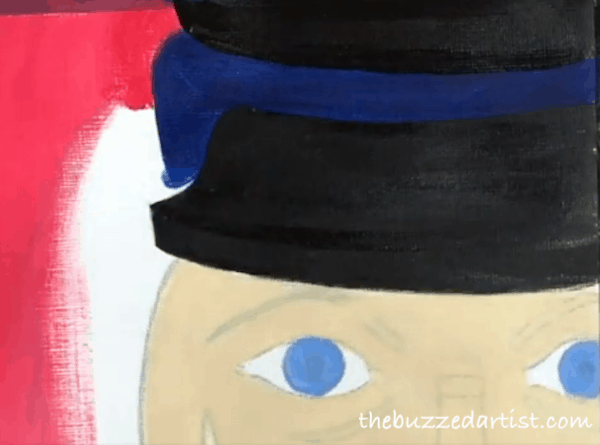
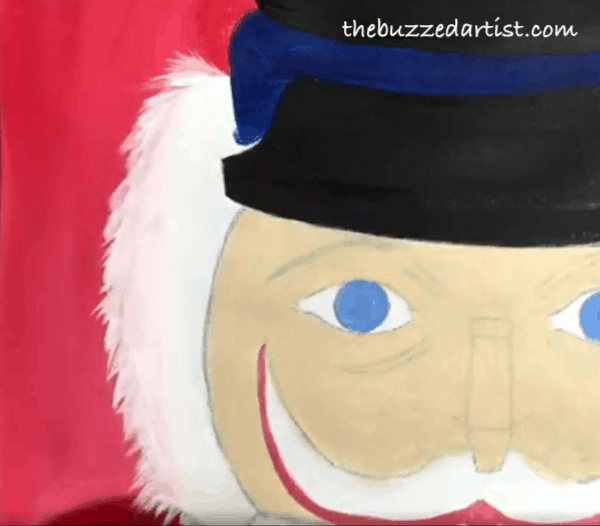
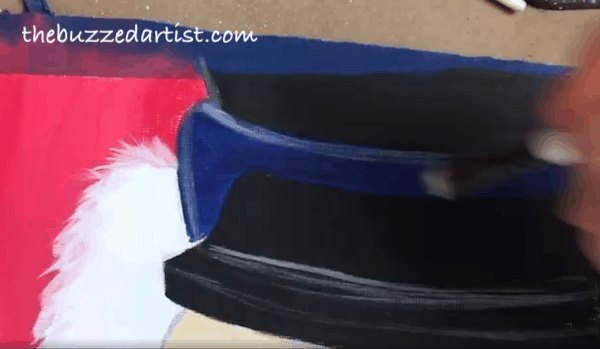
Step 8: Paint the Hat
Using your rinsed shader brush, load with black paint and paint in the brim of the hat as well as the top portion of the hat.
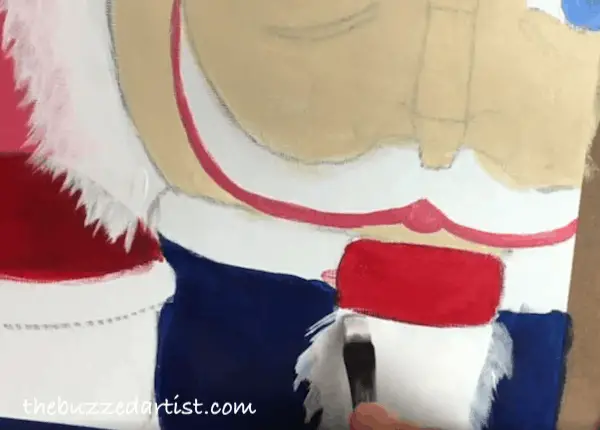
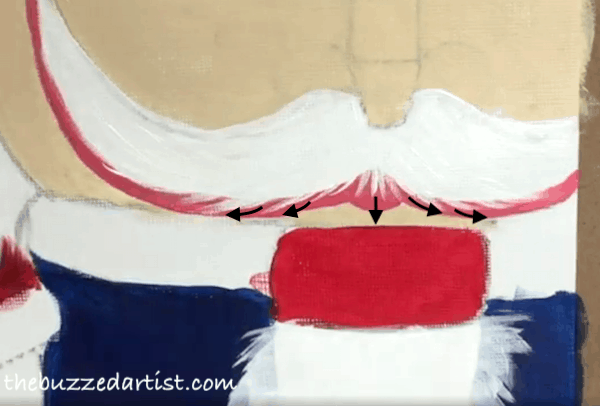
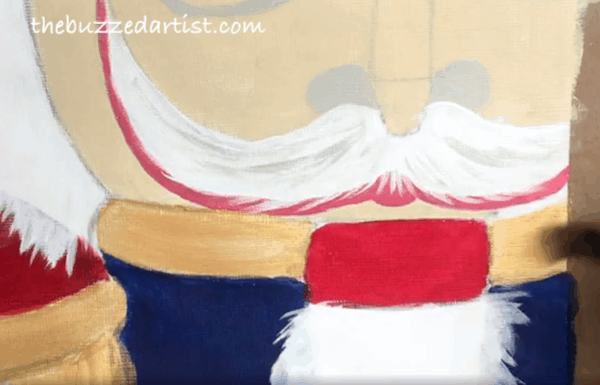
Step 9: Paint the Mouth
With your rinsed detail brush, mix red with a bit of white for a lighter red. Proceed to paint a semicircle connecting bottom portion of the whiskers and fill in. Continue to follow the bottom curves of the mustache with the light red up to almost the tip.
Step 10: Paint the Hair
Using a rinsed shader brush, load it with white paint for the hair. Starting at the side of the head, angle your brush to about 45 degrees. Using just the tip, create brush strokes from right to left, making sure to lighten the pressure as you go.
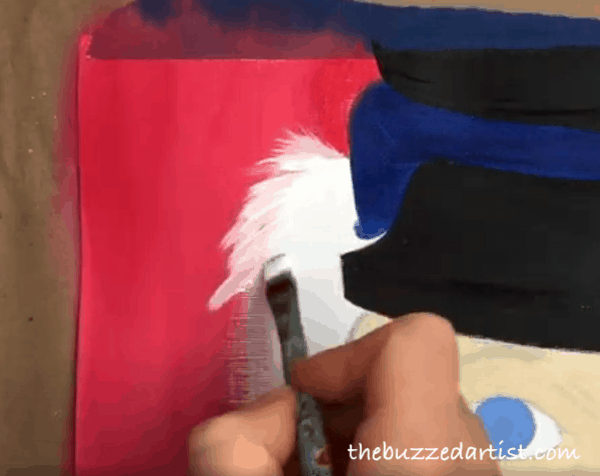
Continue with the strokes, going down the side of the nutcracker. As you proceed down, angle your brush slightly downward too as you paint.
Step 11: Paint the Beard & Mustache Hair
Using the same hair painting strokes, paint in the beard, creating wisps on both sides.
With a rinsed detail brush loaded with white, add thin wisps to the mustache. For the middle of the mustache, make your lines straight, while the sides of the mustache have more of a curved shape (left side of the mustache wisps curve left, right side of mustache wisps curve right).
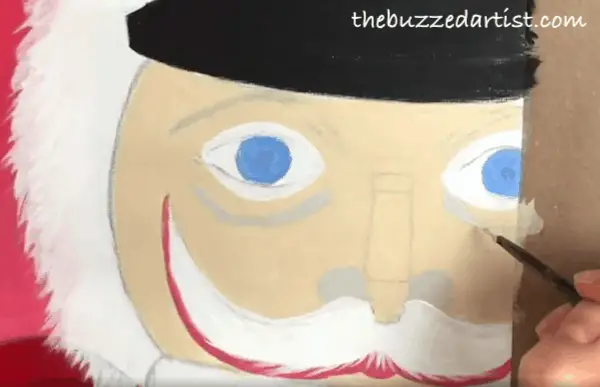
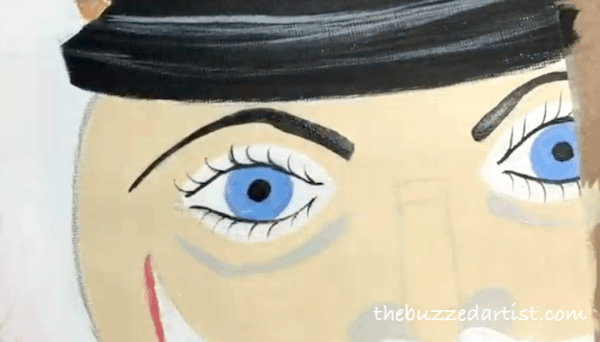
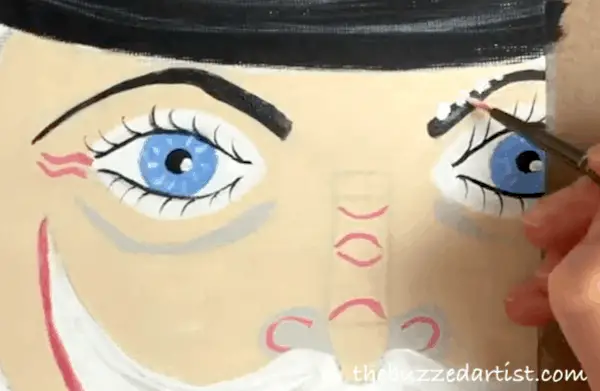
Step 12: Paint the Face Details
With the un-rinsed detail brush, paint around the eyes to make them appear wider.
Then, without rinsing your brush, combine white with a hint of black and unbleached titanium white to make a gray color. Use this color to paint the nostrils and the under eye lines.
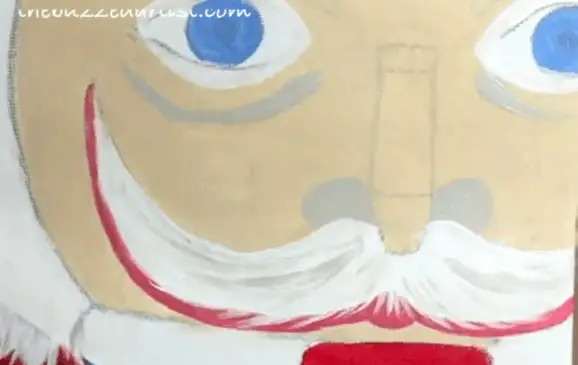
Step 13: Paint the Mustache Shadows
With the same gray color and detail brush, paint in the mustache hair shadows, making sure to add light random strokes. For the right side of the mustache, the lines curve up and to the right; for the left, the lines curve up and to the left.
Step 14: Paint the Hat & Shoulder Cap Highlights
With a rinsed shader brush and the same gray color, add highlight lines to the brim of the hat with curved horizontal strokes; in addition, create edge highlights on the rightmost edges of the hat using curved vertical strokes.
With the same color and brush, add in shoulder cap highlights, making sure to use curved horizontal strokes.
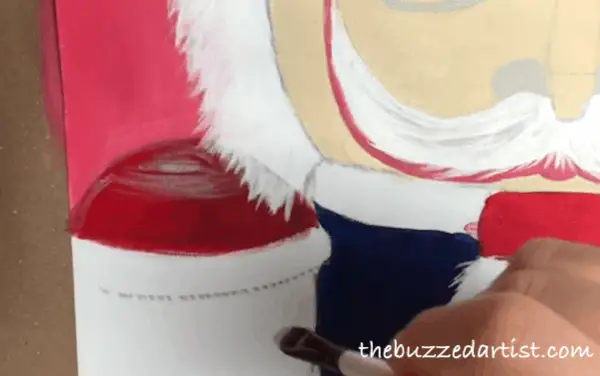
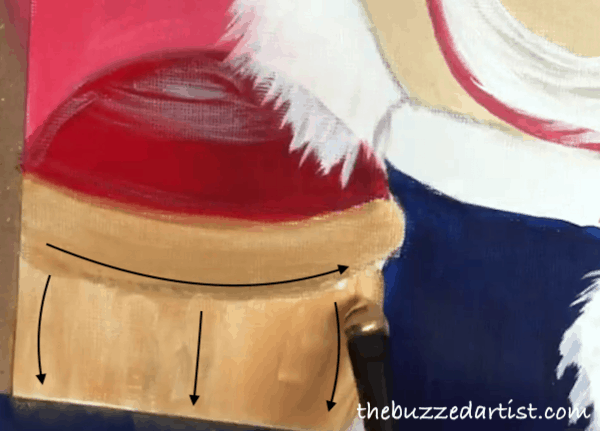
Step 15: Paint the Cap Trim & Tassels
With a rinsed filbert brush loaded with gold metallic paint, paint the cap trim using curved horizontal strokes. With the same brush, create a series of vertical lines under the cap trim for the tassels.
Step 16: Paint the Hat & Collar Trim
With the same brush and color, paint a slightly curved horizontal line at the top of the blue portion of the hat. This gives the appearance of a trim.

With the same brush and color, fill in the nutcracker collar using horizontal strokes.
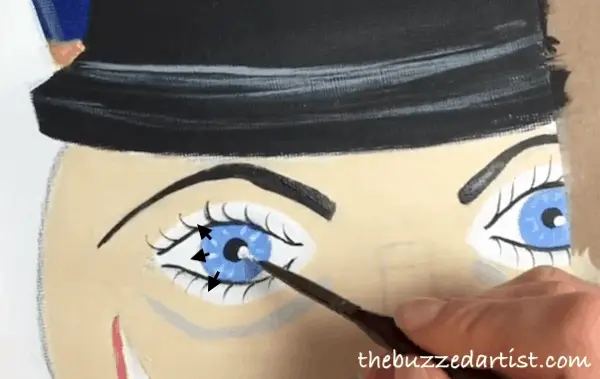
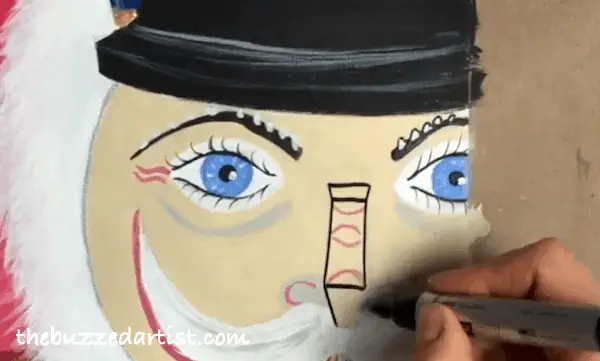
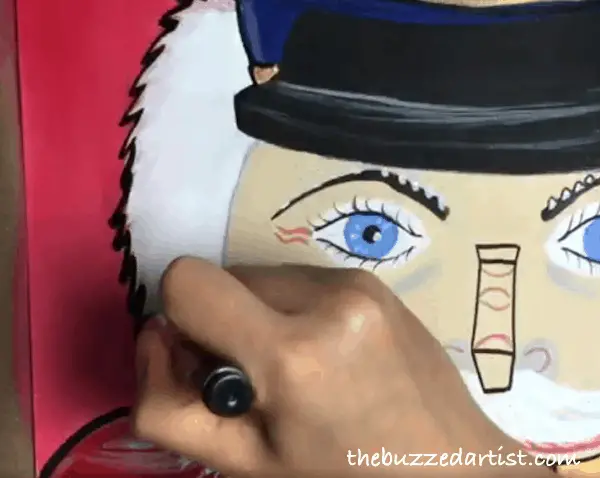
Step 17: Paint the Face Details
With a rinsed detail brush loaded with black, begin painting in the face details like the eyebrows and pupils. The trick here is to go slow and steady with your line work (and always keep your brush hydrated!)
Paint two curved lines above and below the pupil to represent the eye folds.
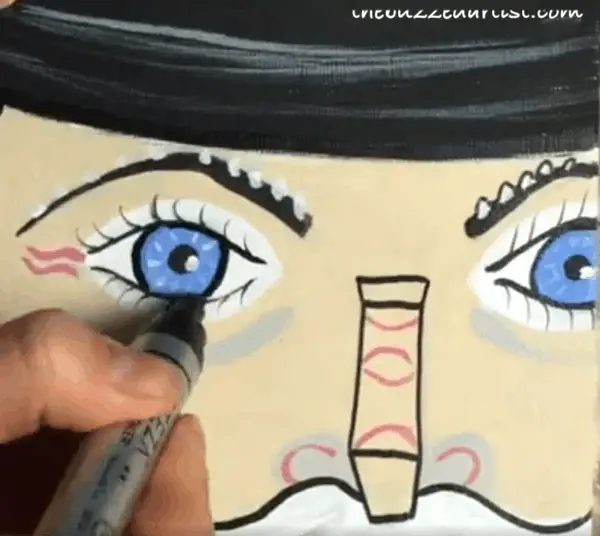
Starting at the eye corner (top line), paint a slightly curved line going up to create a lash. With something as delicate as eyelashes, always start at the lash line and curve your brush out, releasing pressure as you do so. Repeat the strokes to complete the top lashes. For the bottom lashes, start at the bottom lash line and slightly curve your brush downward, once again releasing pressure as you do so. Repeat the strokes to complete the bottom lashes.

Proceed to paint in the other bottom and top lashes for the other eye.
Step 18: Paint the Eye Details & Highlights
With your rinsed detail brush, mix white with a hint of blue and proceed to make outward lines going around the eye pupils to represent the iris color flecks. Once you’ve done both eyes, rinse your brush and load with white. Paint a circle/dot at the right intersection point between the pupil and iris, giving the eyeball that reflective “depth”. Repeat this for the other eye.
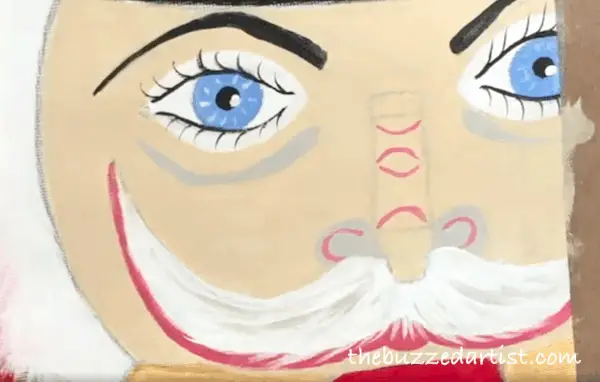
Step 19: Paint the Nose Details
With a rinsed detail brush, mix red with a little white. Proceed to paint some detail lines on the nose and nostrils as well as the crow’s feet at the left corner of the left eye.
Step 20: Paint the Eyebrow Details
With your rinsed detail brush loaded with white, it’s time to add some bling-bling to those eyebrows. Create a series of dots along the top portion of both eyebrows.

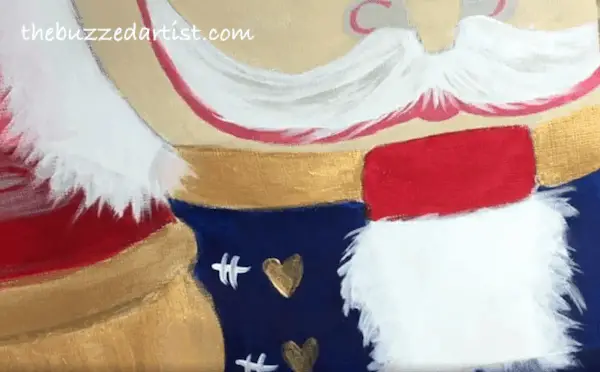
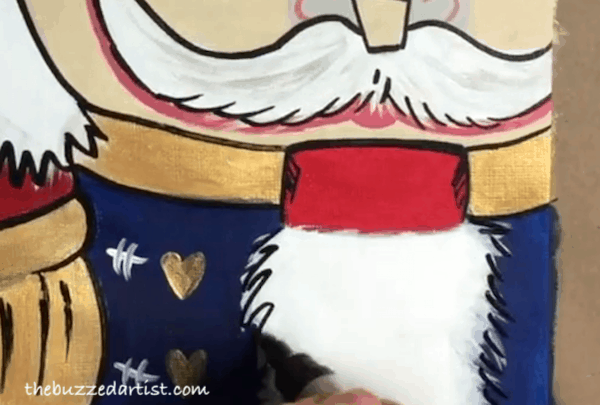
Step 21: Paint the Suit Decorations
With a rinsed detail brush loaded with gold paint, paint in two hearts on the left portion of the nutcracker suit. With a rinsed detail brush loaded with white, paint a few suit embellishments next to each heart, using a series of one horizontal and two vertical lines.
Step 22: Outline the Features to Make it Pop
Now this is where the “pop art” of the nutcracker painting really comes out to play. Using a rinsed detail brush loaded with black or black marker (I used my black Arteza acrylic marker), begin to outline the big features of our nutcracker. Be sure to keep the lines for facial features thin while outlines around the hair, hat, and shoulder cap have thicker lines.

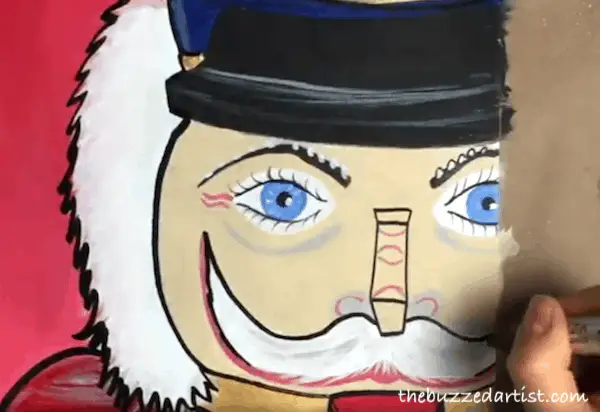
Honestly, you can go nuts with this part. If you want to go hyper-specific with the line details, fly that freak flag. If you want to keep it a bit more minimal, go for it.
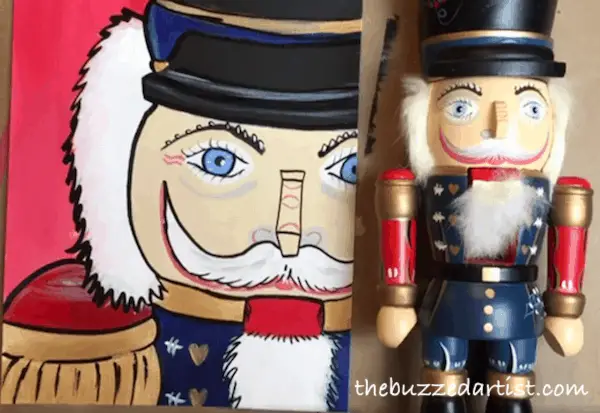
Step 23: Step back and admire your work, Queen
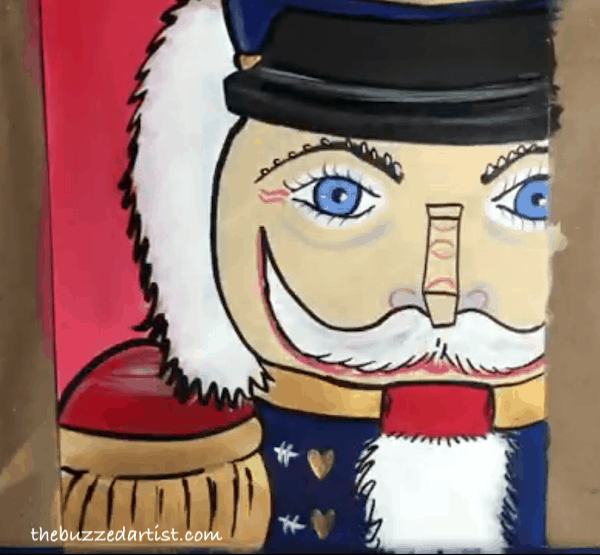
and in case you were wondering what the original nutcracker looked like, here is a side-by-side comparison. Pretty close, eh?
Want the Nutcracker Stencil?
If you want the nutcracker stencil that goes along with this tutorial, just click here to get it.
Nutcracker Pop Art Acrylic Painting Tutorial