
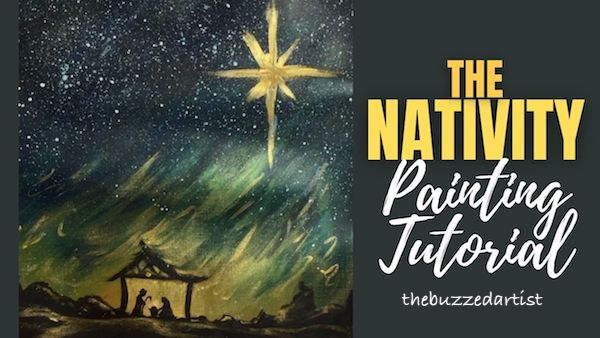
The beginner’s step-by-step guide to painting a Nativity scene using acrylic paint
When I was a kid, we always had a nativity scene we would set up near our Christmas tree. In our house, we didn’t take out the baby Jesus figurine until midnight Christmas eve; so he would be chilling inside a drawer for a while until his grand entrance was nigh.
(it was certainly the weirdest thing rifling through the cabinet looking for my Honeycomb cereal box only to find the sweet baby Jesus staring back at me. It truly makes me chuckle.)
So this is the perfect time to create a Nativity scene using acrylic paint – and not only that, give it a different spin.
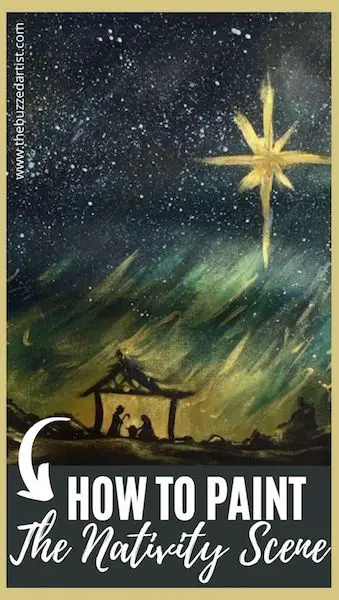
Pin it for later! ⤵
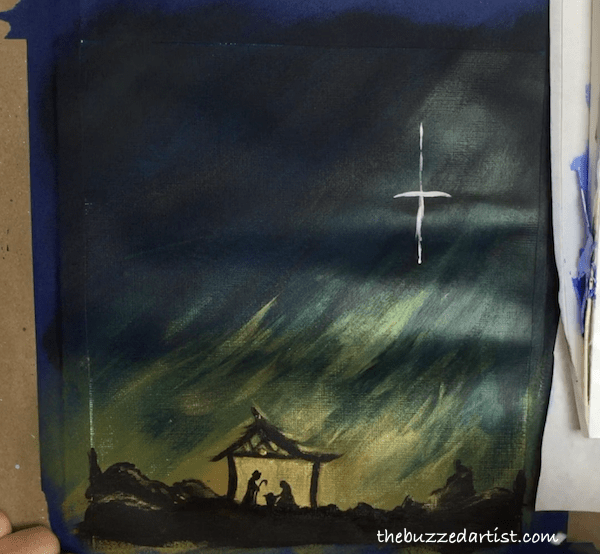
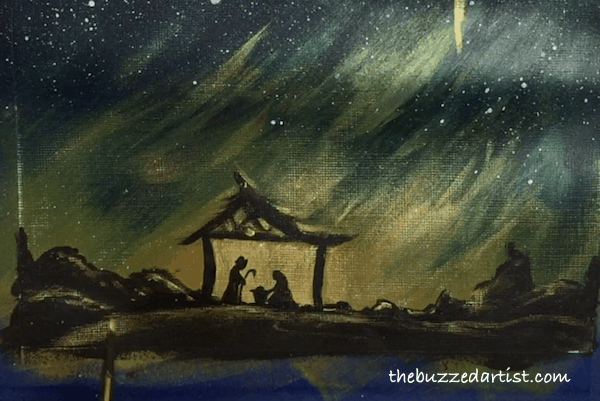
Usually Nativity scenes are rifled with other folks like the Magi and shepherds – and the stable is usually front and center. In this painting, I decided to bring the focus to the landscape and the guiding star and make the stable smaller in comparison.
But, doing so, it creates a quiet, majestic scene that shows both the humble beginnings of Jesus but also the grandeur of the heavens at his arrival.
So with that being said, let’s grab some supplies and hop onto the Nativity scene tutorial.
Some links mentioned below are affiliate links which come at NO extra cost to you, my darling Queen Bees! If you wish to support this channel and send me an extra thank you, be sure to use the links above!
👉 Want to host a paint party with this tutorial? Here is exactly how you can set up a fun DIY paint party at home.
Christmas Nativity Acrylic Painting Supplies
- 9″x12″ Multi-media paper
- Tracing Pad
- Carbon Pencil
- Sketch Pencil
- Cup of water
- Table cloth
- towel
- palette paper
Brushes:
Paints:
Easy Nativity Scene Acrylic Painting Tutorial
Let’s get started. Follow this video or keep reading to paint this scene step-by-step.
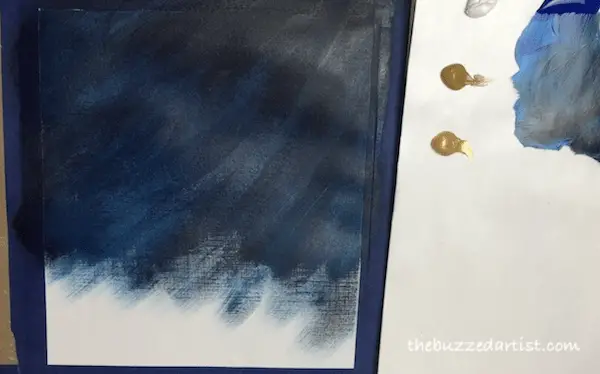
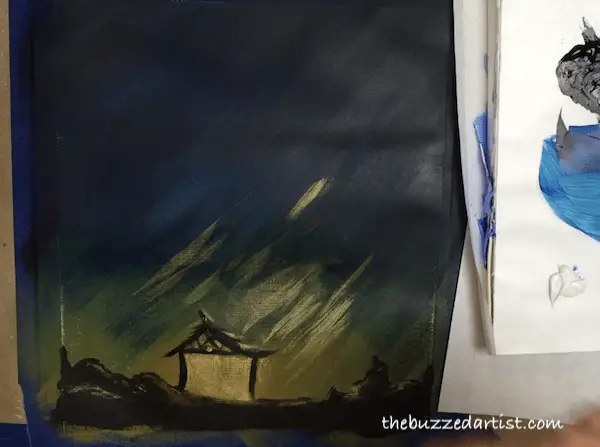
Step 1: Paint the Blue Background
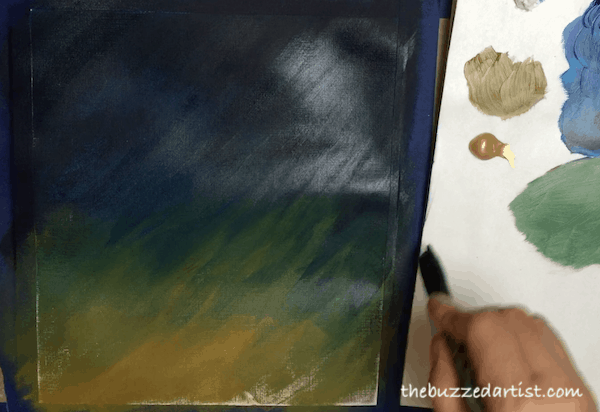
Whip out your flat wash brush and dip it into water. Then mix together blue with a bit of black (but not too much) to make a midnight blue color. Take your brush, and using the broad side, create strokes angling about 45 degrees covering 2/3 of the canvas, leaving the bottom portion untouched.
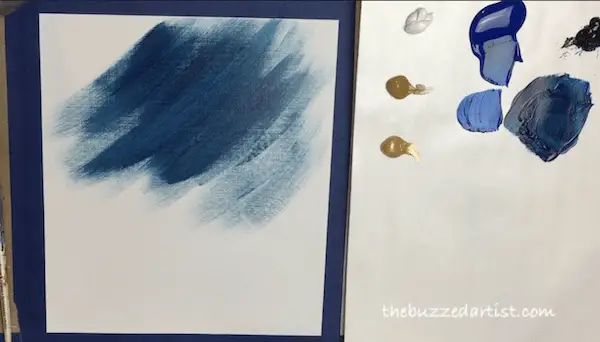
Keep repeating the brush strokes, every now and then adding more blue or more black to the canvas to add some dimension and color variation to the background.
As an added tip, I added a bit more black to my brush and concentrated those strokes around the outer edges of the canvas, creating a vignette look.
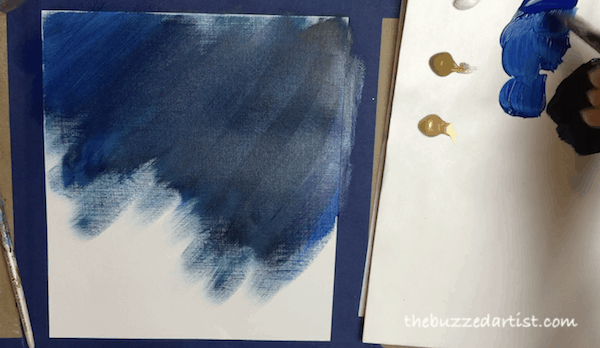
Step 2: Blend the lighter color to the background
With your rinsed (and cleaned) flat wash brush, mix raw sienna with a bit of blue and white. This will serve as the lighter portion of the sky. Using the same strokes (45 deg angle), proceed to add in the color to the bottom portion of the canvas as well as blending the areas where the two colors meet.
Related: How to blend and create super smooth color blends
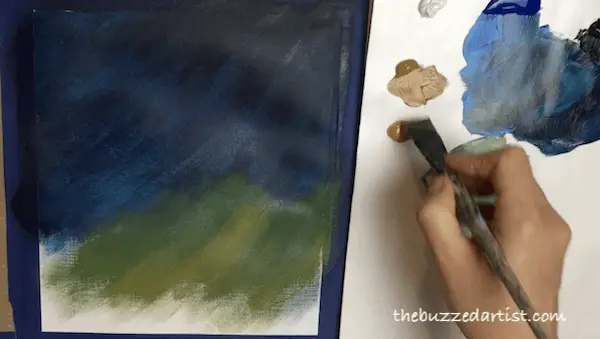
Seriously, don’t be afraid to break the boundary between the raw sienna and the blue. That’s what makes an amazing looking blended surface that looks smooth as silk.
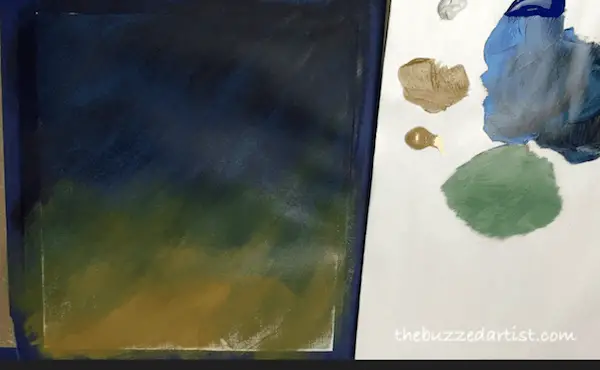
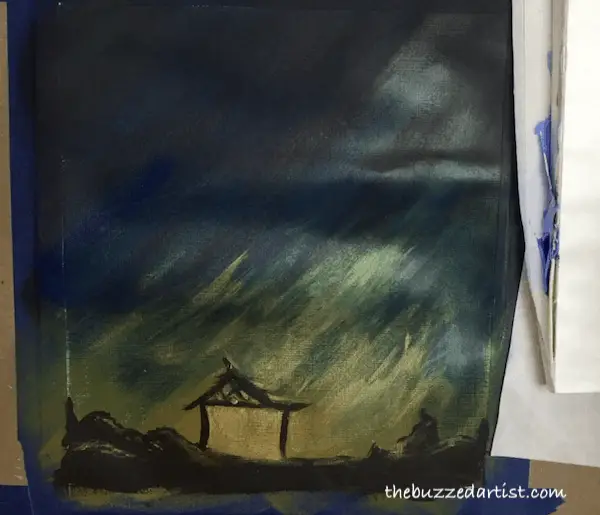
Step 3: Add Wisps to the Sky
With your un-rinsed flat wash, repeat the strokes using just the tip of the brush and a light amount of pressure. This creates a cool wispy look that softens the blend and creates more movement and depth to the background.
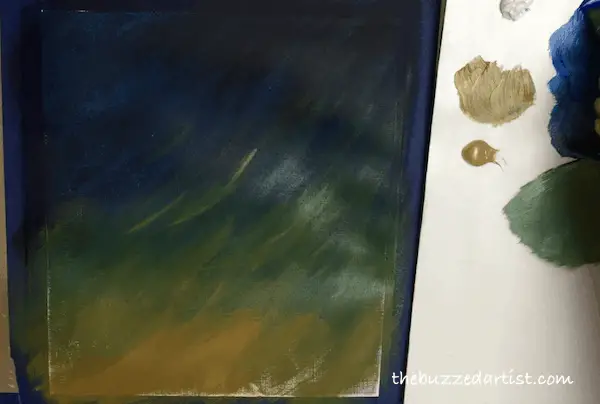
If at any point you feel there is just too much raw sienna, you can always go back to the blue + bit of black combination and continue blending. That’s one reason I ADORE acrylic paint – it’s so forgiving and you can erase mistakes as you go.

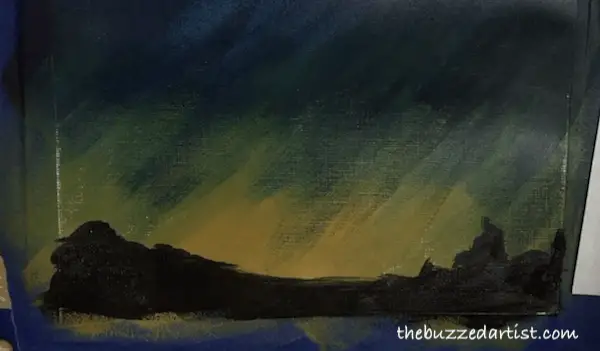
Step 4: Paint the Mountains
Now it’s time to make some mountains. Using either your shader or detail brush, dip it in water and load with black paint. Starting from the left about 1″-2″ from the canvas bottom, create a series of squiggly lines that start higher and slope down as it approaches the center of the canvas. Repeat this on the right as well for the second set of mountains.
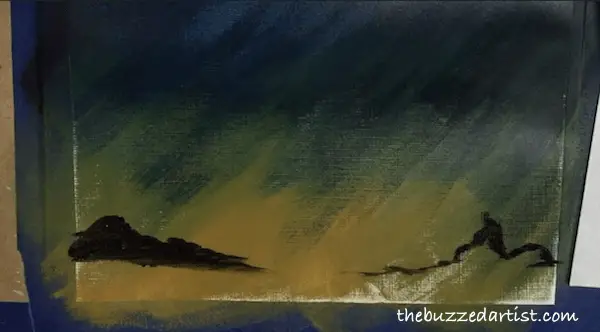
Once you have an outline you like, fill in the mountains with the black, covering the canvas bottom completely.
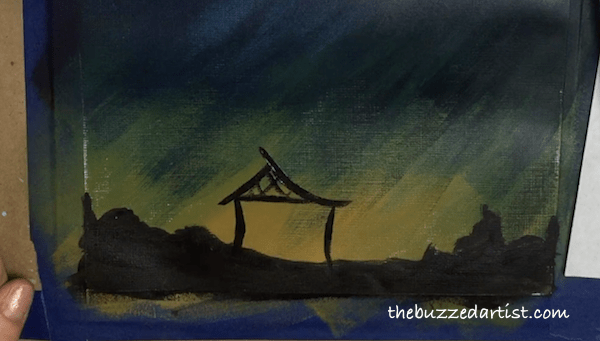
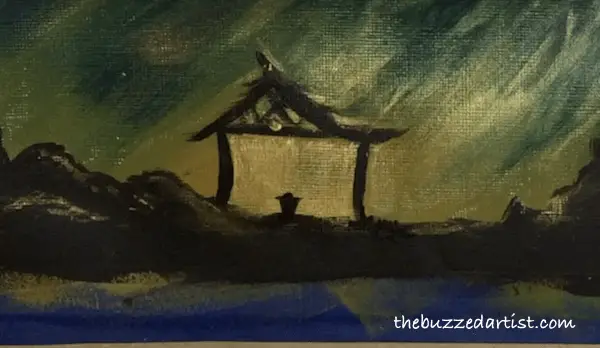
Step 5: Paint the Stable
With your detail brush loaded with black, we’re going to add in our stable. Start by making a vertical line to the left about 1″ high, then create a sloping line going right, above the first line for the first half of the roof. At the end point of the first roof line, create another sloping line that instead goes down to the right. Then, add another vertical line under that rightmost roof line.
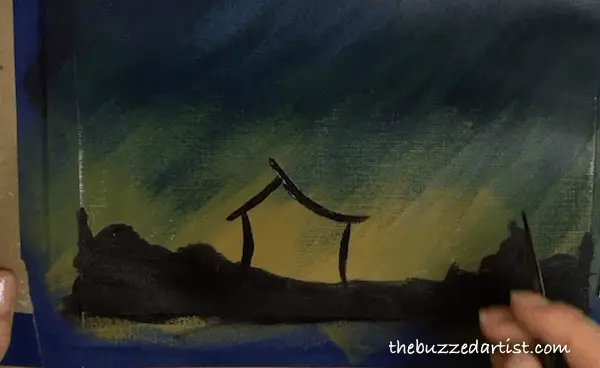
With the same brush and color, add a horizontal line between the two roof lines and put in a few criss-cross lines to represent the roof trusses.
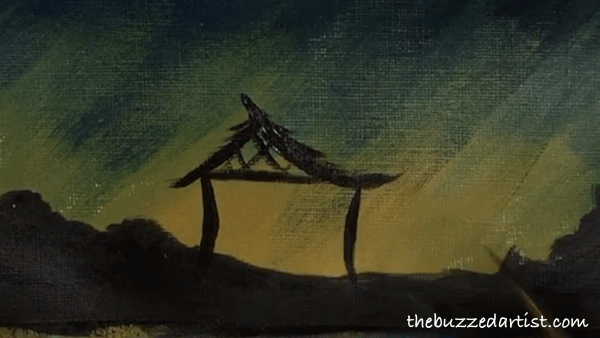
As an added detail, create light “feathered” brush strokes starting at the roof line and sloping outward. Make sure to take pressure off your brush as you make the stroke away from the roof line. Repeat the strokes as you go along the roof line to create a thatched roof look.
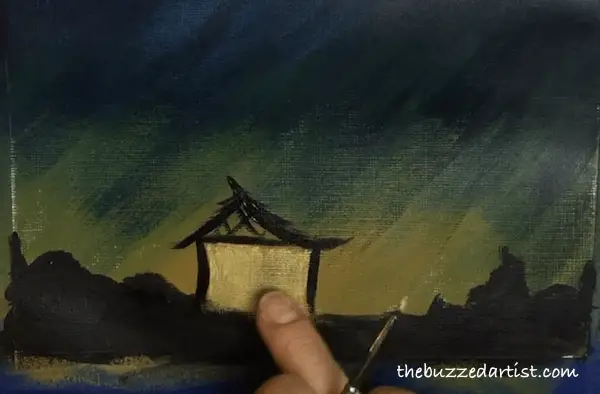
Step 6: Add gold inside stable
With your gold paint (or raw sienna + white), paint the inside of the stable and in between the roof trusses.
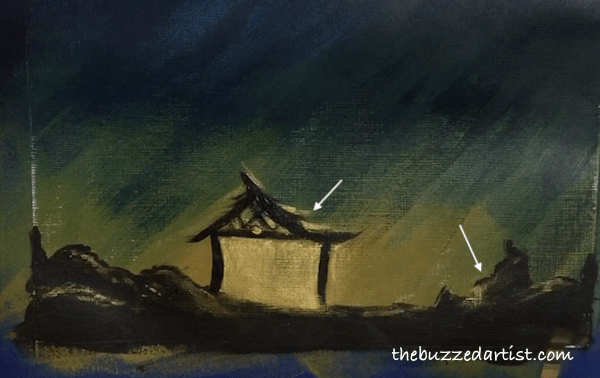
Step 7: Add Gold Highlights to Mountain
To create the illusion of light emanating from the stable, add highlights to the mountains. Specifically, for the left mountains, paint using light strokes along the right edges. For the right mountains, paint along the left edges.

In addition, add that gold to the top of the thatched roof, resembling the same strokes as the roof line.
Step 9: Paint in the Gold Highlights in Sky
While waiting for the inside of the stable to dry, go ahead and add some light gold highlights to the sky with your flat wash brush, focusing at the center of the canvas at the point where the blue meets the lighter colors. As you go about adding these highlights, be sure to smudge it with your fingers to create a smoother blend.
And just like before, add back more matching blue strokes over the gold highlights to help tone back the highlights as you see fit. Proceed add more layers of gold and blue to create more depth to the background.
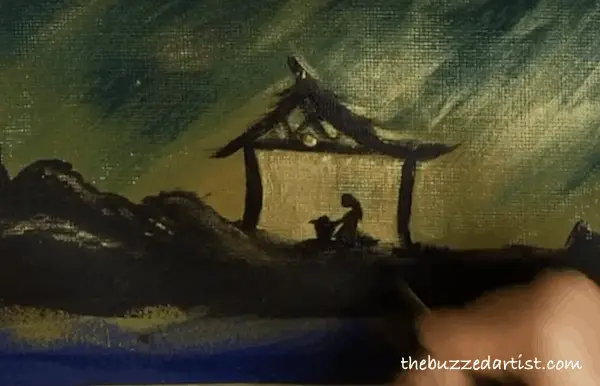
Step 10: Paint in Baby Jesus
Now it’s time to add our important characters inside the stable. First, we’ll start with the star of the show- Jesus. Using a detail brush loaded with back, go to the center of the stable and paint a small slanted box with a line on top. Then add a small semi-circle at the horizontal line to represent the tiny head.
Step 11: Paint in Mary
Then proceed to add in Mary, who is sitting beside the manger where Jesus lays. Begin with her head as a small circle and a few curved lines to represent her body.
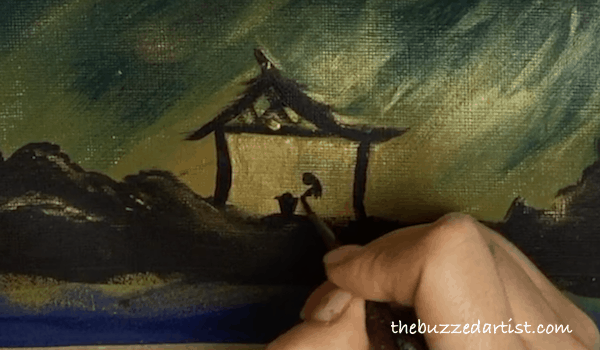
Keep filling her in and end with a few lines at the back to show she is sitting down on her knees.

Step 12: Paint in Joseph
To paint in Joseph, begin with the head which is about 1/5″ higher than Mary’s head. Draw a slanted line for his back and legs and add a few lines at the front for his arms.
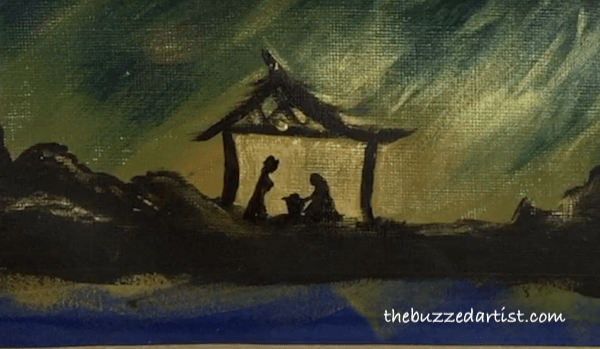
Then complete his look with a staff, which is a line that curves at the very tip.
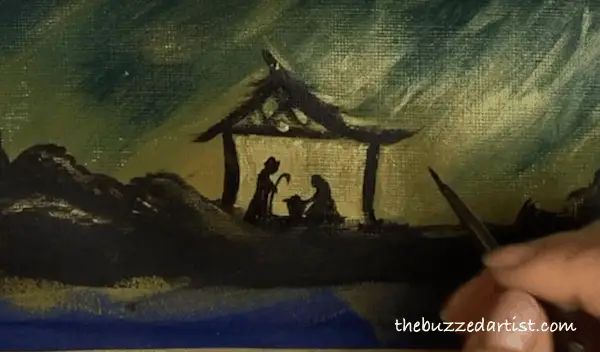
Step 13: Add more mountain details
This is a good time to add a few more mountains peaks by creating more “bumps” with your detail brush loaded with black.
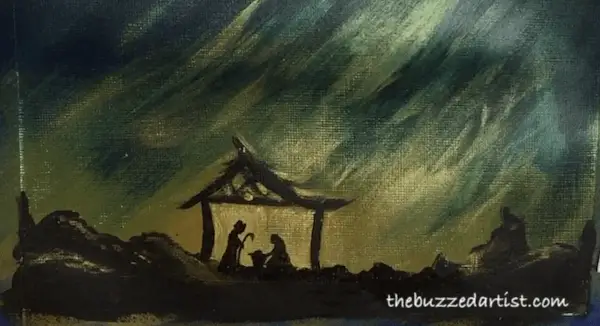
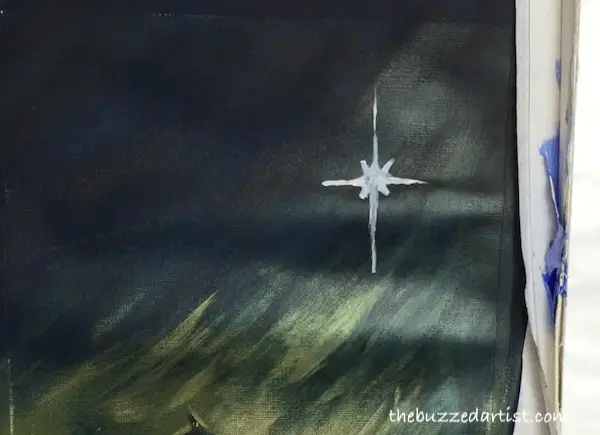
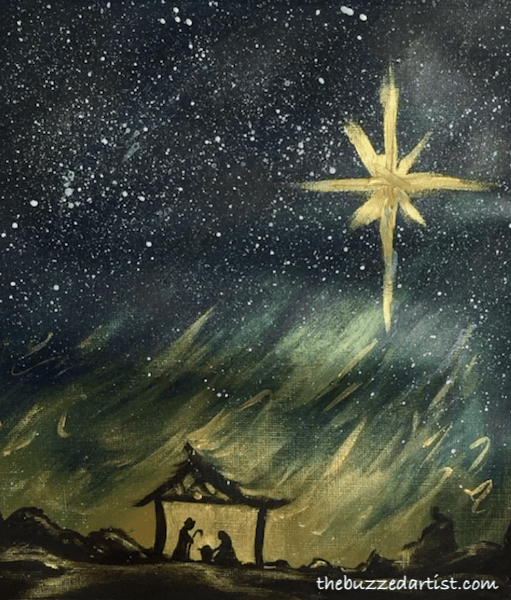
Step 14: Paint in the Guiding Star
Now it’s time for the guiding star. WIth your rinsed detail brush, load with white and at the top right portion of the canvas, create a 3-4″ vertical line and a 1-2″ horizontal line that cuts the vertical line in half.
Then make a criss-cross pattern at the intersection points of the star lines. Proceed to fill in the area just a little to add more “girth” to the star.
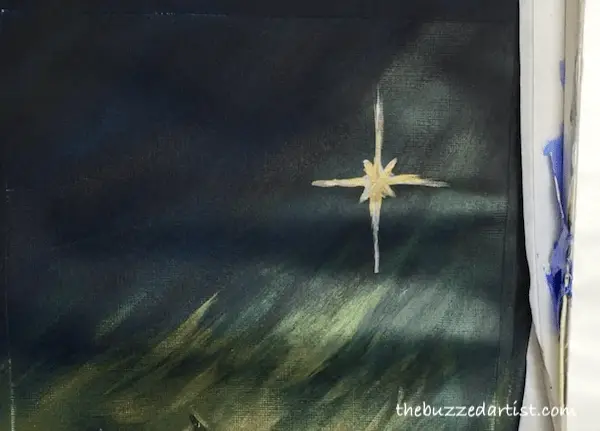
Then with your rinsed detail brush, load with gold and paint over the same star area.
Step 15: Add the tiny stars
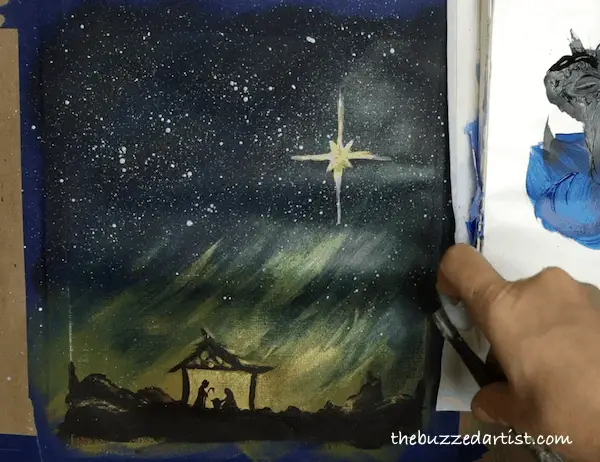
Using a flat wash or tooth brush, dip your brush into lots of water and titanium white. Using your finger, flick your brush head onto your canvas to create dozens of tiny star specks lining the night sky. I concentrated most of the stars to the upper portion of the sky.
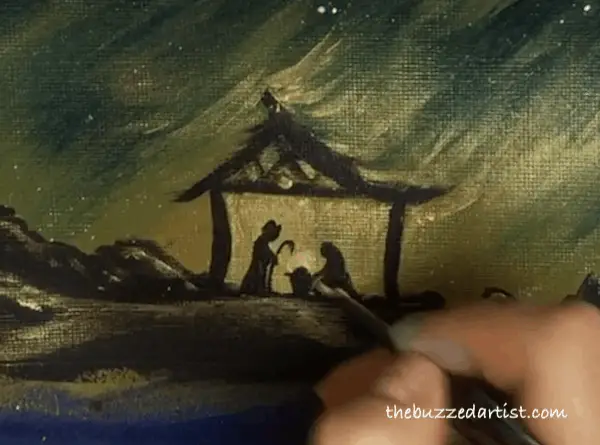
Step 16: Add land details
With your rinsed detail brush loaded with gold paint, add some defining details to the land, more specifically the hill area that the stable is resting on.
Step 17: Add Halo to Jesus
With your detail brush (un-rinsed), add a bit of white to the gold and create a small halo over the head of Jesus in the manger.
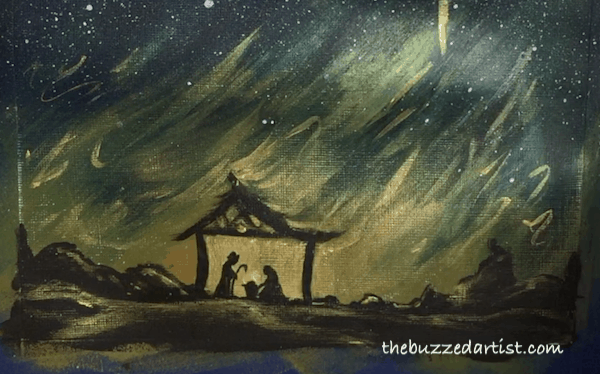
Step 18: Add gold wisps to sky
With the unrinsed detail brush dipped in gold, add a few light squiggly wisps to the background sky, concentrating mainly above the mountains and stable area.
Step 17: Step back and admire your work, Queen
And there you have it, Queen bee. A beautiful Christmas Nativity scene featuring a large sky, guiding star and tiny stable holding the Holy Family.


Thanks for this Amanda. I enjoyed doing this painting. Merry Christmas to you and your family. And I laughed about putting the baby Jesus in the manger at midnight. We did that as kids and now we do that with our kids.
Fun tradition!
Julie
So much fun! and a very Merry Christmas to you too, Julie 🙂 I hope you are enjoying the holiday and getting some much needed rest and relaxation.