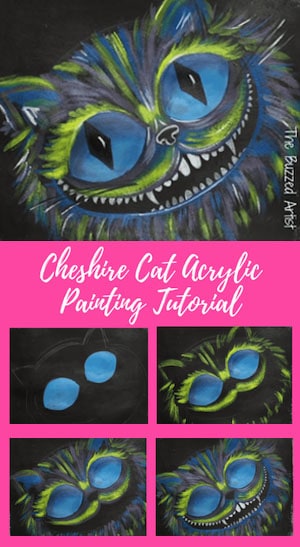
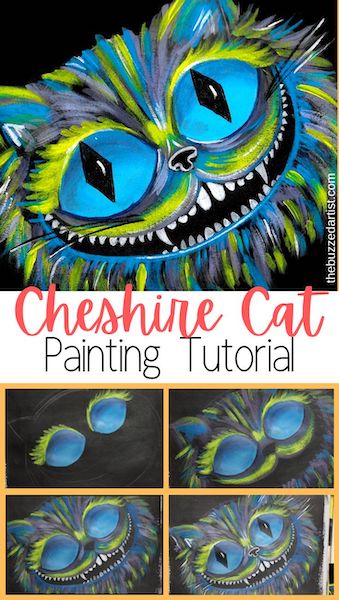
Paint the Cheshire Cat in this easy step-by-step acrylic painting tutorial for beginners
In this step-by-step tutorial, you’ll learn to paint the creepy Cheshire cat from Tim Burton’s Alice in Wonderland using acrylic paint. You’ll learn how to paint this ghoulish cat’s colorful fur using fun neon colors, create a wide-set grin with lots of pointy teeth, and make those big eyes that can make any passerby wince.
some links below are affiliate links, which means I will receive a small commission at no extra cost to you! If you wish to support my channel and send me a small thank you, be sure to click those links!
👉 Want to host a paint party with this tutorial? Here is exactly how you can set up a fun DIY paint party at home.
Cheshire Cat Acrylic Painting Supplies
Brushes:
Paints:
- Unbleached Titanium White
- Mars Black Acrylic Paint
- Primary Red Acrylic Paint
- Primary Blue Acrylic Paint
- Phthalocyanine Green Acrylic Paint
- Titanium White Acrylic Paint
Support:
- 11″x14″ canvas paper or pre-gessoed canvas
- Tracing paper (for transferring stencil)
- Charcoal pencil (for transferring stencil)
- Palette, palette paper or plate for mixing paint
Cheshire Cat Acrylic Painting Instructions
Follow these step-by-step instructions on how to paint your very own spooky cheshire cat painting.
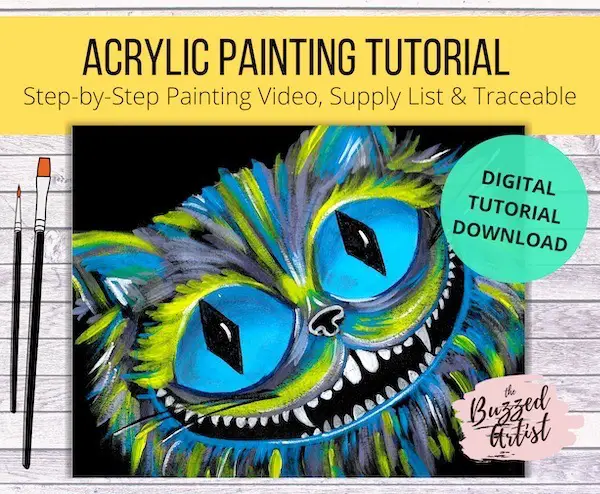
Want the Full Tutorial + Traceable Stencil (with no ads)?
If you want to get the entire step-by-step painting tutorial (without ads), printable supply list and stencil for 3 standard canvas sizes, check out this painting printable here in my shop.
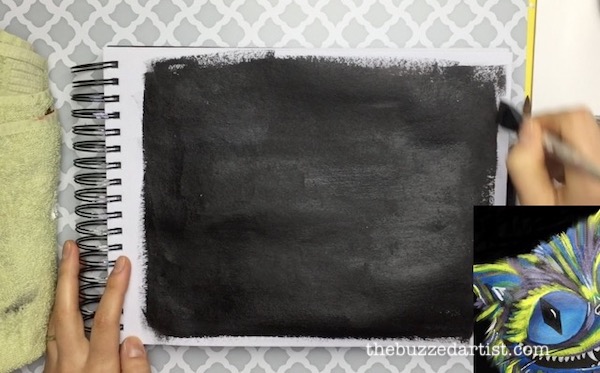
Paint the Background
STEP 1: Start out by painting your entire canvas with your flat wash brush and black paint. Let dry for 5 minutes.
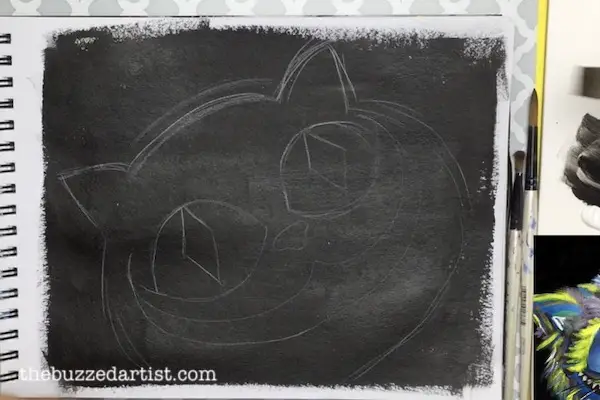
Trace in the Cheshire Cat
STEP 2: Using your cheshire stencil, place and trace onto your canvas paper. If you need directions on how to do this, read this helpful post on transferring stencils to paper.
Paint in the Eyes
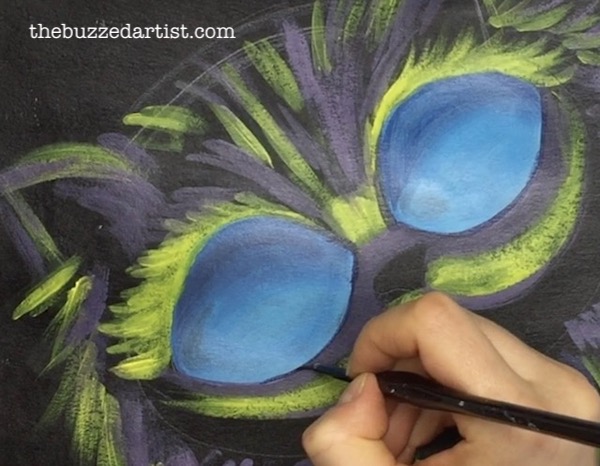
STEP 3: With your rinsed flat wash brush, mix together blue and white to make a light blue. Block in both the eyes with this color. To get to the edges and finer areas, you can switch over to your filbert brush.
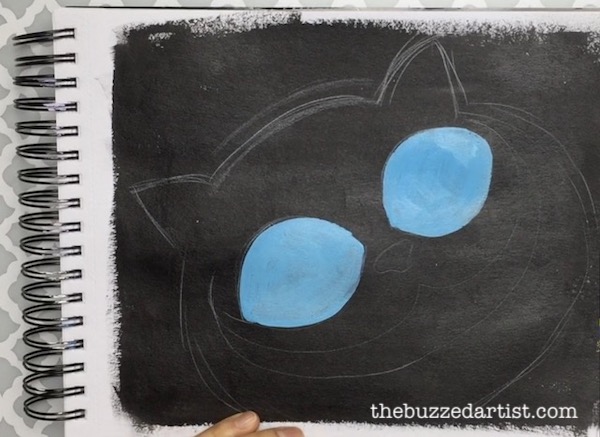
STEP 4: Grab a bit more blue onto your filbert brush and lightly brush the color on the top portions of both eyes to create a shadow.

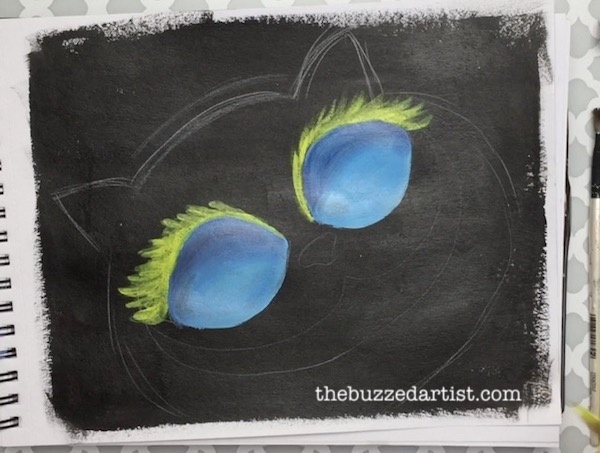
Paint in the Fur
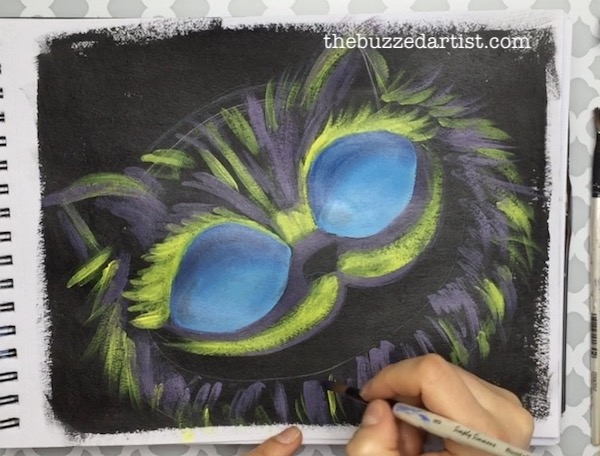
STEP 5: With your round brush, dip into your yellow and begin to add the “eyelash” fur on the cheshire cat. Start with the top of the right eye, and create curved lines veering right, along the top perimeter. Repeat this on the other eye with the curve going in the opposite direction.
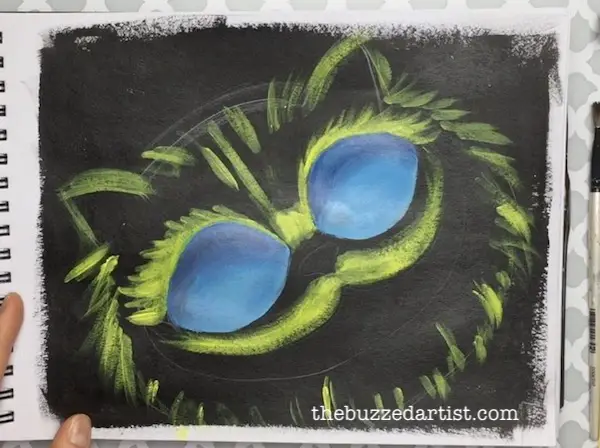
STEP 6: From there, continue adding more yellow fur around the entire cat face, including the ears and top of the mouth. I used a lot of smaller brush strokes and varied the direction they fell to create a more furry organic look.
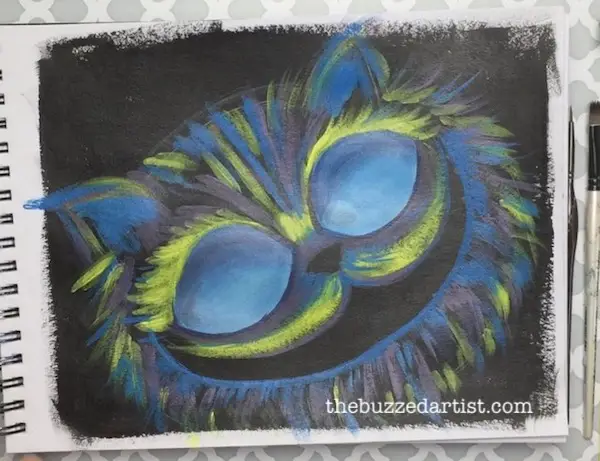
STEP 7: With your clean round brush, mix red and blue and white together to make a purple. Then go back in and create more furry brush strokes along the entire cat face. Feel free to add some purple fur layers on top of the yellow fur layers as you do this too. I even added a layer of purple under the eyes and above his nose.
STEP 8: With your detail brush, dip into your purple color (red + blue) and create an outline at the bottom of each of the eyes. You can carry this to the corners of each of the eyes as well as a bit on the sides of the eye.
STEP 9: With your clean round brush, dipped in blue + white, create another layer of fur around the entire cat face. The more you can overlap your fur strokes, the fuller the coat will look. I even used this color to block in a good deal of the fur inside the cat ears as well as the bottom of his mouth.
Paint in the Teeth
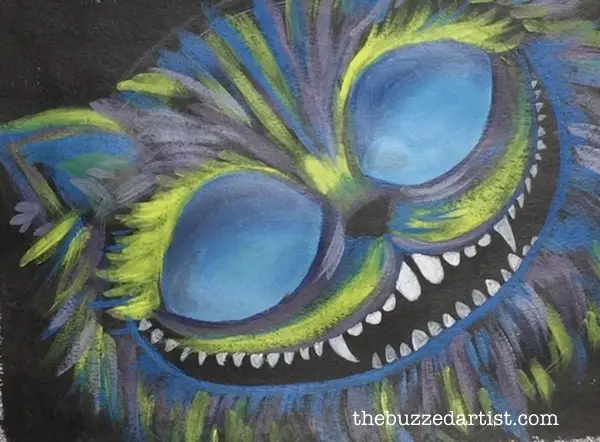
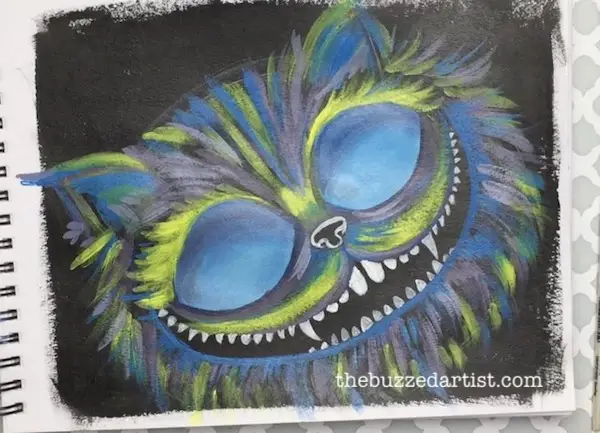
With your detail brush dipped in white, add the small white teeth of the Cheshire cat. I varied the types of teeth I made, the front top teeth have a rounded bottom while some other teeth had sharper tips. Vary these as you see fit. The more teeth you can add here, the better and creepier it will look!
Paint in Highlights
With your detail brush dipped in white, outline the entire nose of the cheshire cat.
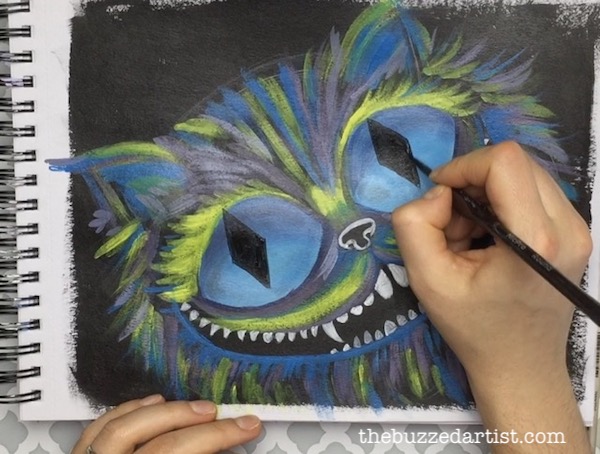
Paint in the Pupils
With your rinsed detail brush dipped in black, create two diamond shapes inside each eye. The diamond shape will touch the top of his eye but stops about 1/2″ from the bottom of his eye. Color block the diamond shapes.
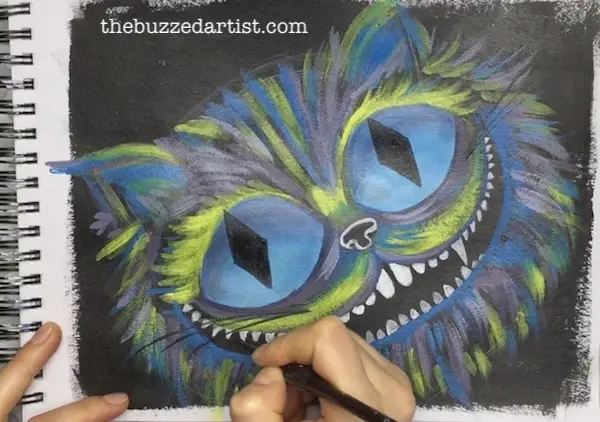
Paint in the Whiskers
To paint the whiskers, take your detail brush with black to the bottom of one eye and create a straight line coming out about 4-5″. Repeat this starting at the same point for each whisker but varying the angle it comes out until you have 3 whiskers. Repeat this whole step again under the second eye to create another set of whiskers.
Paint in Highlights
With your detail brush dipped in white, add a small highlight line on each of the pupils as well as a few small lines around the fur to create a few highlights, including the fur in his ears and along the whiskers.
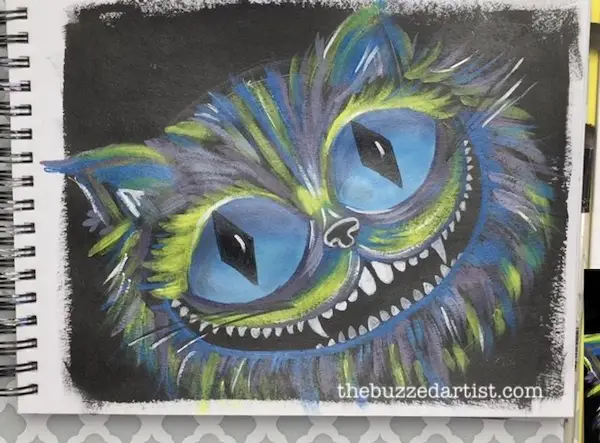
Once you are satisfied with your work, step back and admire your newly made Cheshire cat.
Want the Full Tutorial + Traceable Stencil (with no ads)?
If you want to get the entire step-by-step painting tutorial (without ads), printable supply list and stencil for 3 standard canvas sizes, check out this painting printable here in my shop.
More Halloween Painting Tutorials
The Bride of Frankenstein Acrylic Painting Tutorial
The Corpse Bride & Candy Skull with Acrylic & Glow In the Dark Paint | Halloween Tutorial
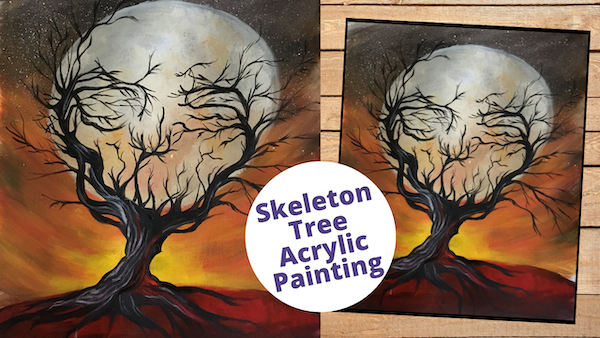
Spooky Skeleton Tree Acrylic Painting Tutorial for Beginners
How to Paint Tim Burton’s Cheshire Cat | Acrylic Painting for Beginners
Pin it for later! ⤵