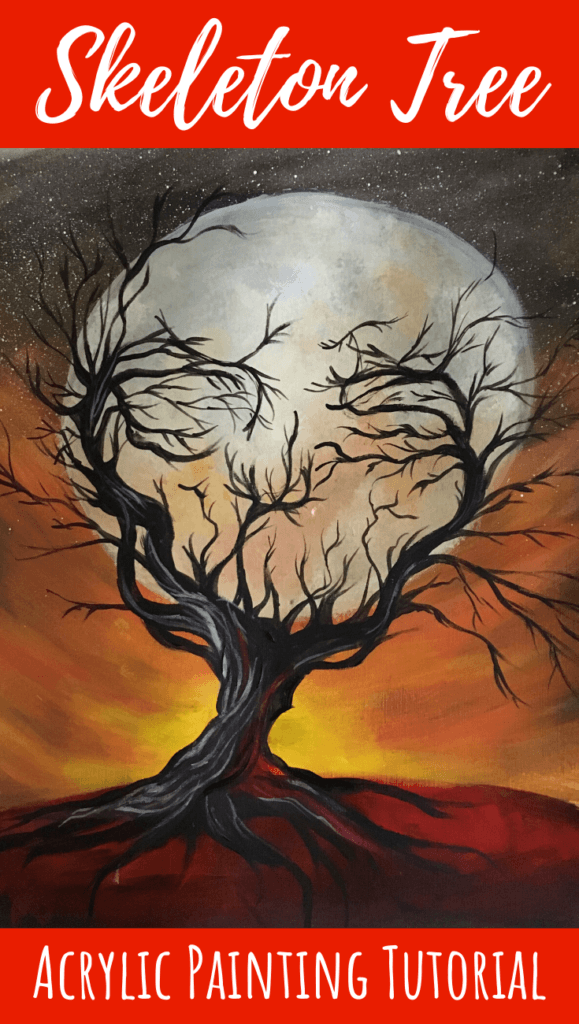
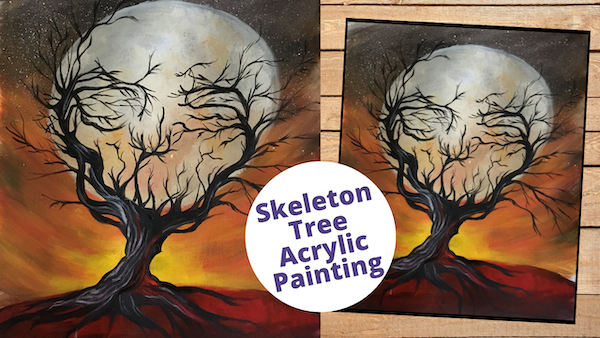
In this post, we are painting a spooky tree against a full moon – with a cool optical illusion of a skeleton peeking through. So grab your supplies and follow along in this fun, step-by-step Halloween themed tutorial for beginners.
Disclaimer: some links used in this post are affiliate links, which means I’ll earn a small commission if you purchase using my links at no extra cost to you. I only recommend products I think will be helpful to you and bring you one step closer to creating beautiful acrylic masterpieces!
👉 Want to host a paint party with this tutorial? Here is exactly how you can set up a fun DIY paint party at home.
SPOOKY SKELETON TREE PAINTING SUPPLIES
- 11″x14″ Canvas Paper or pre-gessoed stretched canvas
- Tracing paper (for transferring stencil)
- Charcoal pencil (for transferring stencil)
- Palette, palette paper or plate for mixing paint
- A toothbrush (optional)
Brushes
Paints
- Yellow-Ochre Acrylic Paint
- Yellow-Orange Acrylic Paint
- Cold Gray/Payne’s Gray Acrylic Paint
- Lemon Yellow Acrylic Paint
- Scarlet Red Acrylic Paint
- Mars Black Acrylic Paint
- Titanium White Acrylic Paint
- Acrylic Paint Basics
Note: All the colors mentioned above came from the Arteza acrylic paint set, but feel free to use colors that come close to what I used or go completely rogue with your own color set.
SPOOKY SKELETON TREE PAINTING INSTRUCTIONS
Follow these step-by-step instructions on how to paint your very own skeleton tree optical illusion painting.
Want the Full Tutorial + Traceable Stencil (with no ads)?
If you want to get the entire step-by-step painting tutorial (without ads) and stencil, grab it from my shop.
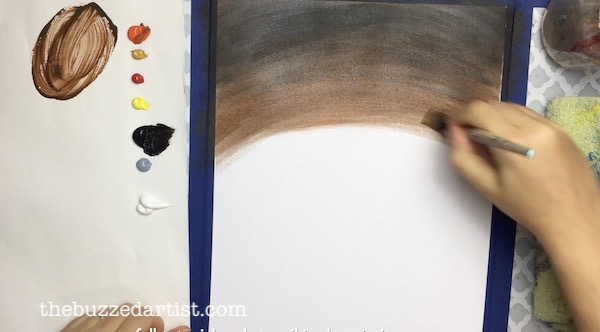
Paint in the Background
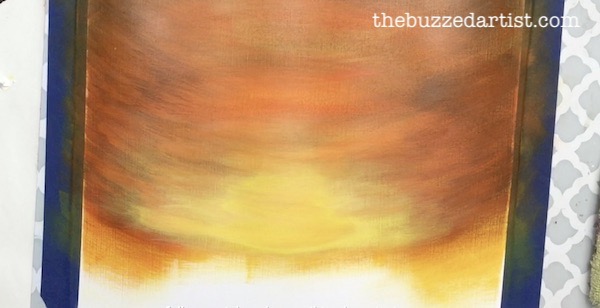
STEP 1: With your flat wash brush, mix together orange-yellow with a bit of black to create a dark muddy orange. Begin by painting using a curve facing slightly down with your brush starting at the top of the canvas and working your way down to about halfway down the canvas. I varied my colors as I did this, reloading my brush either with the muddy orange or adding a bit more black to the top areas of the canvas edges.
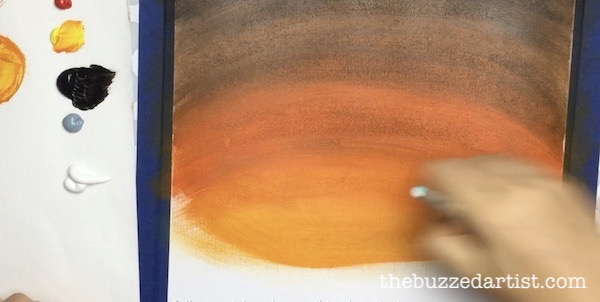
STEP 2: Next with your rinsed flat wash, grab some orange-yellow and starting an inch below where the brown-portion of the sky ends (about midway on the canvas), add in a similar downward curve strokes as the previous step. Be sure to bring the color up into the muddy brownish colors to help with blending and create a seamless gradient. I ended up doing this a few times to really help get that blend going.
STEP 3: Then, dip your brush into yellow ochre and continue creating the same brush strokes, making sure to bring the color up to blend with the yellow-orange layer and also bringing it down to about 6″ from the canvas bottom edge. I even took the liberty of making upward curved strokes with this same color at the bottom of that color band.
STEP 4: Grabbing some more orange-yellow mixed with yellow-ochre continue lightly adding upward strokes of color going all the way back up the canvas. I didn’t want this to look too stark, so I made sure I didn’t have a lot of paint on my brush and I applied very little pressure as I painted.
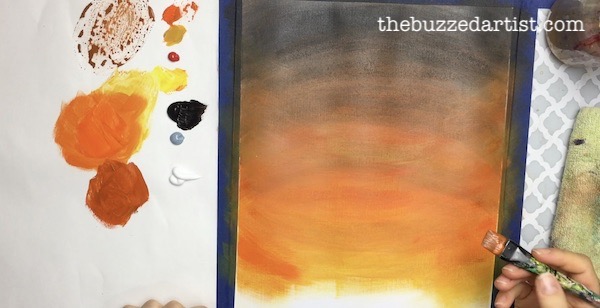
From there, you can vary the color tones to make it darker and really play with layering the colors here.
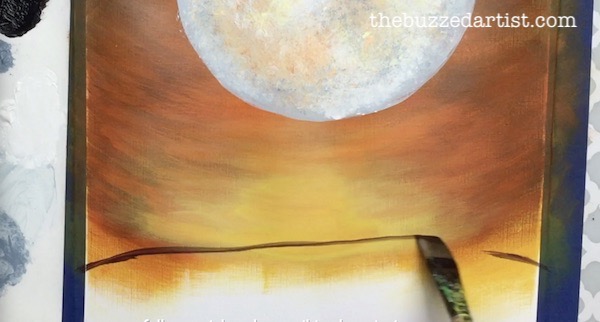
Paint in the Setting Sun Color
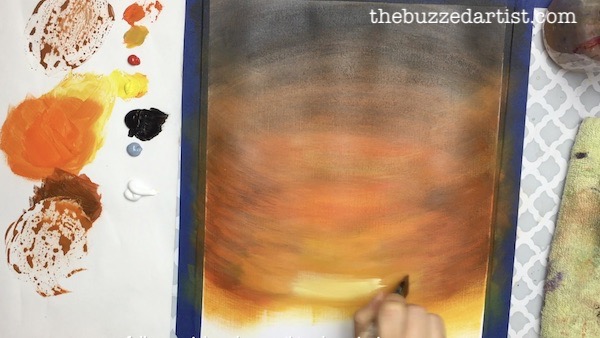
STEP 5: Next, grab some lemon yellow and white mixed together to create the area of the sky where the sun is setting. Using the same upward curved strokes with minimal pressure, work your brush at the bottom of the color band (about 6″ from the bottom of the canvas) working slowly up 3-4″.
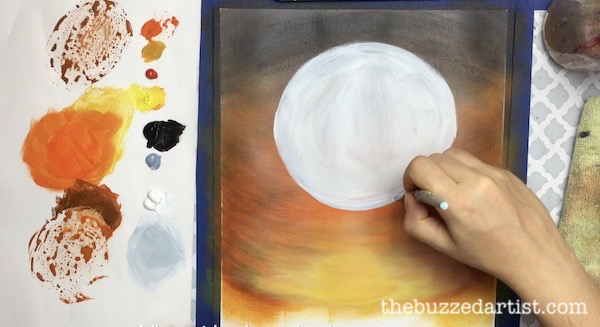
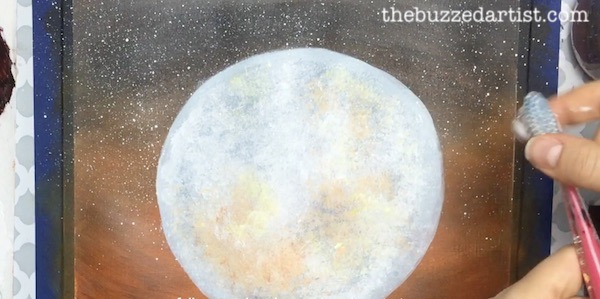
Paint the Moon
Using your rinsed flat wash brush mixed with white and a bit of gray, create a full looking moon about 5-6″ in diameter centered about 2-3″ from the top of the canvas. The bigger the moon looks, the better your illusion will show up later.
Then take a tissue, ball it up and gather some gray onto it. Begin to dab onto the edges of the moon and work slowly and lightly towards the moon center. This creates the moon craters.
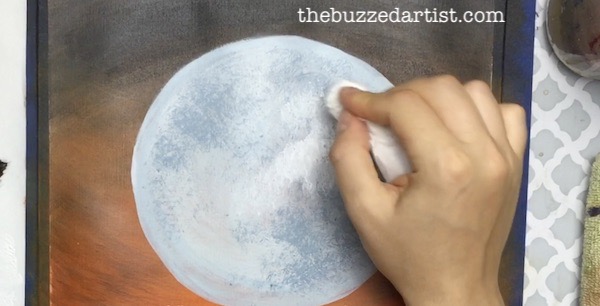
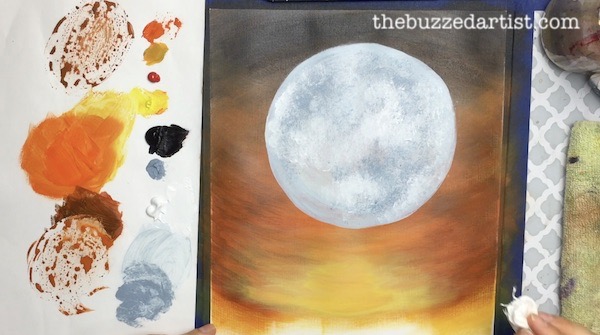
Repeat the dabbing around various parts of the moon and using different colors like white and white+orange-yellow for various color effects.

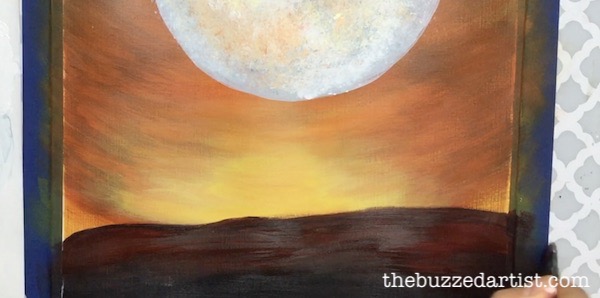
Paint the Hill
Using your rinsed wash brush dipped in black + scarlet red, create a curved horizontal line about 2-3″ from the bottom of the canvas to create the hill the tree will rest onto.
Then, block in the color from the top of the hill to the bottom of the canvas. I added more black to the bottom portion of the hill to create depth.
Paint in the Stars
With your toothbrush (or one of your brushes), dip it in water and lightly coat it with white. Then, proceed to flick the bristles to create dozens of little dots to represent the stars in the moonlit sky.
Add in the Tree
Using your detailed tree stencil from my class, place and trace onto your canvas paper. If you need directions on how to do this, read this helpful post on transferring stencils to paper.
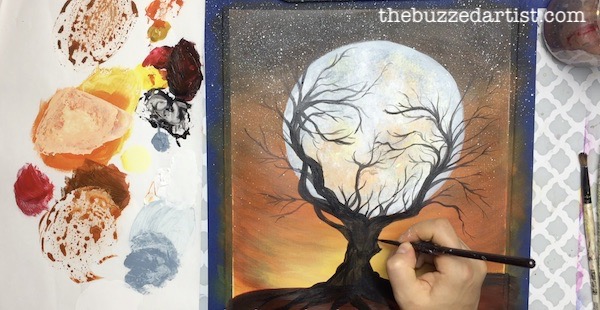
Then using a detailed round brush proceed to block in the tree color with black. Feel free to add more branches as you see fit – honestly the more the merrier.
To make a branch, be sure to use your detail round brush and work your brush from the larger areas of tree, making a Y shape, and letting go of the brush pressure as you get to the branch tip to help make it sharp.
Final Touches with Bark Details
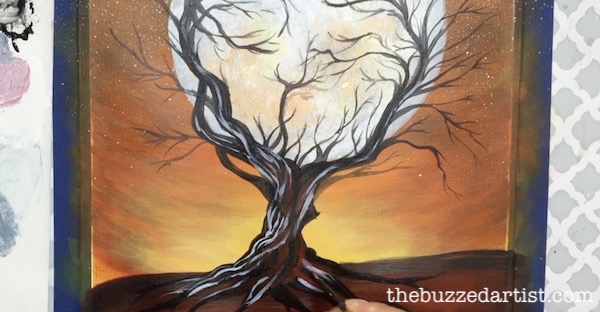
This is where you can really take your painting to the next level. With your cleaned detail round brush dipped in white (and a tiny bit of gray), add a few lines going up one side of the tree and on some of the branches – this helps give an eerie reflection from the full moon. You can also do this with other colors like red or yellow-orange for extra pop.
Want the Full Tutorial + Traceable Stencil (with no ads)?
If you want to get the entire step-by-step painting tutorial (without ads) and stencil, grab it from my shop.
Enjoyed this? Try these Halloween paintings