
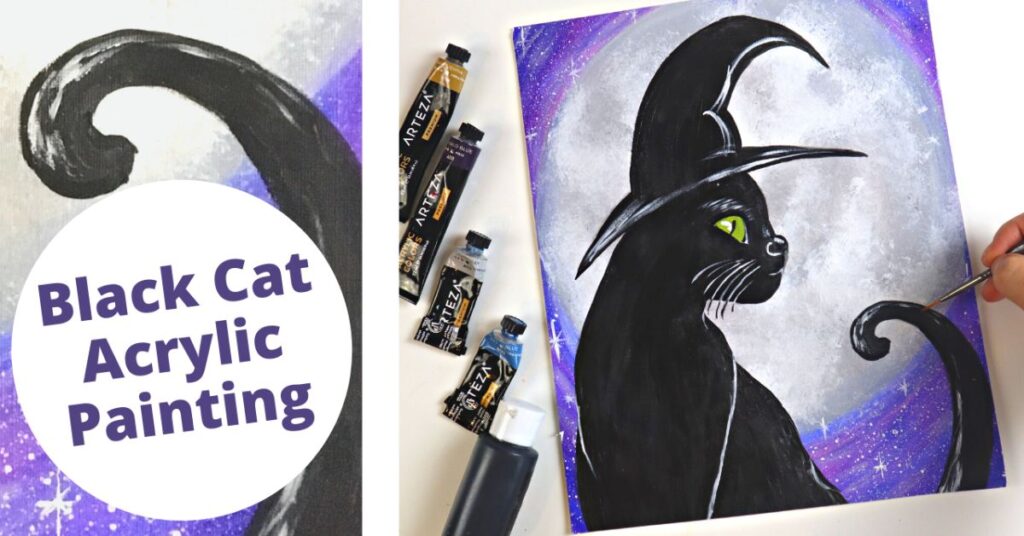
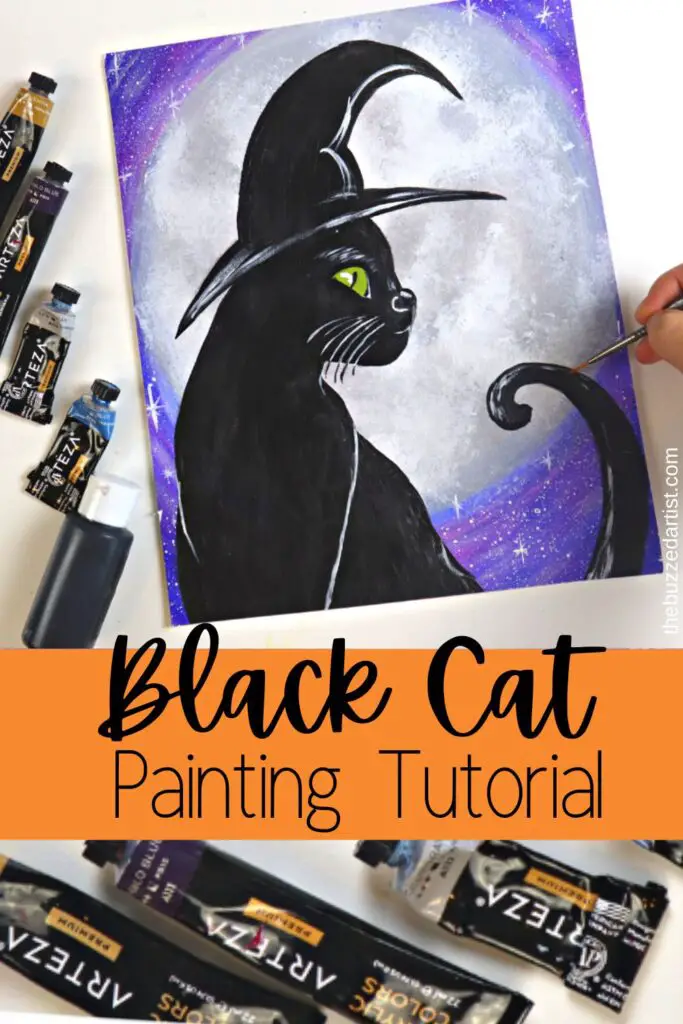
Need to paint a black cat with a witch hat? You’ve come to the right place.
In this step by step tutorial, you’ll learn how to paint a black cat with a witch hat against a spooky moon background. It’s fun and easy to complete, so let’s start painting!
Disclaimer: some links used in this post are affiliate links, which means I’ll earn a small commission if you purchase using my links at no extra cost to you. I only recommend products I think will be helpful to you and bring you one step closer to creating beautiful acrylic masterpieces!
👉 Want to host a paint party with this tutorial? Here is exactly how you can set up a fun DIY paint party at home.
BLACK CAT PAINTING SUPPLIES
- 11″x14″ Canvas Paper or 11″x14″ pre-gessoed canvas
- Tracing paper (for transferring stencil)
- Charcoal pencil (for transferring stencil)
- Palette, palette paper or plate for mixing paint
Brushes
Paints
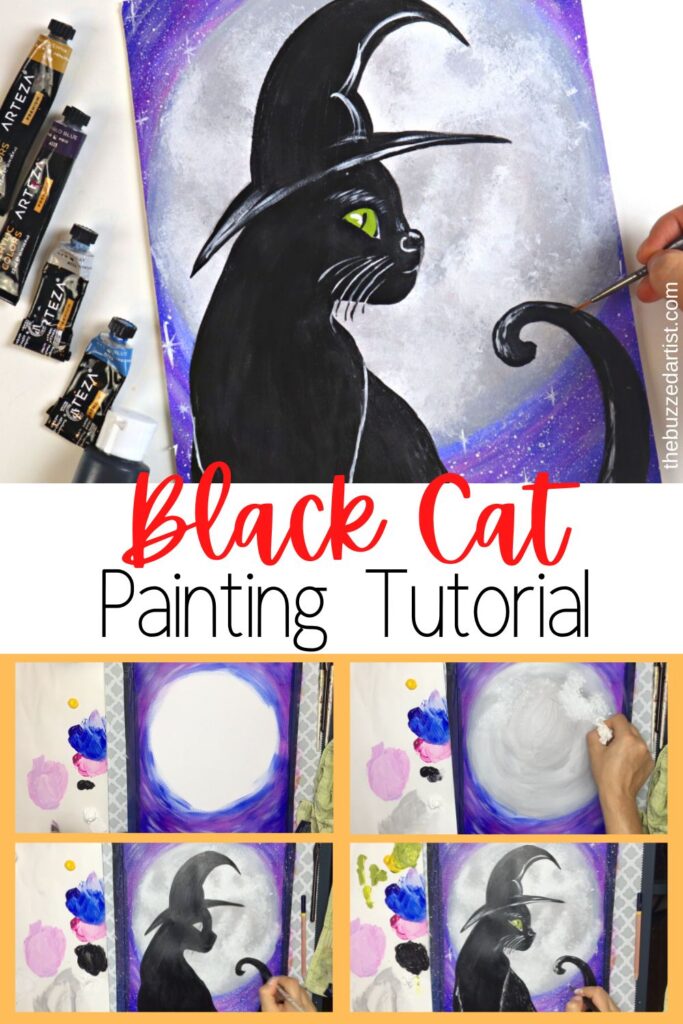
BLACK CAT PAINTING STEPS
Follow these step-by-step instructions on how to paint your very own cute black cat wearing a witch hat.
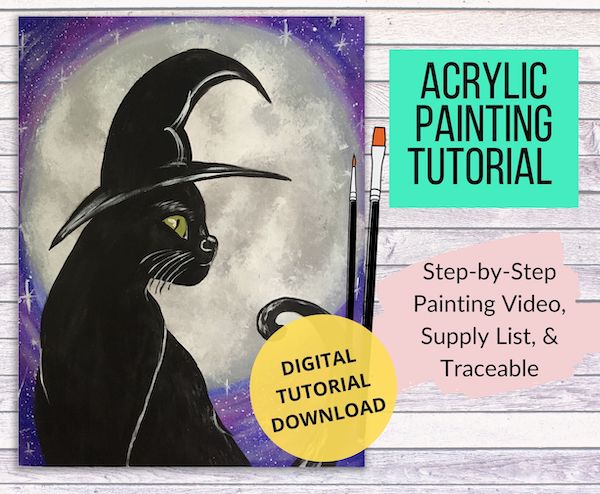
Want step-by-step video lesson & stencil?
If you want to get the entire step-by-step painting tutorial (without ads) and stencil, grab it from my shop.
Just want the stencil? Instantly download it here.
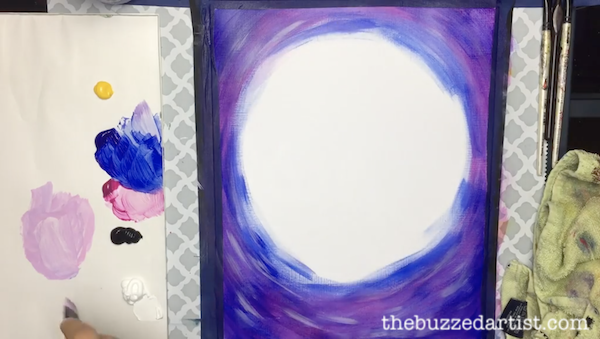
Paint the background
STEP 1: With a flat wash brush loaded with red, begin blocking in the sides of the entire canvas, leaving the center area of the canvas white. I made sure to make my brush strokes go in an arc/circular direction around the center of the canvas.
Next, load a little bit of your blue onto your brush and lightly brush over various areas of the previous red layers, using the same circular brush strokes. Make sure to do a little bit of paint at a time to keep the red showing through underneath.
Then, with your rinsed flat wash brush, mix together white and red together to make a lighter crimson/pink. Using the tip of your brush, lightly brush the color over various areas of the painted areas- making sure to follow the same circular brush stroke as you do so.
Paint in the Moon
STEP 2: With your rinsed flat wash brush, mix together white and a tiny bit of black to create a light gray color. Proceed to fill in the center of the canvas that currently does not have paint on it. Be sure to keep your brush strokes following a circular shape as you do this.
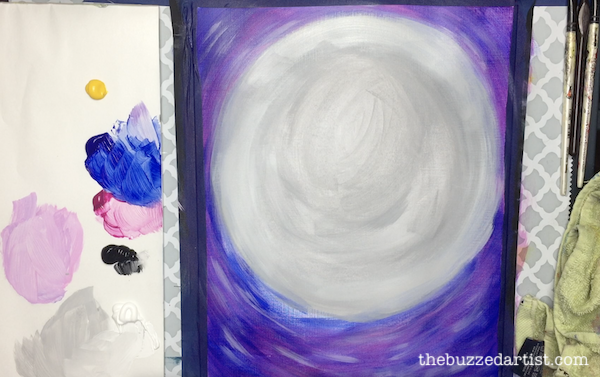
Feel free to extend the moon shape closer to the sides of the canvas if you wish to do so.
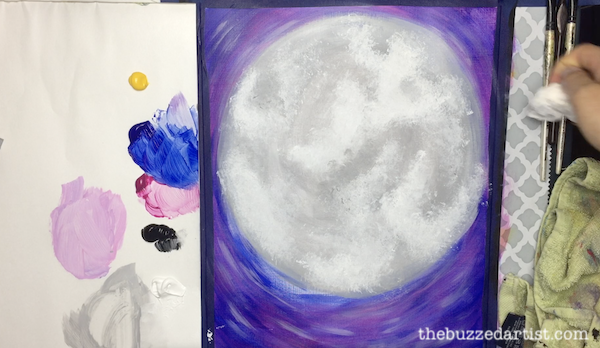
Next, take a tissue and crumple it up. Then dip it into a bit of white and proceed to dab the color right over various sections of the moon to give it some texture.
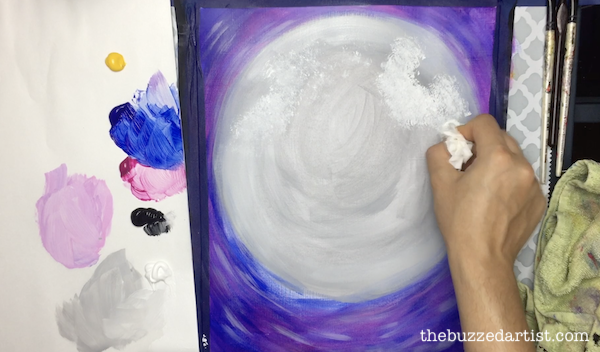
As an added trick, you can dip your tissue into a bit of that gray we made previously and repeat the dabbing motion to create a few grayish textures.
Paint in the Stars
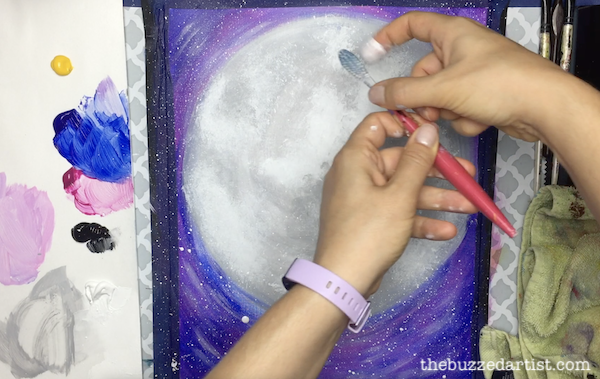
Grab your toothbrush or your flat wash brush and dip it into a mix of white with a lot of water. You want to make sure your paint is super watery and flowy. Then, hover over your canvas, flick back the brush bristle and release. This will create a ton of tiny dots which will represent the stars. Feel free to add as many as you like.
Paint in the Cat
STEP 5: Using your black cat traceable, place and trace onto your canvas paper. If you need directions on how to do this, read this helpful post on transferring stencils to paper.
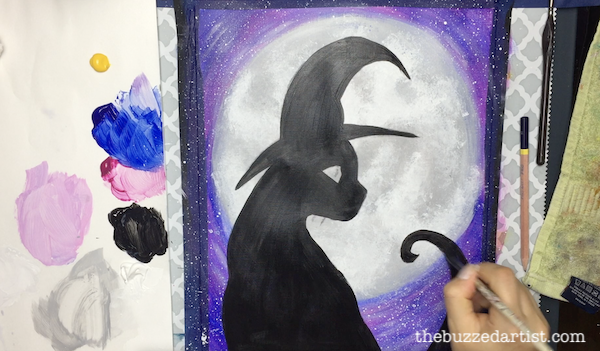
Then with your filbert brush, load it with black paint with a bit of water and proceed to color block in the cat figure and hat. Be sure to not paint over the eye area.
For any areas that need a sharper brush stroke, like the tip of the witch hat, you can switch over to your flat brush or your detail brush to do that.
Once you’ve blocked in your cat, it’s time to add its little tail. With your flat shader brush loaded with black paint, go to the bottom of the canvas and choose a place to start ( I went about 3-4″ from the cat body) and paint in the cat tail. You can make it as curvy and tall as you like. I decided to make the tail about the same height as the cat’s chin.
Block in the Eyes & Whiskers
With your detail round brush (or filbert), mix together yellow and a bit of blue to make a green color. Then add a bit of white to bring out the green color. Then, proceed to block in the larger areas of the cat eye. Switch over to your detail round brush to get the smaller corners and areas of the cat eye.
Once you’ve done that, you can clean up the area with a bit of black and your detail round brush (which is a neat little trick to get cleaner edges).
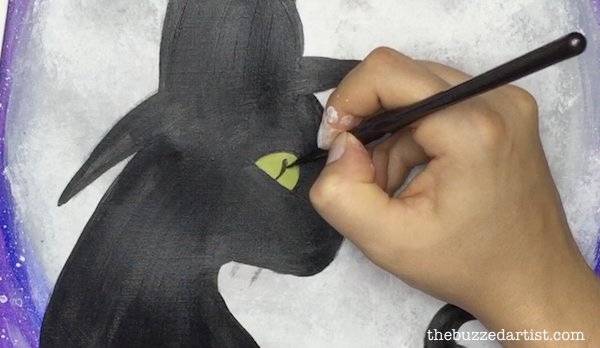
Then with your detail brush loaded with black, make a small curved line inside the cat eye to represent the cat pupil.
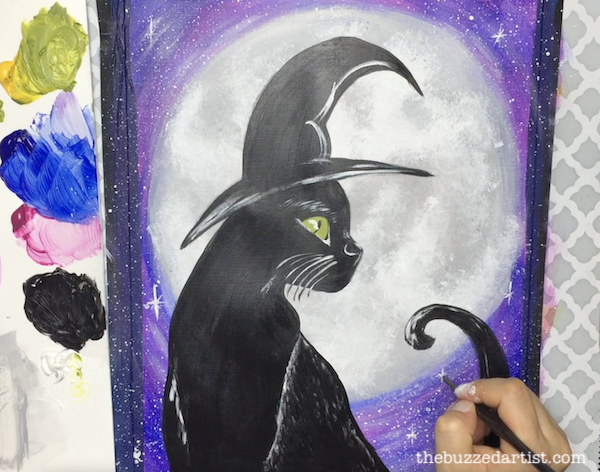
To make the whiskers, use your rinsed detail brush loaded with white and paint in the cat whiskers. I decided to add in about 7 whiskers, but you can add as many or as little as you like.
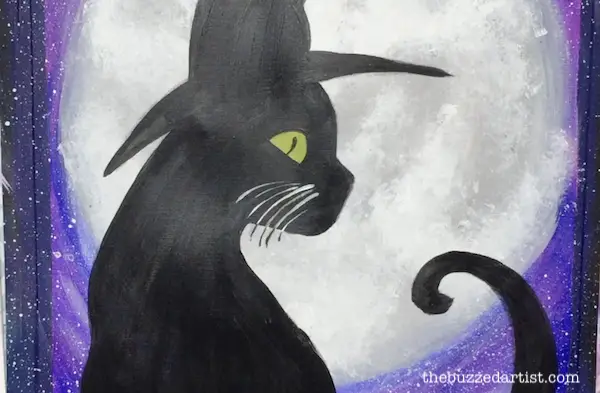
A small detail I really liked was for any whiskers that extended past the cat’s face, I did in black so it wouldn’t get lost against the moon background.
Add Highlights
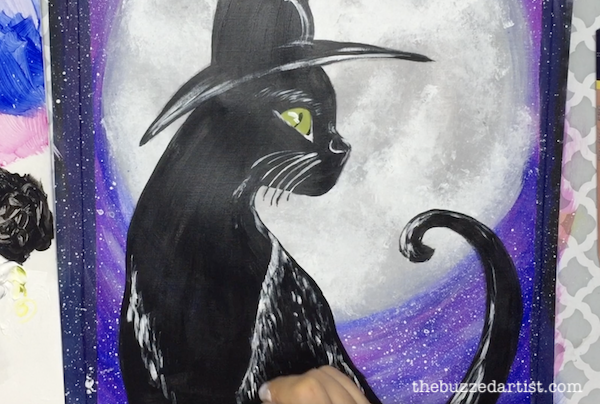
Using your rinsed detail brush loaded with white, add some highlight details for the cat body. I added a few details around the corner of the cat eye, his nose, and fur around the eyes, tail and body.
To make the fur, make sure to keep your brush strokes light and create short brush strokes with a slight curve to them.
Final Touches
Finally, take some time to embellish a few of the stars in the night sky using your detail round brush. This helps create a magical twinkle.
Once you’re happy with it, sit back and admire your work.
Black Cat Acrylic Painting Tutorial
Want step-by-step video lesson & stencil?
If you want to get the entire step-by-step painting tutorial (without ads) and stencil, grab it from my shop.
Just want the stencil? Instantly download it here.
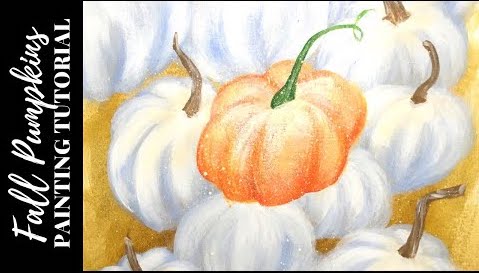
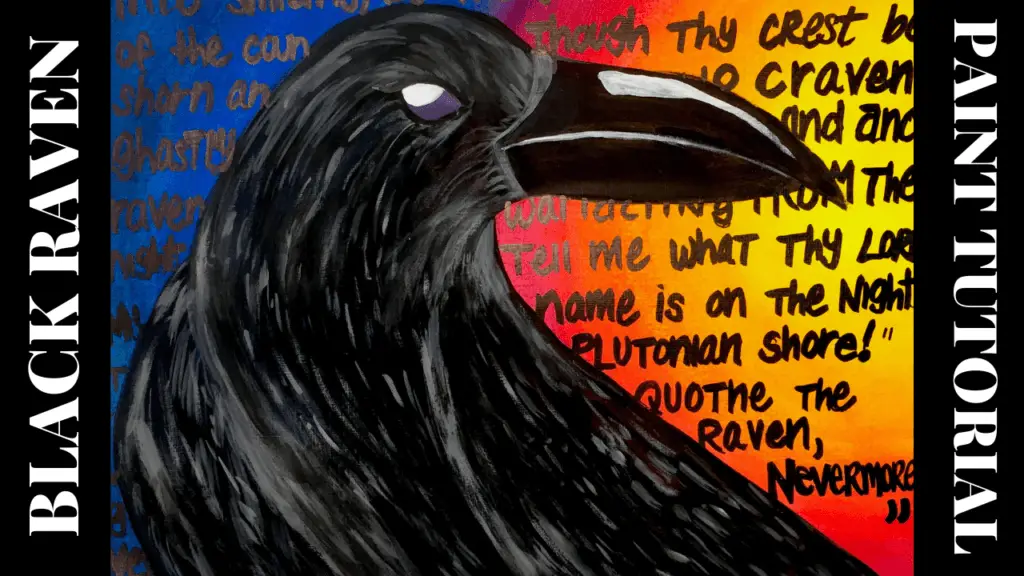
Enjoyed this? Make more Halloween paintings


Very nice, Amanda, as a cat lover, I loved this…I have always found animals more challenging to paint due to the many textures of fur, feathers, scales, etc, that are prevelant in them, but you nailed it…The cat’s pose against the circular details go well together too. Keep up the good work!
Thank you so much, Jennifer 🙂 Animals are a lot of fun to paint!