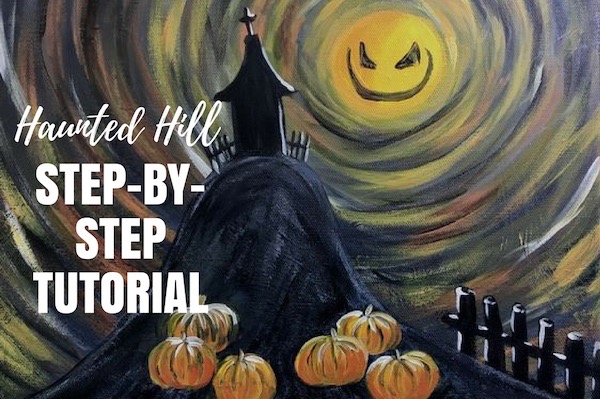
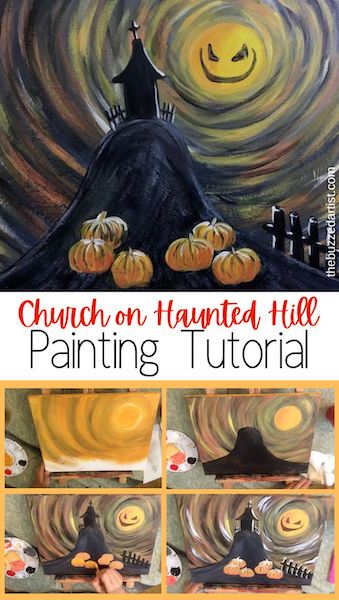
What’s better than a spooky church? A spooky church on a haunted hill with pumpkins.
In this post, we’re FINALLY getting into a more darker, scarier Halloween theme…with rickety gates, an old church, and a super menacing sky and moon eerily smiling upon the entire scene all while using acrylic paints and 3 types of brushes.
In this step by step tutorial, you’ll learn how to paint a a creepy haunted church sitting atop a hill with pumpkins at the bottom – while a full moon smiles eerily down on the scene. It’s fun and easy to complete, so let’s start painting!
Disclaimer: some links used in this post are affiliate links, which means I’ll earn a small commission if you purchase using my links at no extra cost to you. I only recommend products I think will be helpful to you and bring you one step closer to creating beautiful acrylic masterpieces!
👉 Want to host a paint party with this tutorial? Here is exactly how you can set up a fun DIY paint party at home.
CHURCH ON HAUNTED HILL PAINTING SUPPLIES
- 11″x14″ Canvas Paper or 11″x14″ pre-gessoed canvas
- Palette, palette paper or plate for mixing paint
Brushes
Paints
CHURCH ON HAUNTED HILL PAINTING STEPS
Follow these step-by-step instructions on how to paint your very own haunted church on a hill with a creepy moon.
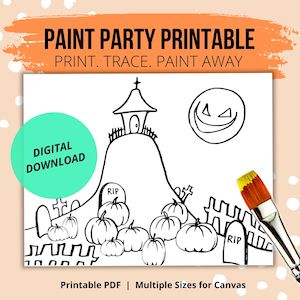
Want the Traceable stencil?
If you want to get the full stencil for this painting, get the printable stencil here.
Paint the background
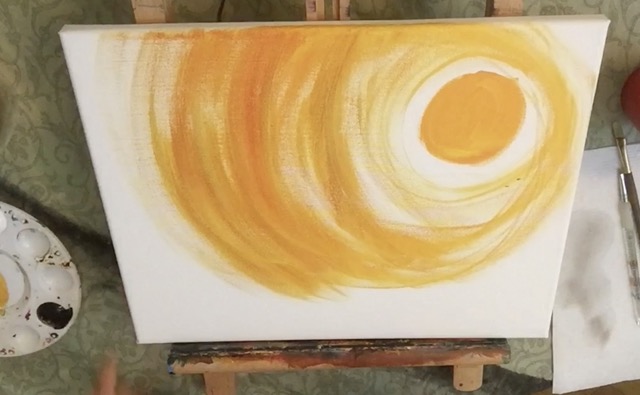
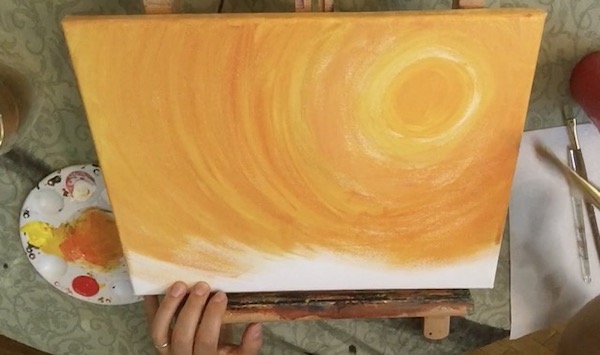
With your flat wash brush, mix together yellow and white with a bit of red to make an orange color. Pick a spot around the top right portion of the canvas and paint in a 3-4″ circle to represent the moon.
Once you’ve placed your moon, using the same color and brush, create a series of circles around the moon, growing bigger and bigger. This helps create a focal point for your moon and gives your sky a lot of movement. Continue to do this until you’ve covered a good deal of your canvas.
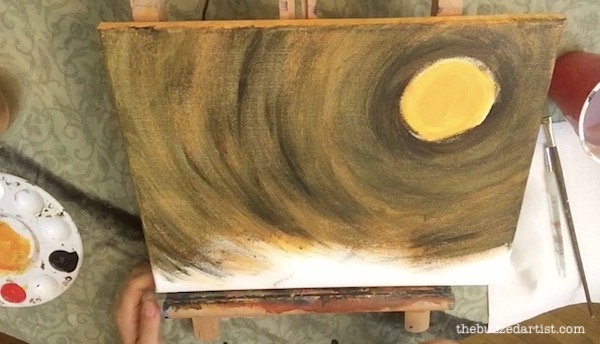
With your rinsed flat wash brush, take a tiny bit of black and proceed to make a series of varied dry brush strokes following the same curved strokes from previous layers around the moon. A little bit of black will go a long way here!
Once you’ve done that, I made sure to fill in the space around the moon with black paint. Don’t worry about making this perfect. We will be painting on top of this later when it dries.
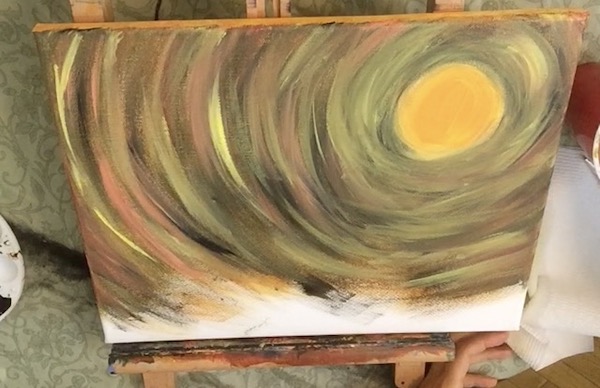
You can experiment and add more depth to your sky by adding more colors.
With your rinsed flat wash brush, mix together red and yellow to make orange. Then add a good deal of white to make a very light orange color. Using the tip of your brush, lightly brush on a series of curved brush strokes at various portions of the sky, all centered around the moon. I also did this with pink color (red with a bit of yellow with a lot of white) and a light yellow (yellow + white).
Add Moon Shadow
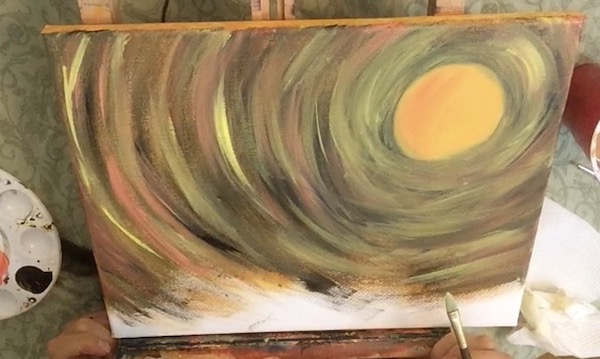
With your filbert brush, mix together yellow with red to make a yellow-orange. I then painted on the left side of the moon to create a subtle shadow blend.
Paint in the Hill
With your rinsed filbert brush, load it with black acrylic paint and paint in a hill with a very steep curve that peaks at the center of the canvas. I started and ended my hill about 1-2″ above the bottom edge of the canvas.
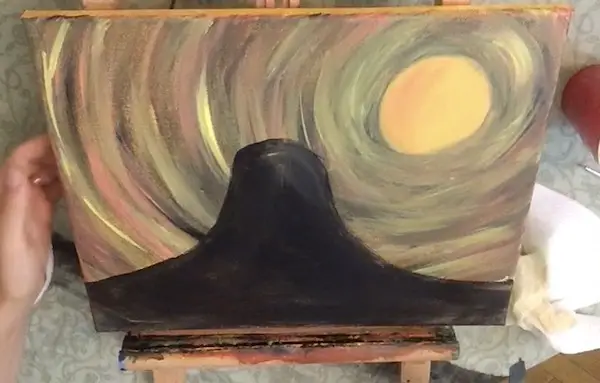
Next it’s time to add in the church building and the fence. I started to make the church building with two parallel lines and then made two curved lines for the rooftop. Then, I made a cross shape at the top of the roof. I then made the fence on either side of the church building.
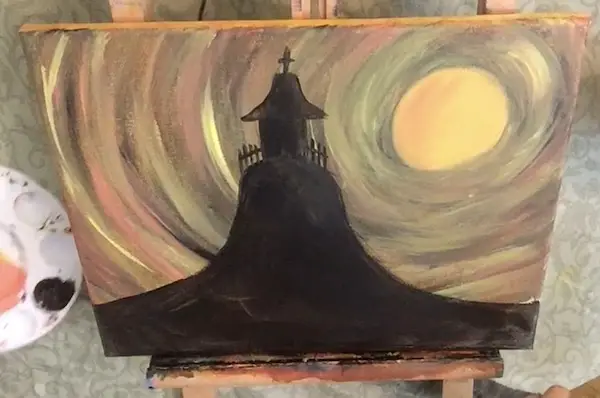
Paint the hill layer
With a combination of black and white loaded onto your flat wash brush, lightly brush on the color inside the hill shape – this helps to lighten the hill slightly.
Add in Fence and Moon Face
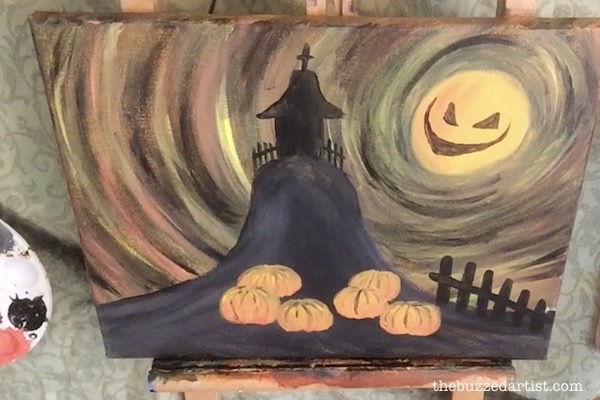
At this point, you can add more details to your scene like an additional fence at the bottom of the hill and a spooky face on your moon. I like to use my detail round brush for those.
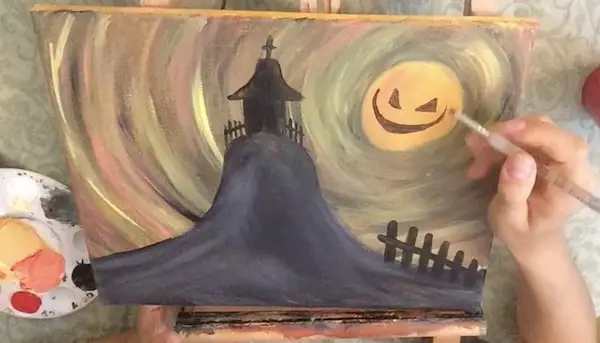
Paint in the Pumpkins
I created a bunch of pumpkins at the foot of the hill as well – to make the pumpkin colors, mix together yellow, red, and a bit of orange and load the color on your filbert brush. You can either refer to the traceable or create your own pumpkin from scratch – I created my pumpkins using a bunch of curved strokes that all share the same start and end points.
Adding Depth to the Pumpkins
To add more depth to the pumpkins, add a bit more yellow to the orange pumpkin color you already made and lightly brush some of the color onto the top portions of the pumpkins; this represents the lighter portions of the pumpkins. Then to make the darker shadows of the pumpkins, add a bit more red to your orange pumpkin color and lightly brush it onto the bottom portions of the pumpkins.
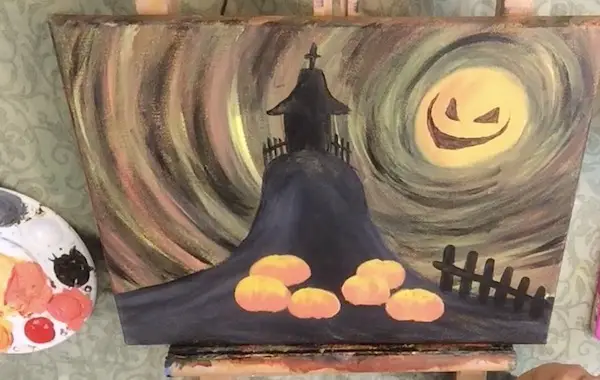
Then using your detail round brush, take a tiny bit of black and paint in the ridges of each of the pumpkins. Then, with your lighter orange color (yellow+a bit of red+white), you can fix and adjust the ridges so they don’t look so stark.
Paint in the Highlights
With your rinsed detail roudn brush loaded with white, it’s time to add the highlights to the entire scene and really give our pumpkins, fence, and church a creepy look. I applied a few strokes of white over the tops and stems of the pumpkins, along the left side of the bottom fence, and along the right sides of the church, cross, and side fences. I even went and added some circular strokes in the night sky and around the moon for an extra cool feel.
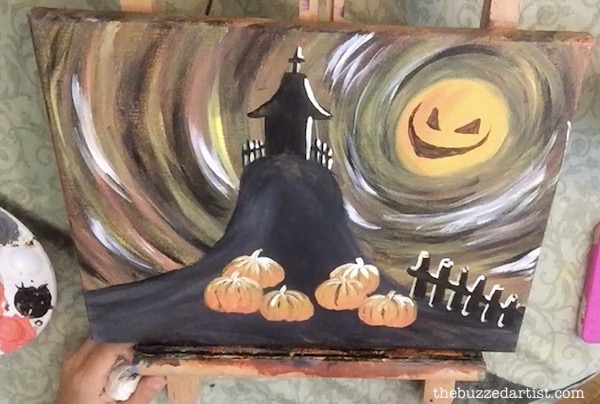
Once you’re happy with it, sit back and admire your work.
Want the Traceable stencil?
If you want to get the full stencil for this painting, get the printable stencil here.
