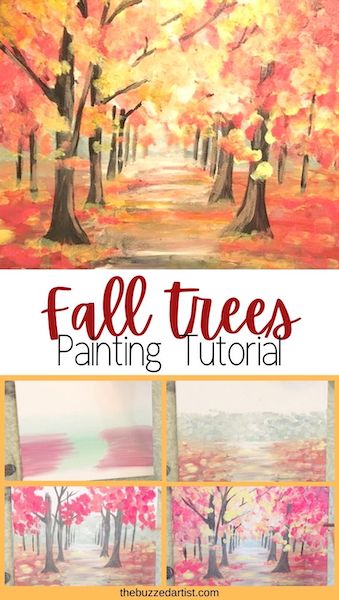
Recreate a colorful Fall-inspired landscape in this easy step-by-step tutorial
As we brush off the creepy Halloween decorations and sneak bites of candy, it’s time to fully embrace the beautiful look of all. There is SO much to love about November
And in this post, you’ll learn how to paint a classic and colorful fall landscape scene – resplendent with oranges, reds, and yellows- using acrylic paint, step-by-step.
Disclaimer: some links used in this post are affiliate links, which means I’ll earn a small commission if you purchase using my links at no extra cost to you. I only recommend products I think will be helpful to you and bring you one step closer to creating beautiful acrylic masterpieces!
👉 Want to host a paint party with this tutorial? Here is exactly how you can set up a fun DIY paint party at home.
Once Upon a November Acrylic Painting Supplies
Paints
- Titanium White
- Primary Red
- Primary Yellow
- Primary blue
- Mars Black
Brushes
- 1″ flat wash brush
- #6 Filbert brush
- #0 detail round brush

Once Upon a November Acrylic Painting Steps
Follow these step-by-step instructions on how to paint your very own colorful fall tree trail landscape.
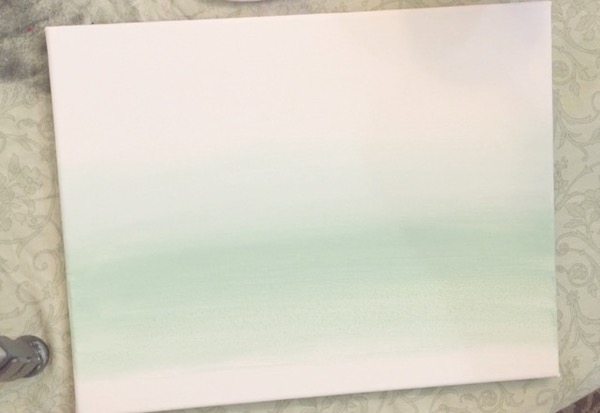
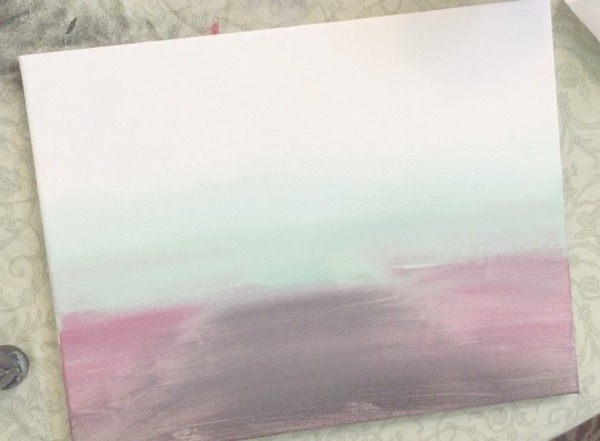
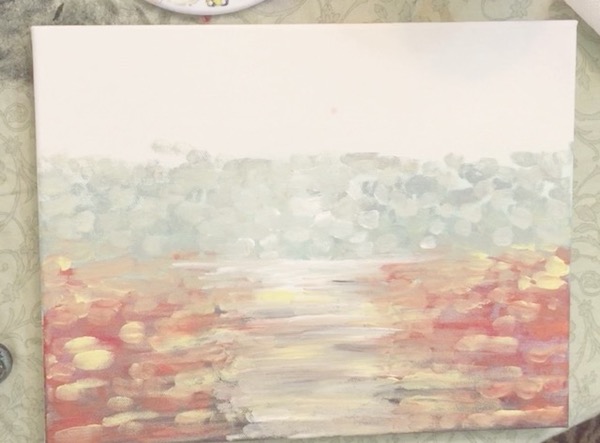
Step 1: Paint the Background Color
With your flat wash brush, mix together white, blue and yellow to create a light green color. Then, using horizontal strokes, lightly brush the color on the canvas, leaving 1″ of white space on the bottom and 4″ of white space on the top.
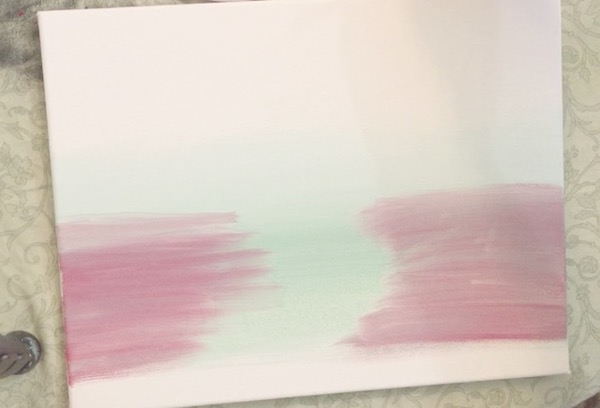
Step 2: Paint the Ground Layer
With your rinsed flat wash brush, mix together yellow and red with a tiny bit of blue. Then using horizontal strokes, add two bands of color on either side of the canvas, making sure to leave room in the middle for a future trail.
Step 3: Paint the Pathway
With your flat wash brush, mix together red with a bit of black and fill in the space between the red columns as well as the bottom portion of the canvas. Be sure to blend the pathway color with the adjoining red to create a seamless transition.
Not sure how to blend? Read how to blend like a pro
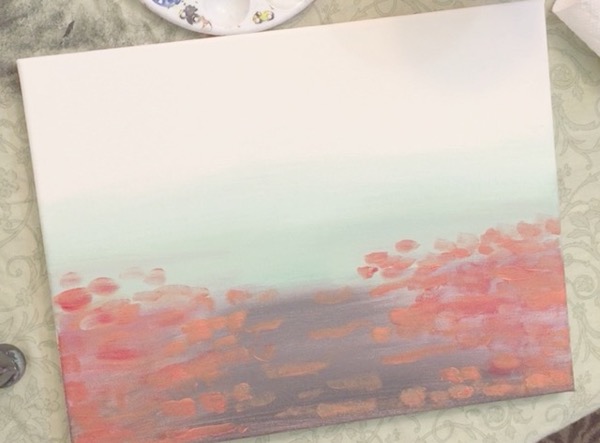
Step 4: Paint the First Leaf Layers
With a filbert brush, mix together red and yellow to make an orange color (I added a bit more yellow to create a lighter orange). Then using the side of the brush, dab on the color along the sides of the canvas as well as some portions of the pathway. This gives the appearance of red leaves on the trail.
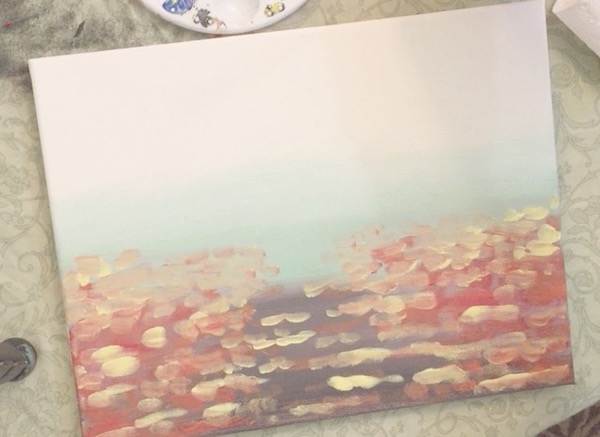
Step 5: Paint the Yellow Leaves
With your rinsed filbert brush, mix together yellow and white to create a light yellow. Then repeat the same dabbing technique to create the appearance of yellow leaves on the scene.
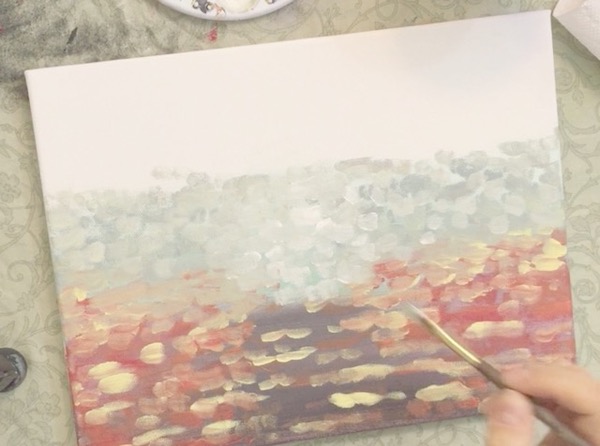
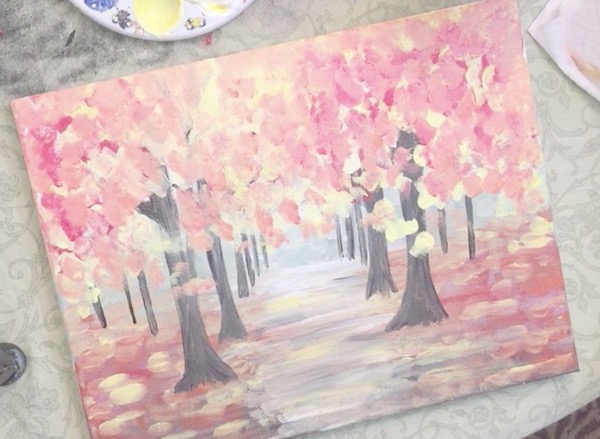
Step 6: Paint the Background Leaves
With your rinsed filbert brush, mix together white, blue, yellow and a bit of black. Then, proceed to dab the color onto the portion of the canvas above the pathway and leaves. This will serve to represent the background foliage.
I even altered the colors, adding a bit more white and continued layering in the same manner.
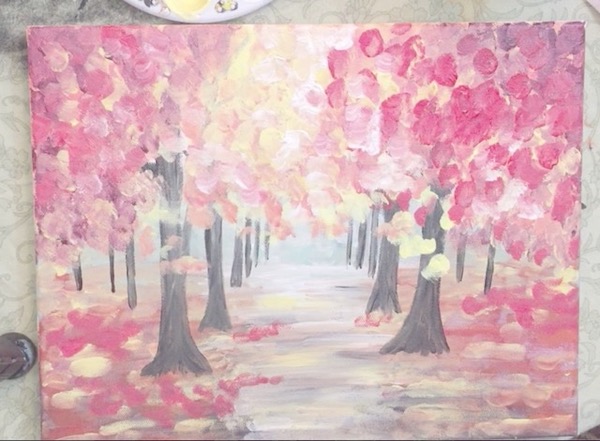
Step 7: Paint the Path Highlights
With your filbert dipped in white, add horizontal strips of white paint starting at the horizon line (the area between the green background foliage and the red parts of the painting) going all the way down to the bottom of the pathway

From here, I added a few more leaves on the path itself, including some yellow and orange for added color.
Then, remove any paint off the bristle and lightly blend the path highlights using horizontal brush strokes.
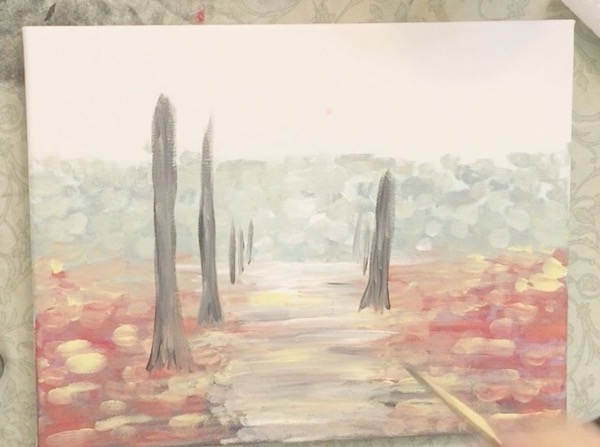
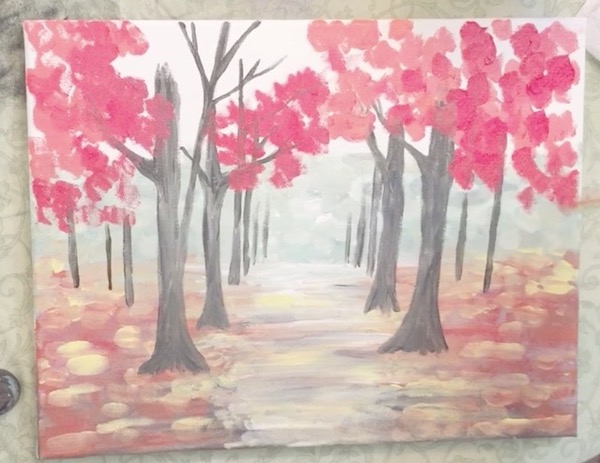
Step 8: Paint the Tree Trunks
Now, it’s time to add the trees lining the path. With your rinsed filbert, dipped in black, add vertical lines to represent the tree trunks, making sure that the tree trunk closest to you is the tallest and widest and all the other tree trunks grow smaller and thinner the farther they appear.
You can add as many tree trunks as you like, I opted to add 10-11 tree trunks.
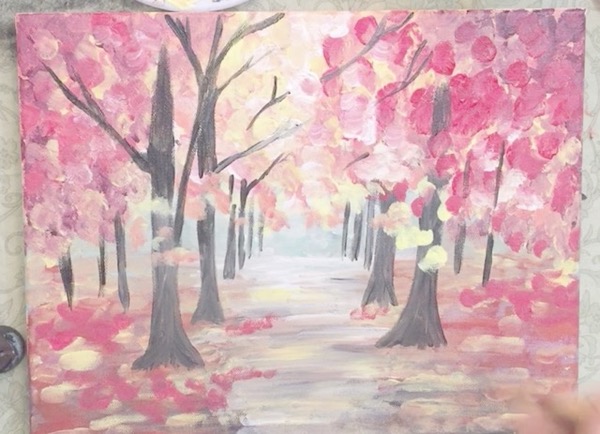
Step 9: Paint in the Branches
With your detail brush dipped in black, begin to add the tree branches. The best trick for tree branches is to form the letter “Y”. When a branch comes off the main trunk, it’ll form the letter “Y”, is wider at the base where it meets the trunk and grows thinner.
Do this several times on each tree trunk for a cool complex looking scene.
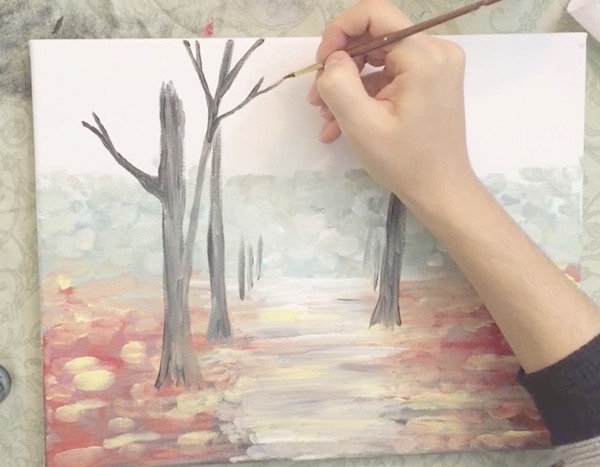
You’ll notice I didn’t add tree branches to every tree trunk, since a lot of them will be covered with leaves which we’ll get to in the next step.
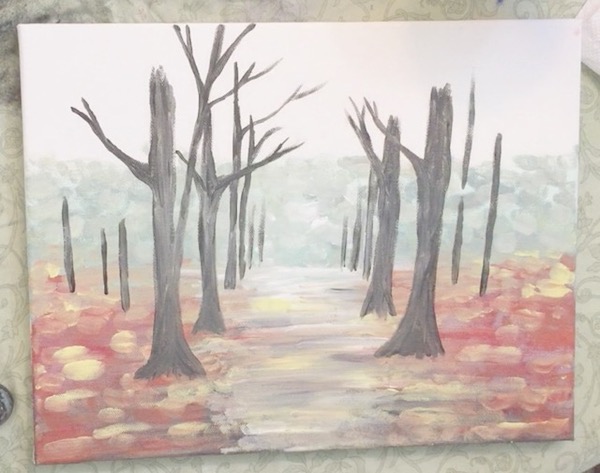
Step 10: Paint the Tree Leaves
With your filbert brush dipped in red, use the same dabbing technique to create the leaves on the tree. I like to add leaves in clusters on the branches to give it a full look.
Proceed to add more color leaves with the dabbing technique, layering various fall colors to create a very full-looking forest.
I even added deeper purple toned leaves (mixing red with blue) to create more color variance.
Step 12: Paint Back in Tiny Branches & Leaves
We’re almost done! This step is about adding back a few details that may have gotten lost with the previous leaf painting step. Here, you can add back in some tree branches using a detail round brush dipped in black.
The branches don’t need to be connected to the tree trunks, but they do follow the same rule of making the “Y” shape.
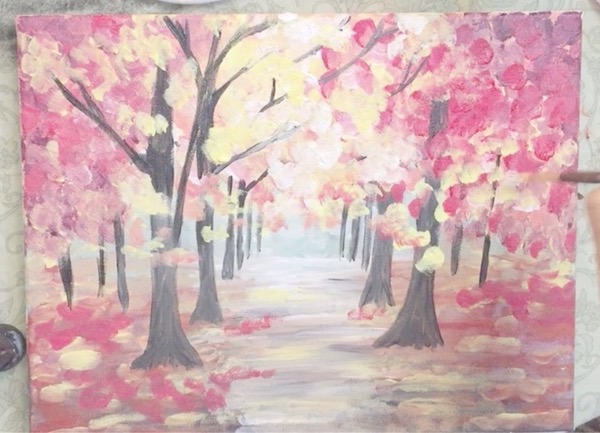
Then, you can add a few extra leaves to fully complete your scene- I decided to add a few on the extra branches I painted to give it a seamless look. From there, you are officially finished with your gorgeous fall tree landscape painting!