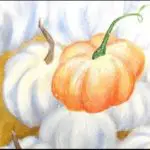
Nothing makes me smile harder than seeing pumpkins. And fall brings lots of pumpkins for us to pick, carve and/or paint, and adorn on our porches and windows for all to admire.
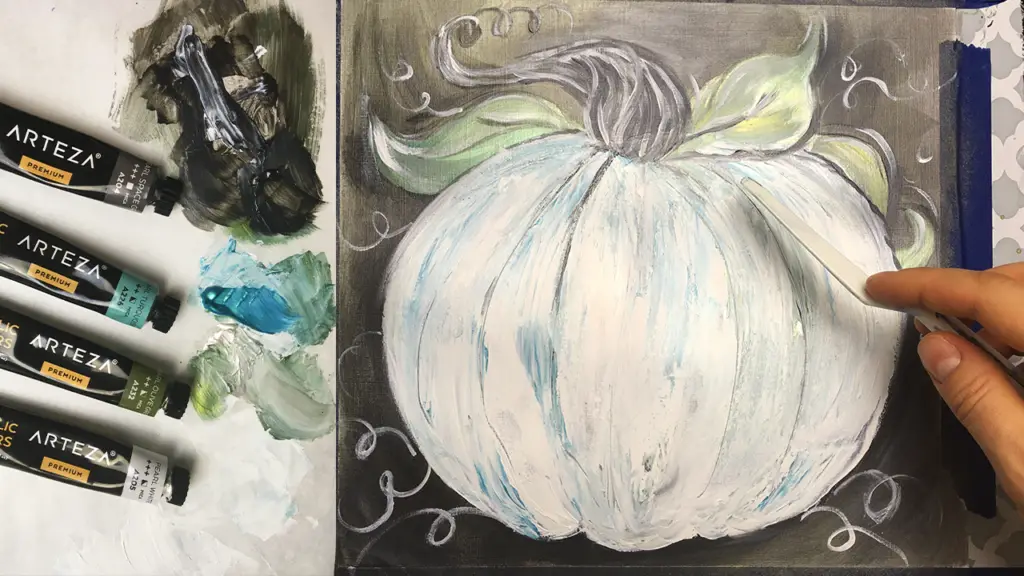
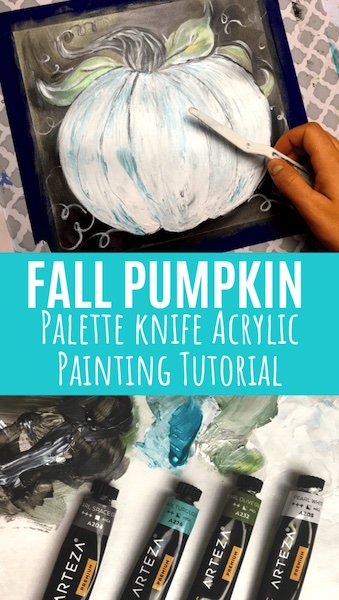
So, in this blog post, we’ll be painting this adorable white pumpkin using a palette knife, metallic paint and a bit of titanium white.
Let’s bring a textural boho chic spin to your autumnal decor and welcome in the season.
Pin it for later! ⤵
Some links included are affiliate links, which means I will receive a small commission at no extra cost to you! If you do purchase through me, you have my sincere and heartfelt thanks! Hope you enjoy these products as much as I did!
👉 Want to host a paint party with this tutorial? Here is exactly how you can set up a fun DIY paint party at home.
Fall Chic Pumpkin Painting Supplies
- 11″x14″ Canvas or Canvas Paper
- Charcoal pencil
- Pumpkin Traceable
- 1/2″ Flat Wash Brush
- #2 Flat Brush
- #2/0 Detail Round Brush
- Arteza Metallic Acrylic Paint
- Pearl Turquoise Blue
- Pearl Space Gray
- Pearl White
- Pearl Olive Green
- Titanium White
👉 Want to read more about Arteza metallic paints? Check out my blog post.
Fall Chic Pumpkin Painting Steps
Follow these step-by-step instructions on how to paint your very own boho pumpkin painting.
Step 1: Mix gray, pearl white, and olive green to get a toned down sage color. With your flat wash brush, paint in the background using a variety of diagonal and vertical strokes, being sure to cover all the edges and leave the center of the canvas blank. You can also occasionally dip your brush in olive green to create spots of color in the background.
Step 2: Download the pumpkin traceable and transfer it onto your canvas. If you’re not sure how, this step by step post will show you how. I suggest placing the pumpkin in the center of the canvas.
Step 3: With your flat brush dipped in gray, fill in the pumpkin stem.
Step 4: Mix together equal parts turquoise, olive green, and pearl white and using your flat brush, paint in the pumpkin leaves. For added effect, play with the paint combinations to get varying tonal colors. For example, mix a bit more turquoise to get more hints of blue in the leaves. As you’re filling in the leaves, be sure to follow the shape of the leaves.
Step 5: Using the same flat brush dipped in space gray, outline the leaves as well as add some leaf vein details.
Step 6: Using pearl white on your clean flat brush, add in detail lines on the pumpkin stem, making sure to follow the pumpkin stem shape.
Step 7: With a detail brush dipped in space gray, add a swirly line detail at the tip of the pumpkin stem.
Step 8: Now comes the palette knife part. Using titanium white paint with a bit of turquoise mixed in, begin by collecting the paint color onto your knife and smearing it onto the pumpkin body, starting from the left-most part of the pumpkin. Follow the shape of the pumpkin as you fill in the body.
As an added bonus, be sure to make the bottom of the pumpkin look bumpy to simulate the look of an organic pumpkin.
Step 9: With a clean knife, load some turquoise onto your palette knife and starting at the top of the pumpkin, create tinier strokes making “C” shapes as you go from the top of the pumpkin down. Repeat this same process using olive green as well.
The point here is to add lots of texture and color layering – which will create that boho chic look of your pumpkin.
Step 10: For the pumpkin ridges, scoop a bit of space gray onto your palette knife and create a few “c” shape lines going along the pumpkin body, from top to bottom.
Step 11: Clean up the pumpkin and leaf edges with a bit of space gray loaded onto your flat brush.
Step 12: Finish off with a few detail lines with a detail round brush loaded with titanium white. Add small embellishments on the leaves and pumpkin stem.
Step 13: Sit back and admire your work!
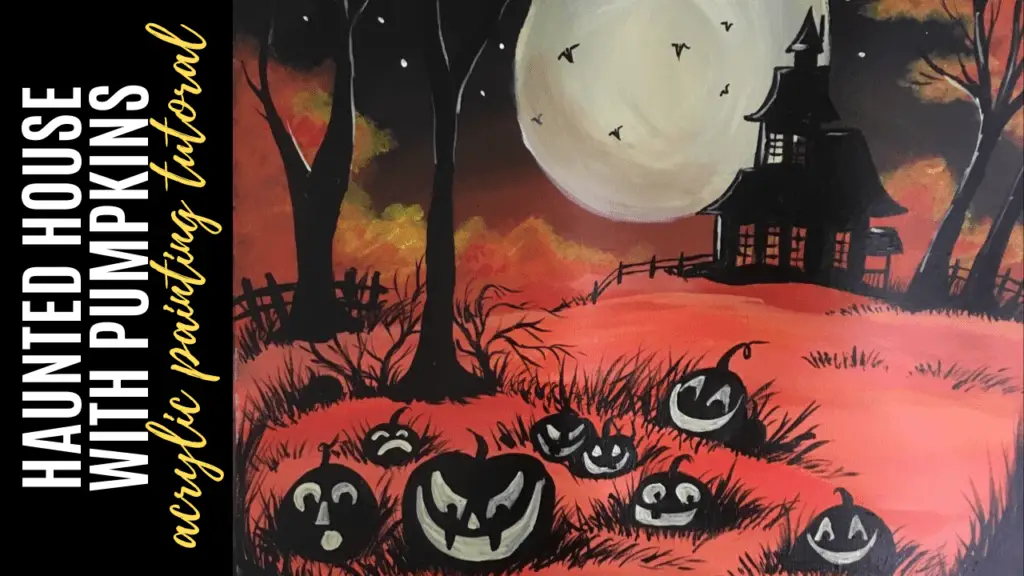
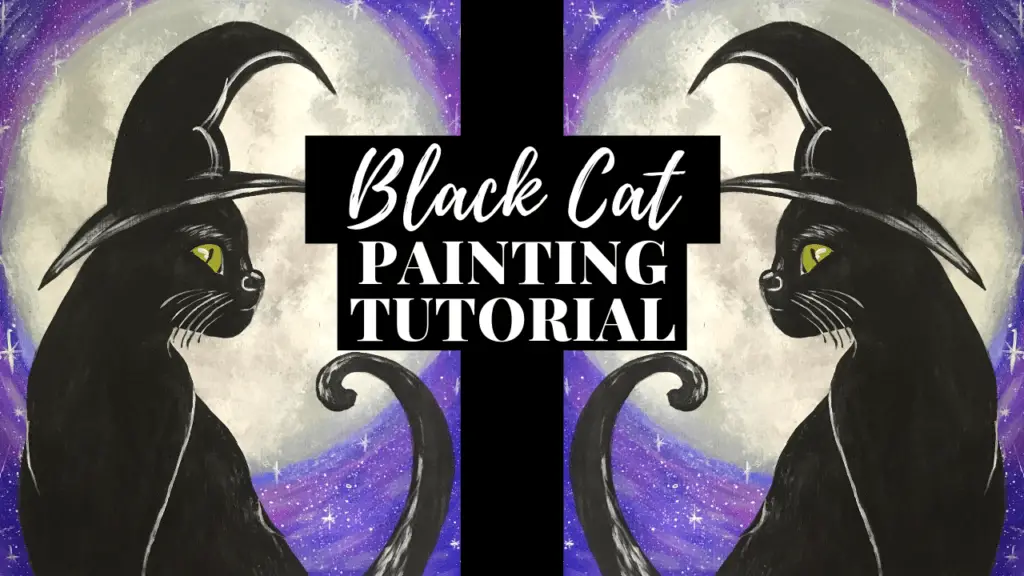
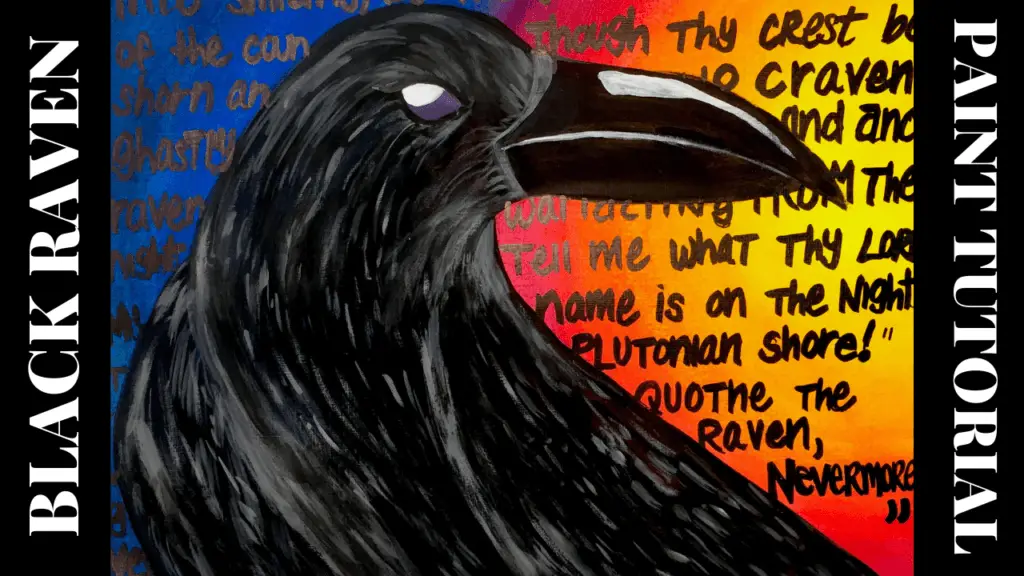
Enjoyed this? Make more Halloween paintings!