The beginner’s step-by-step guide to painting realistic lips and mouth using acrylic paint
Ready to paint smooch-worthy gorgeous lips that’ll make everyone want to make out with your canvas? As scary as this might seem at first, painting lips is all a matter of simple shapes and lots of layering. Really, the secret sauce behind any “realistic” painting has EVERYTHING to do with layering and blending colors from previous layers to create interesting depth.
It’s a really simple process that serves some awesome results *chef’s kiss*
So, in this step-by-step tutorial video and post, I show you how to construct a basic lip shape and different painting techniques to achieve a realistic looking lips/mouth. So let’s grab some supplies and get to it.

Some links mentioned below are affiliate links which come at NO extra cost to you, my darling Queen Bees! If you wish to support this channel and send me an extra thank you, be sure to use the links above!
👉 Want to host a paint party with this tutorial? Here is exactly how you can set up a fun DIY paint party at home.

Lip and Mouth Acrylic Painting Supplies
- Multi-media paper
- Colored Pencil (burnt sienna or light brown will do)
- Cup of water
- Table cloth
- towel
Brushes:
Paints:
- Primary Blue Acrylic Paint
- Titanium White Acrylic Paint
- Unbleached Titanium White (heavy body)
- Primary Red Acrylic Paint
Easy Kissable Realistic Lip Acrylic Painting Tutorial
Follow along with this video or keep reading to create your own realistic lips made with acrylic paint.
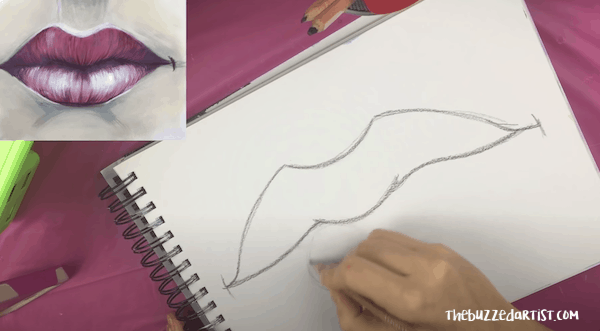
Step 1: Draw in the lips
When it comes to drawing lips, you just have to keep in mind a few key -(but easy)- features, all of which imitate simple shapes and forms.
So to begin your realistic lip drawing, create “the cupid’s bow”, which is essentially a U shape and two downward curves coming from both sides of the U shape.
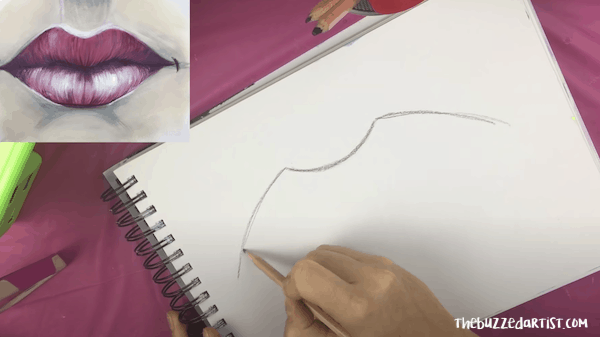
Now, from the U shape, measure about 4 inches down and create another U shape that is a tad bit steeper. This will serve as the bottom portion of the upper lip. Then connect the tips of the U shape to the upper lip corners. You just finished creating the upper lip.
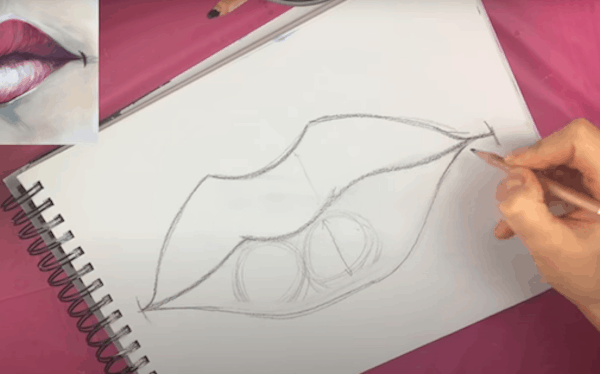
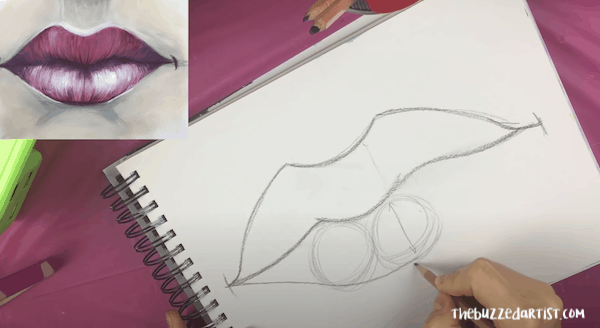
Using that same measurement for the upper lip (4″), measure 4-5 inches from the second U shape and create 1 circle directly underneath the middle of the upper lip. Following the U shape curve, create an additional two identical circles on either side. This will serve as the marker for your lower lip width. Create a line that goes from the mouth corner, touching the circumference of the lower lip circles, connecting to the other mouth corner.
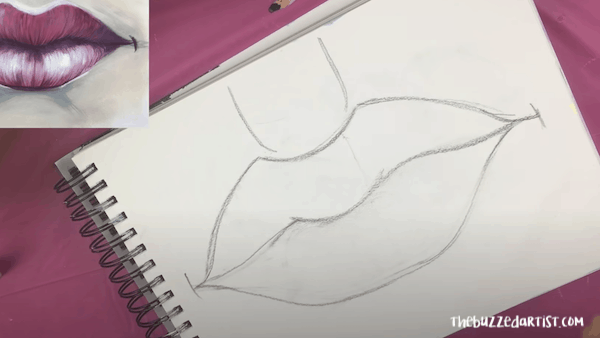
Finish off by adding two vertically curved lines slightly above the upper lip; this represents the philtrum. Also, add a chin line, represented as an upside down “U” shape a few inches from the lip bottom.
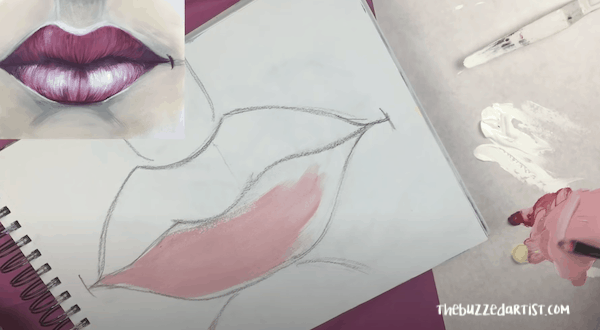
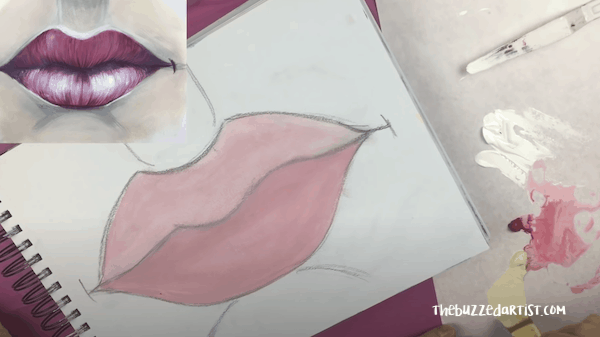
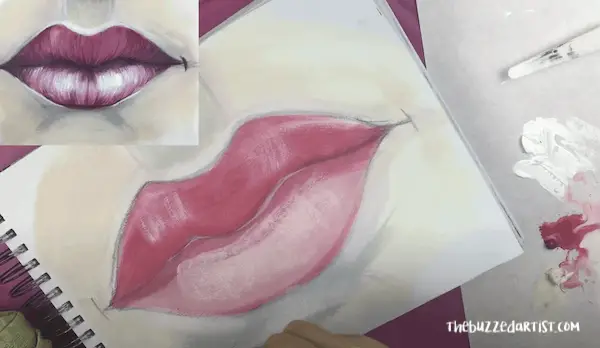
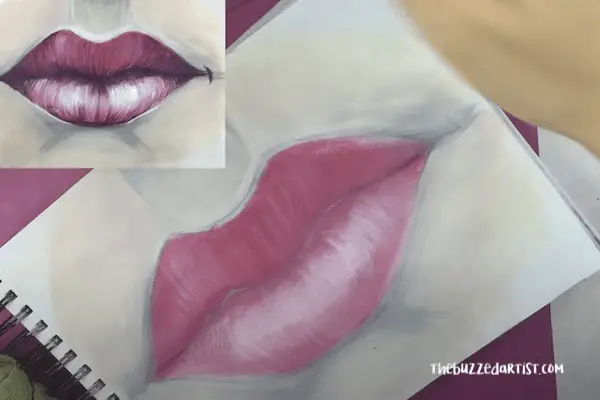
Step 2: Paint the first layers of the lips
Combine equal parts red, unbleached titanium white and a bit of titanium white to create the first layer of the bottom and top lips. Use the filbert brush to brush the color, using vertically curved lines.
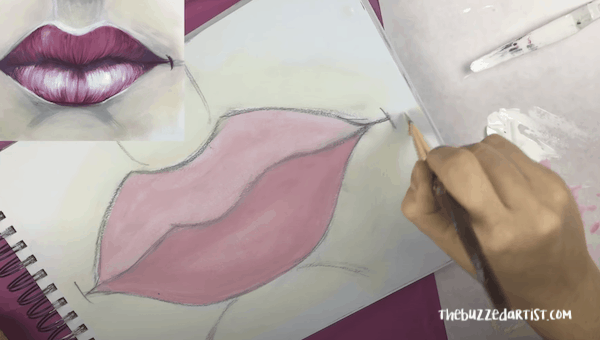
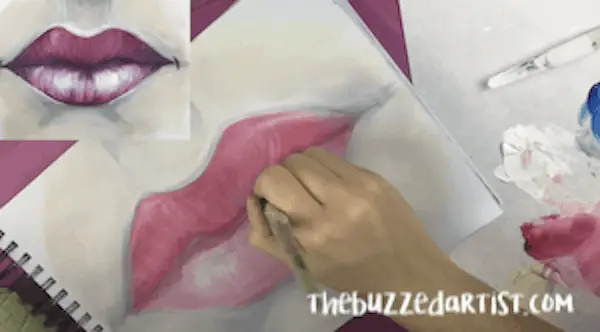
Step 3: Paint the surrounding skin
Paint the surrounding skin around the lips using a mix of unbleached titanium white and a bit of titanium white and apply using a flat wash brush. If you want to vary the skin color, add a bit of burnt umber and yellow to darken the skin or yellow and white to lighten the skin.
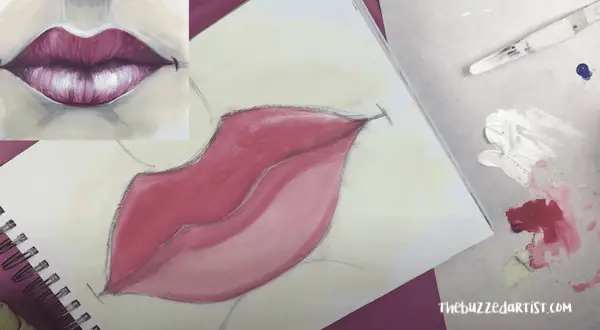
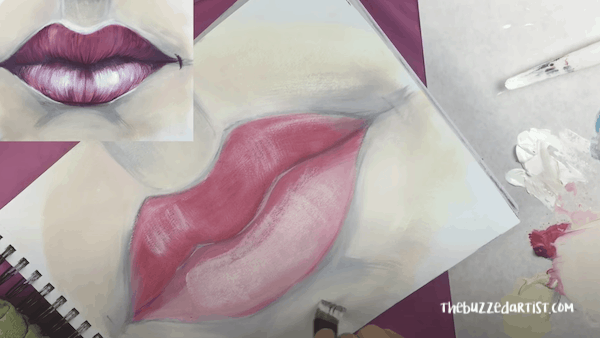
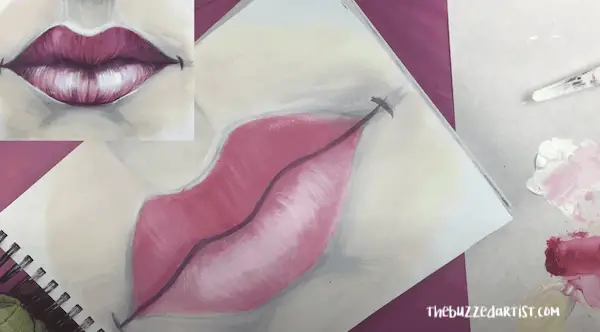
Step 4: Add in lip and skin shadows
Using a filbert brush, load with red with a tiny hint of titanium white and add the darker shade of red to the top lip and portions of the bottom lip, particularly the top and bottom where the lip meets the chin.
Using a flat wash brush, combine unbleached titanium white with a tiny hint of blue and white to create a gray color to use for the skin shadows. Use this color to apply strokes under the bottom lip and on the philtrum.
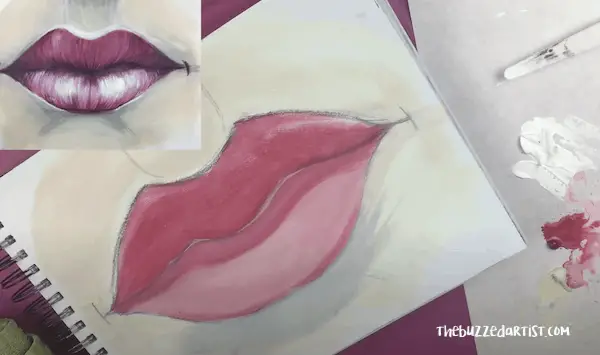
Using a flat wash brush, dry brush titanium white onto the bottom lip and two arcs on the top lip. Be sure to curve the lines to mimic the lip shapes (for example, any lines on the right curve to the right; lines on the left curve to the left). Proceed to dry brush along the perimeter of the top lip on the skin as well as the perimeter of the bottom lip.
Then, load your flat wash brush with unbleached titanium white (make sure there isn’t too much on the brush though), and proceed to dry brush over the shadows of the skin, particularly around the chin and mouth corners.
Step 5: Layering the initial fine lines and details
Using a flat wash brush or shader brush, dry brush titanium white using the brush tip, making sure to follow the curved line along the top of the lip.
Using a flat wash brush or shader brush, mixed with red and white, add a small layer along the top portion of the bottom lip, giving the appearance of a cast shadow.
To keep adding more depth and layers, grab a shader brush and dry-brush thin titanium white lines using the brush tip along the bottom and top portions of the lip.
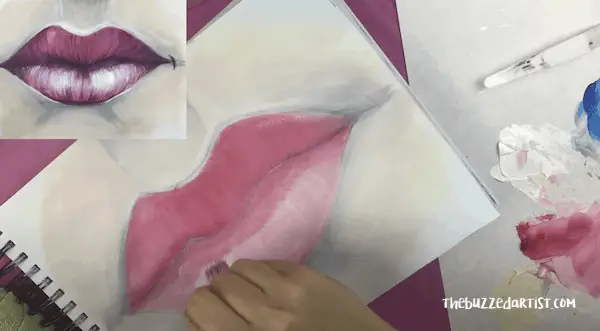
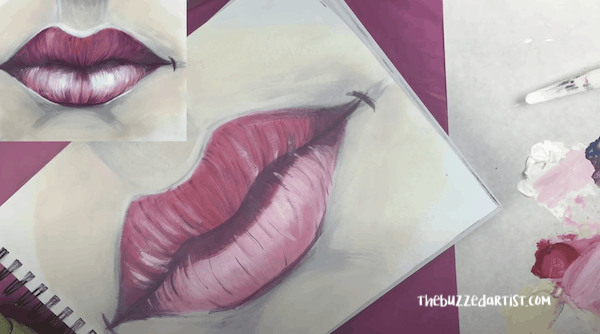
Step 6: Paint in the mouth lines
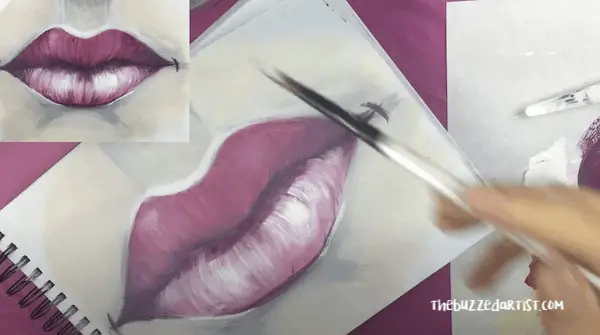
Combine red and blue to create a dark violet and load that onto a shader brush or round brush. Using the brush tip, carefully paint a line following the mouth part as well as the sides of the mouth corners. This will help establish the deep shadows of the lips.
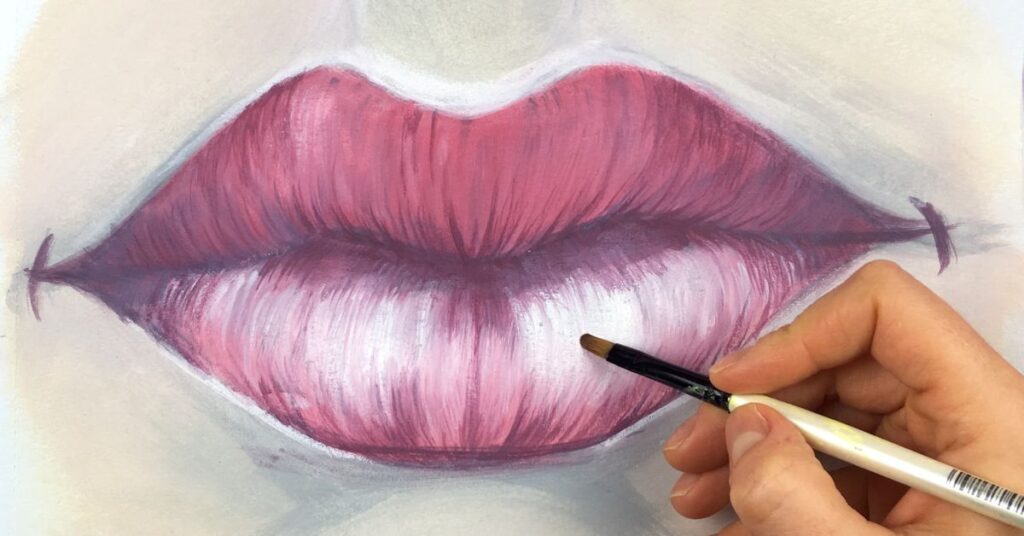
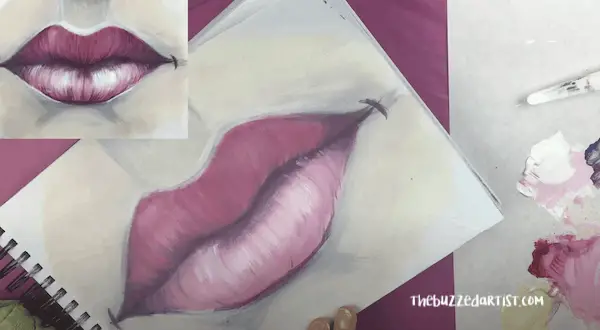
Step 7: Add more highlight and shadow color layers
Using the same dark violet, load your shader brush or detail round brush and proceed to make short curved lines on the top lip. This helps to imitate the fine lines that are visible on the lip (plus starts to make it look way more realistic).
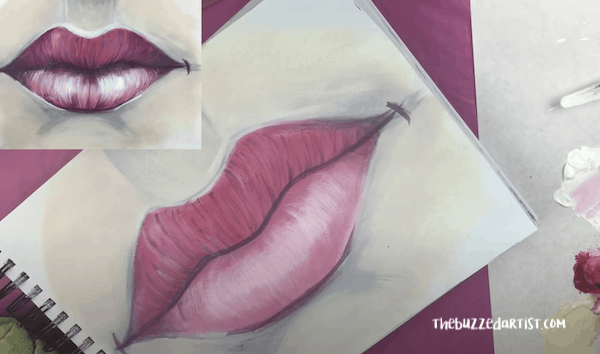
Continue using the violet to create fine lines along the top portion of the bottom lip as well as the mouth corners, representing the shadows cast from the upper lip. In addition, add shades of violet under the bottom portion of the bottom lip to imitate the shadow cast on the skin from the lower lip.

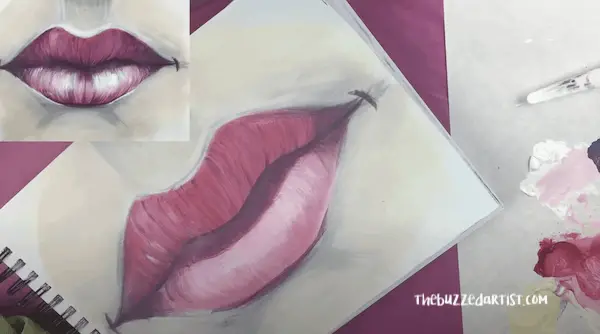
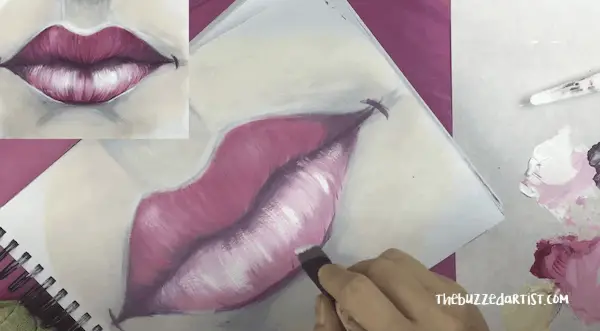
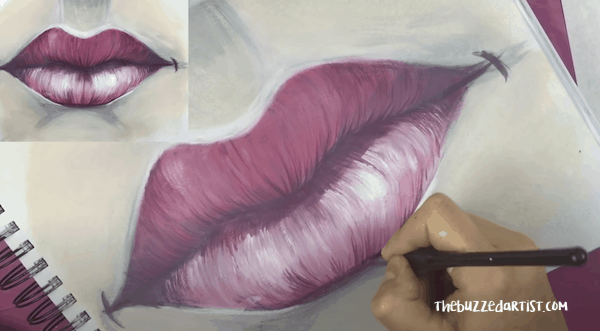
Using titanium white and a shader or filbert brush, dry brush fine lines to add more areas of highlights to both the upper and lower lip portions.
Using a flat wash brush, lightly blend the lines you just laid down.
Now with the flat wash brush loaded with titanium white, dry brush more white highlights onto the lower lip, making sure to use the broad side of the brush and light pressure as you create the curved lines.
Repeat the cast shadow of the upper lip to the lower lip using violet and flat wash brush.
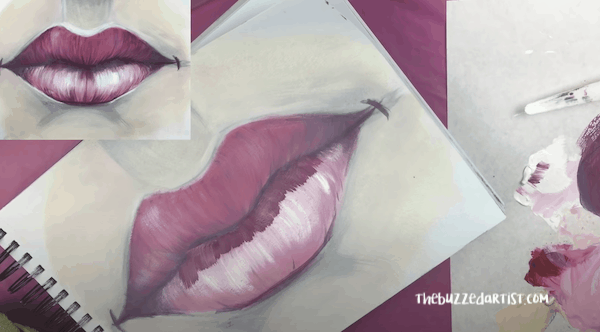
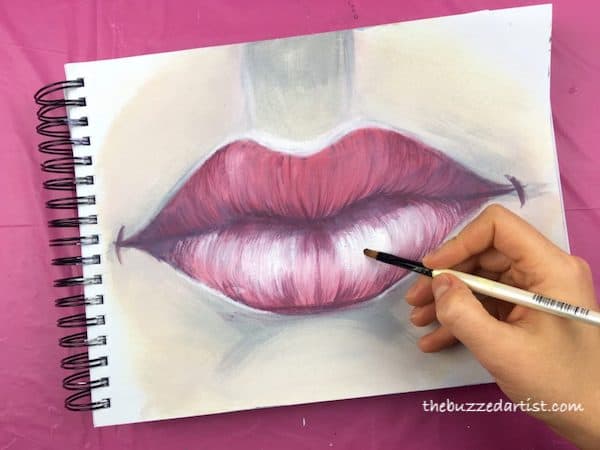
Repeat and add more layers of titanium white to dry brush more highlights onto the lower lip.
Finally, add a few tiny violet fine lines to the upper and lower lip. This really helps to achieve that realistic lip look.
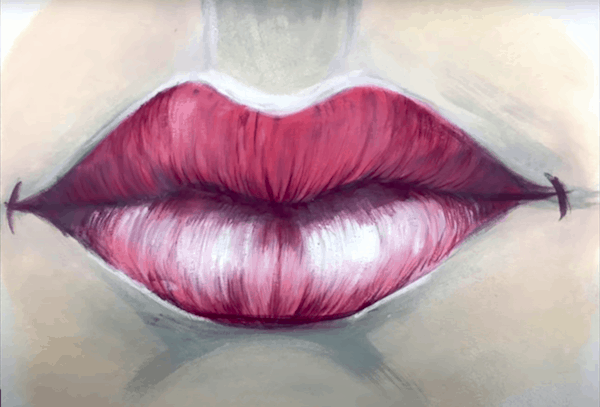
And there you have it. A realistic lip painting that looks ultra smoochable, luscious, and a total fun, easy experience to make.
Easy Realistic Kissable Lips with Acrylics
More Acrylic Painting Tutorials You Might Like…