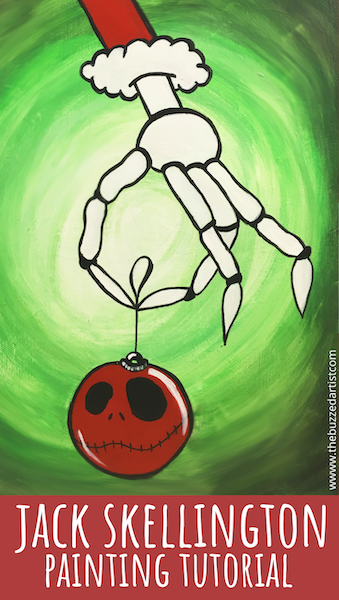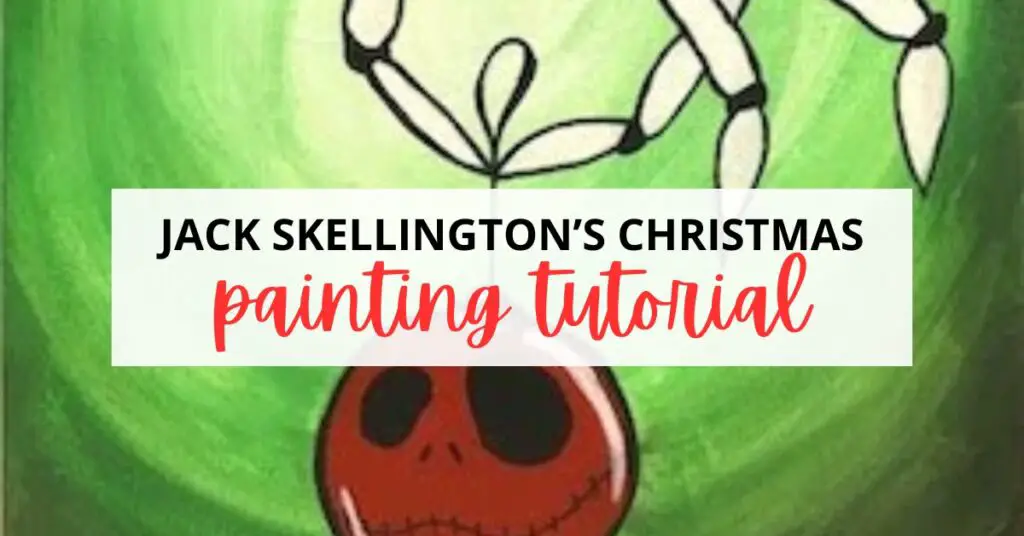
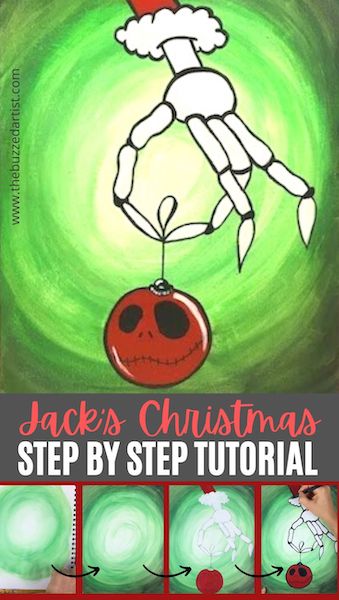
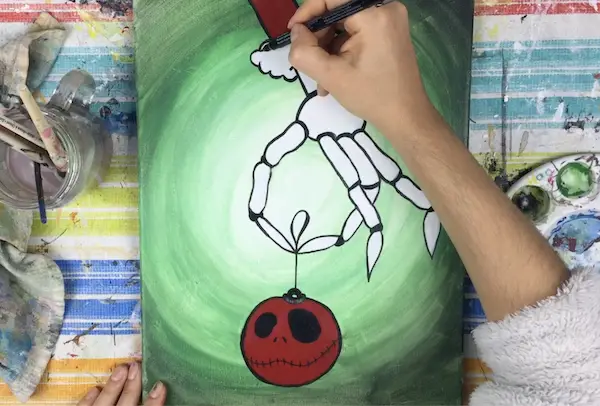
In this easy step-by-step painting tutorial, you’ll learn how to paint Jack Skellington holding a red Christmas ornament in his bony hand. If you’re a huge fan of The Nightmare Before Christmas, this painting is just the thing for you.
This acrylic painting tutorial is fun, easy, and just a great way to have fun with your paint.
Disclaimer: some links used in this post are affiliate links, which means I’ll earn a small commission if you purchase using my links at no extra cost to you. I only recommend products I think will be helpful to you and bring you one step closer to creating beautiful acrylic masterpieces!
👉 Want to host a paint party with this tutorial? Here is exactly how you can set up a fun DIY paint party at home.
Jack’s Christmas Ornament Acrylic Supplies
- 11″x14″ pre-gessoed canvas
- Palette, palette paper or plate for mixing paint
- Marker (optional)
Brushes
Paints
Note: If you don’t have any green paint, simply mix equal parts blue and yellow to give you that perfect green to work with.
Jack’s Christmas Ornament Painting Steps
Follow these step-by-step instructions on how to paint your very own painting of Jack Skellington holding a Christmas ornament.
Want Jack’s Ornament Stencil?
If you want the stencil that goes along with this tutorial, just click here to get it.
Step 1: Paint the Background
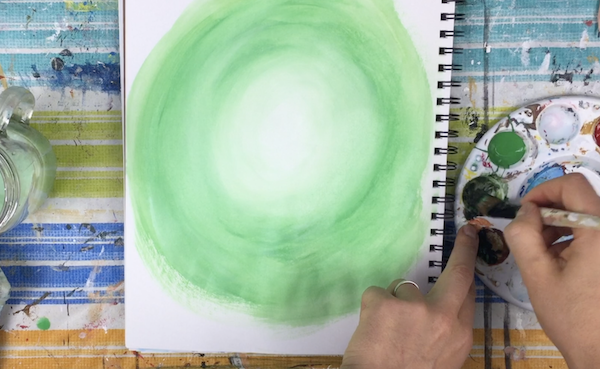
With a flat wash brush, mix together green with a bit of white. Load it onto your brush and create a series of circular brush strokes starting from the center of the canvas and working its way to the edges.
I made sure to keep the very center of the circle more white – if you accidentally made it too green, simply load your brush with white paint and blend it in the center.
Then, load your flat wash brush with black and continue the circular strokes around the outside edges of the canvas to create a cool vignette look. Be sure to use your black paint sparingly since it’s such a powerful pigment.
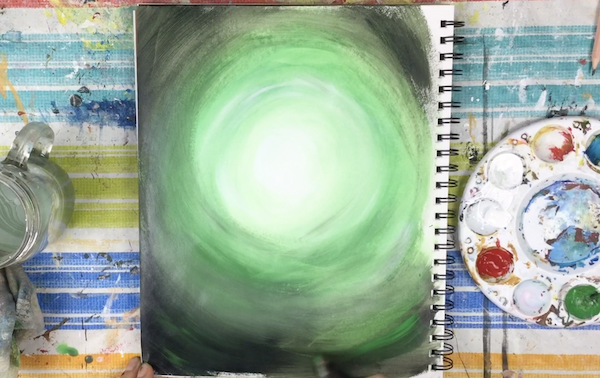
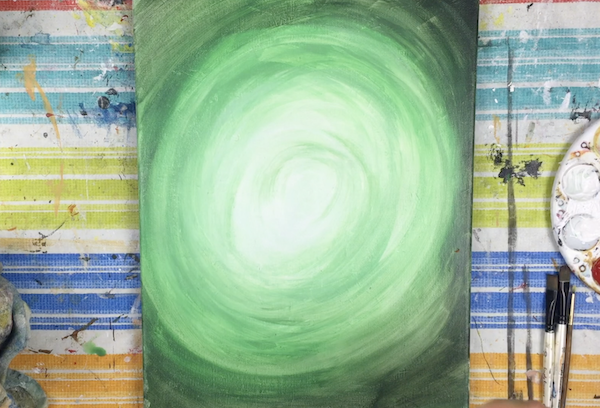
Using your rinsed flat wash brush, load with a bit of green and white again and blend the areas where the green and black meet up to help great a more gradual gradient.
Not sure how to blend? Follow these simple steps to blend like a pro.
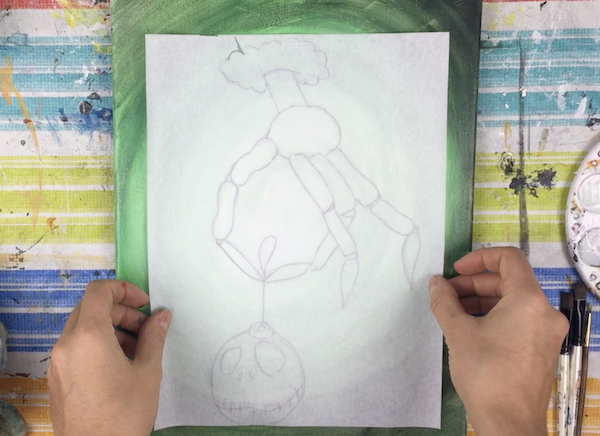
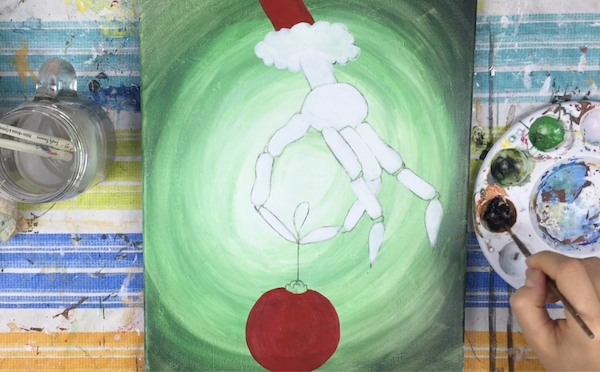
Step 2: Trace in Jack’s hand and ornament
Using your Jack stencil, place and trace onto your canvas paper. If you need directions on how to do this, read this helpful post on transferring stencils to paper.

Step 3: Paint in Jack’s hand, sleeve, and ornament
With a combination of filbert brush and detail round brush, start color blocking Jack’s hands, sleeve, and ornament. You can use any color of your choice, but I went with red for Jack’s sleeve and ornament, white for Jack’s hand and puffy sleeve cuff.
Step 4: Outline & Line Work
Then using your detail round brush loaded with black or a fine tip marker, begin outlining the entirety of the painting from Jack’s sleeve and arm, different portions of his fingers, the ornament string, and the ornament itself.
I also took this opportunity to add a face that resembles Jack’s face onto the ornament itself. A totally cool touch, if I should say so myself.
Step 5: Final Details
Then using some detail round brush with white, add a few highlights to the ornament to give it that shiny look. From there, you are officially done with your painting! Hang it up on your wall or give it as a gift to a friend.

Want Jack’s Ornament Stencil?
If you want the stencil that goes along with this tutorial, just click here to get it.
Pin it for later! ⤵